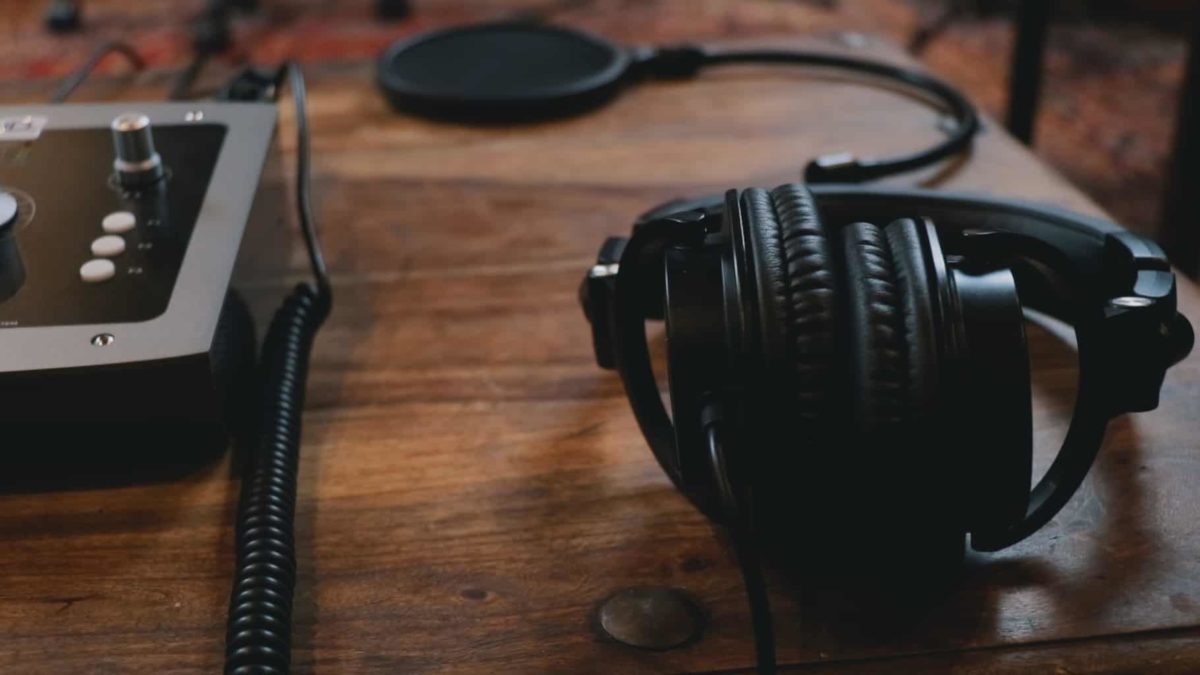
The arrival of the iPhone, iPod touch and iPad, and the subsequently-added ability to connect USB audio interfaces to them, marked a technological sea change for musicians, producers, podcasters, dialogue artists and anyone else looking to record high-quality audio on the go.

Written by EVO
Suddenly – and, at first, almost unthinkably – the laptop felt like a comparatively cumbersome mobile studio next to Apple’s super svelte touchscreen computers, and, for more straightforward recording jobs, often an overpowered one.

A decade or so later, while the macOS/Windows laptop (and, indeed, desktop) computer has convincingly maintained its position as the dominant platform for ‘serious’ recording and production, for numerous reasons (open plugin architectures, greater screen space, better multitasking, far greater editing precision, etc), the iOS device has found its niche as a truly excellent option for field recording, capturing rehearsals and gigs, writing on the bus/train/plane, getting ideas down in the studio, podcasting, streaming and all other creative audio scenarios in which mobility, speed and/or operational simplicity are paramount.
Setting up your EVO 4 with your iOS device
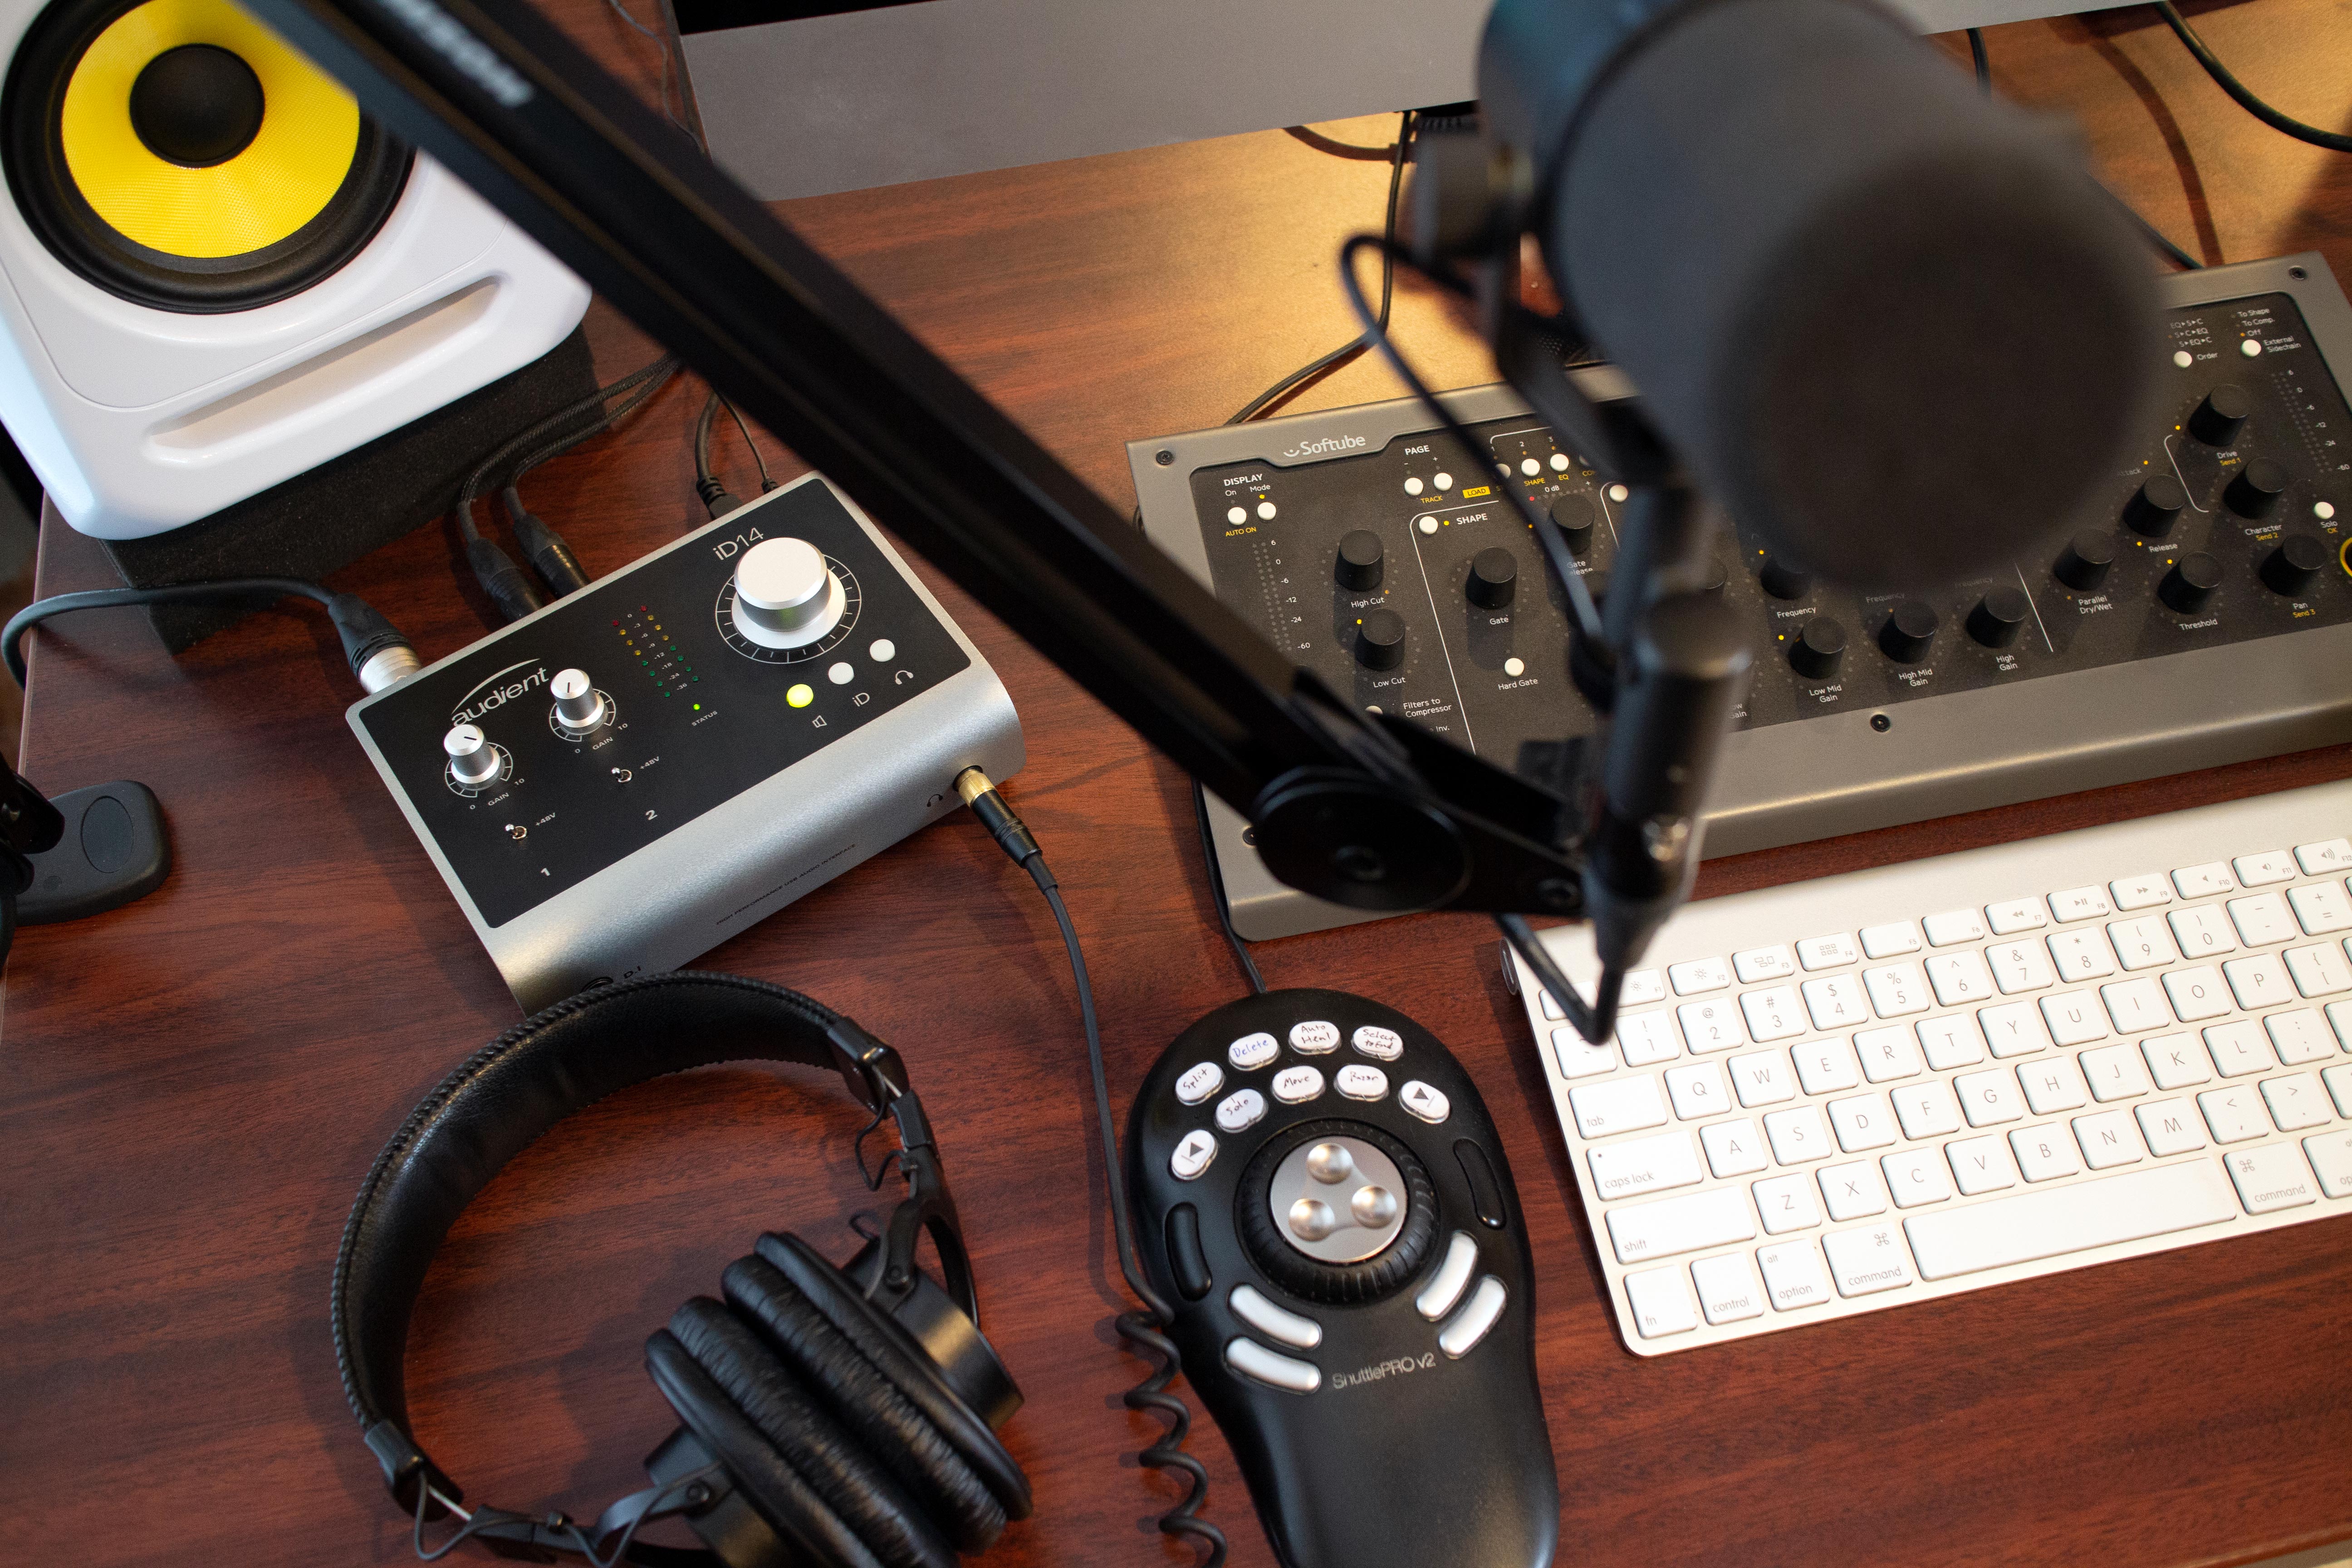
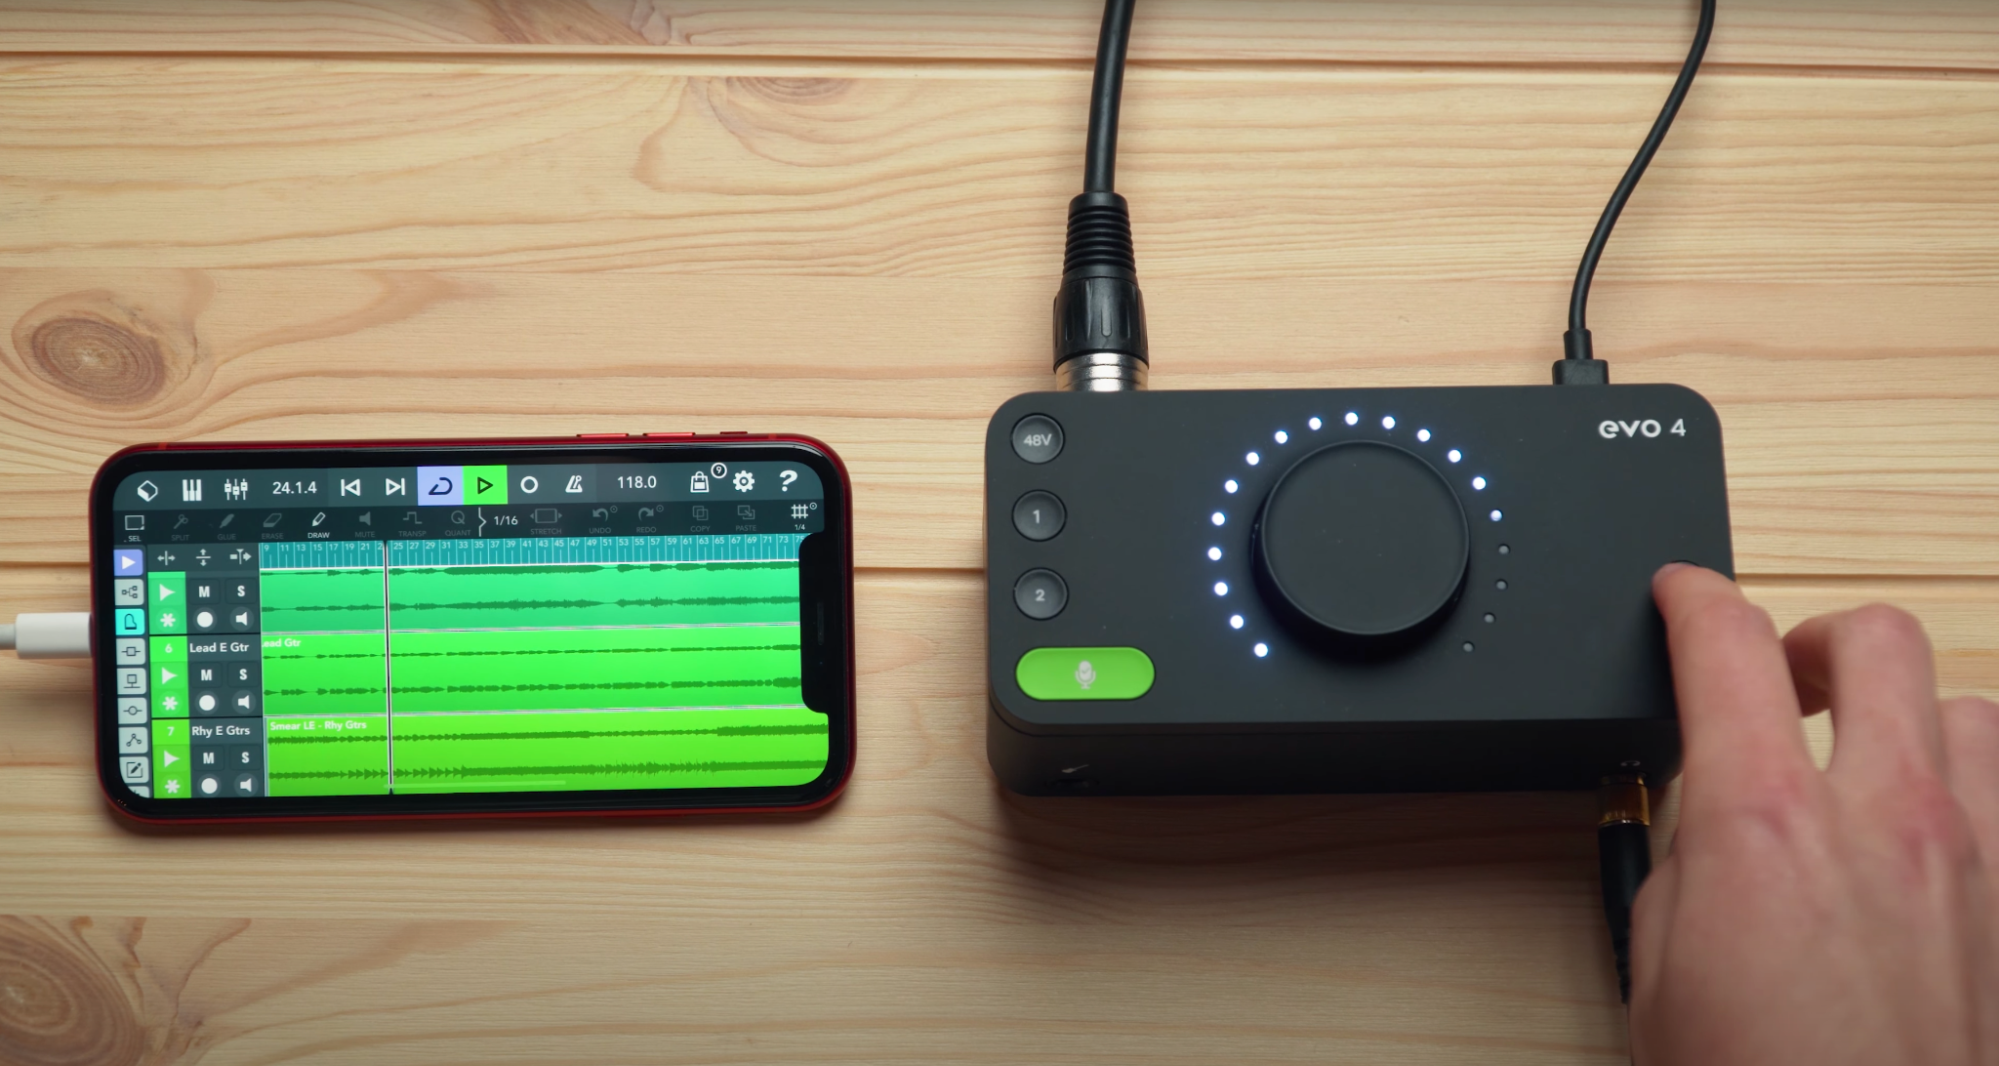
All you need to make professional grade recordings on your iPad, iPhone or iPod touch is a suitable recording or digital audio workstation (DAW) app and an EVO audio interface. Being class compliant USB devices, the EVO 4 works perfectly with iOS right out of the box – simply connect your interface to your iOS device and its inputs and outputs will be made available to any and all apps built to handle multichannel audio.
If you’re using an iPad Pro with a USB-C port, that connection is made using a USB-C to USB-C cable capable of passing power and data: one end into the EVO 4 or 8, the other end into the iPad Pro. Job done, with the EVO drawing bus power from the iPad.
The Lightning ports of older iPads, iPhones and the iPod touch, however, are unable to provide power, so the connection becomes a little more involved, requiring a powered USB hub and a Lightning to USB adaptor. Plug the USB hub’s power supply into mains power or a battery pack, and the EVO 4 or 8 into the USB hub, then the hub into the USB port on the Lightning to USB adapter, and the Lightning to USB adapter into your iOS device.
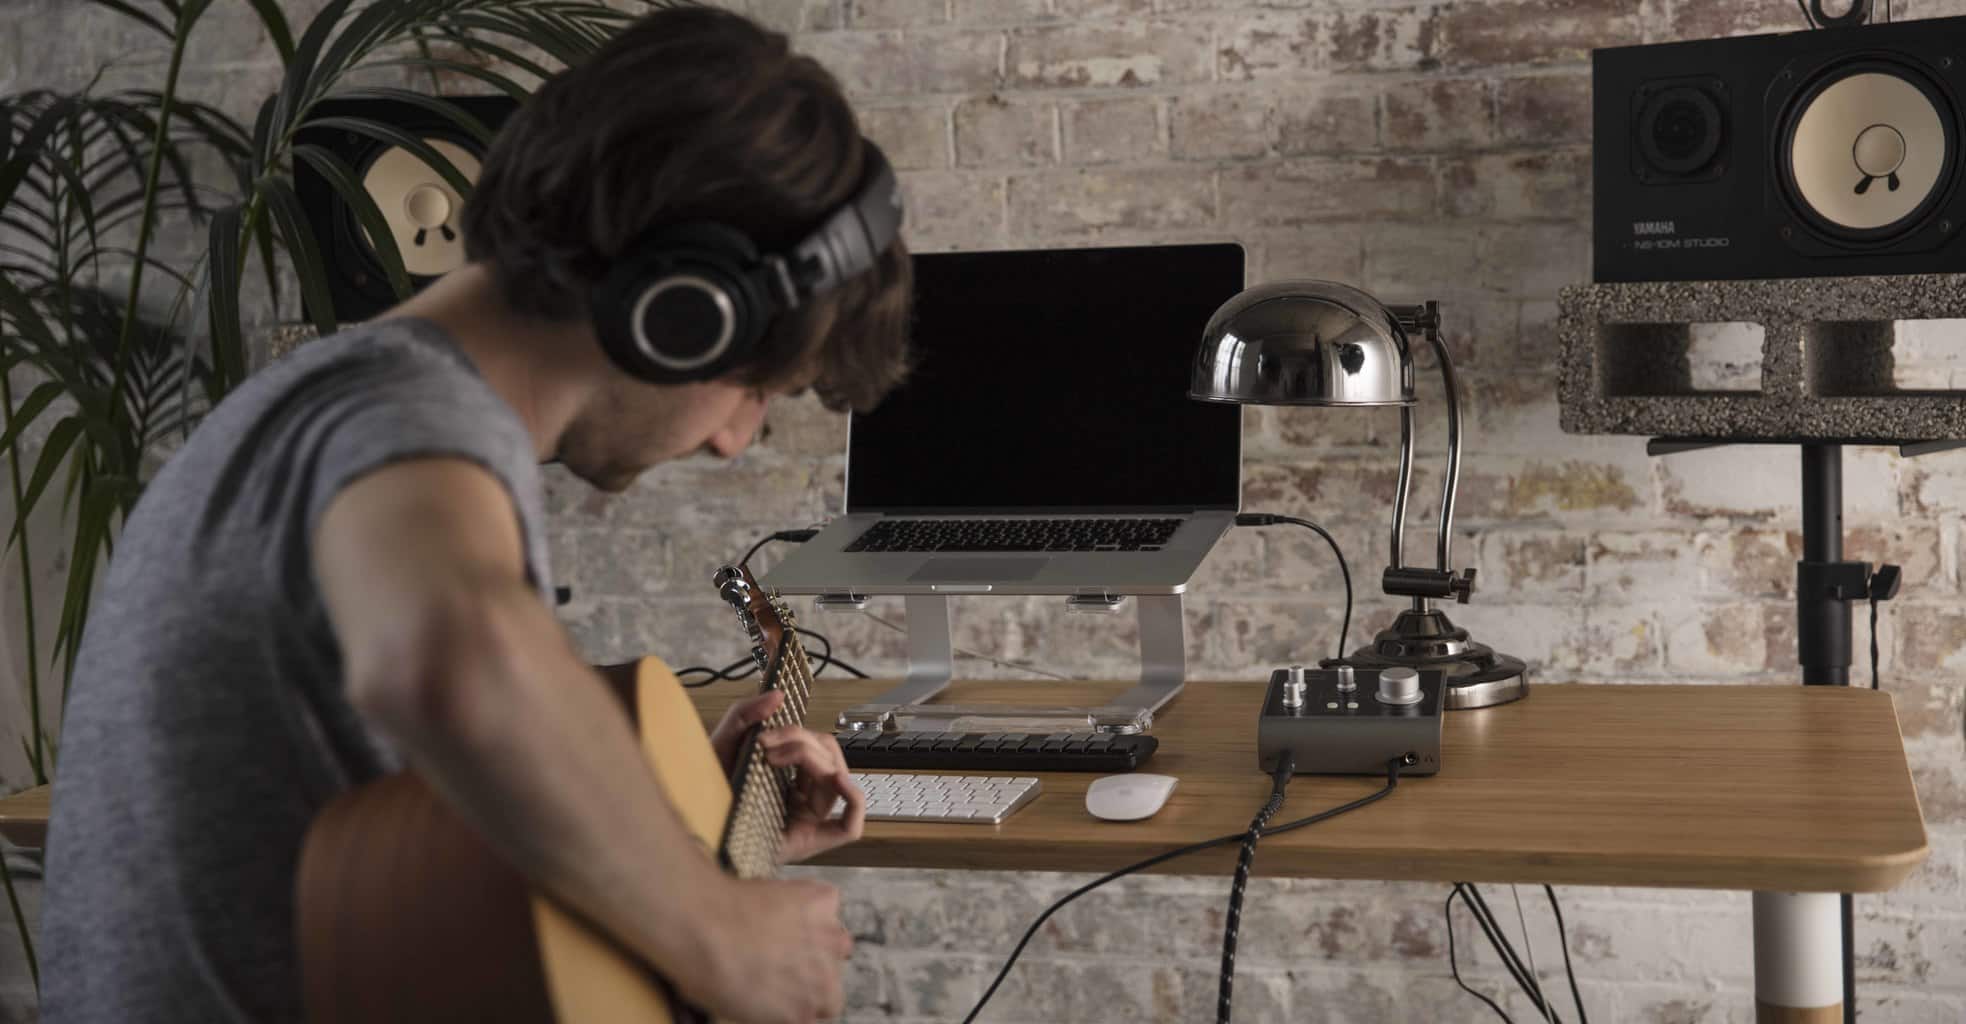
And that’s it! Now you can plug whatever combination of microphones and instruments you intend to record into your EVO 4, and fire up your iOS app of choice.
Apps: recorders and DAWs
There are plenty of great recording apps to be found on the iOS App Store, and if all you aim to do is record your own voice for a podcast, say, the likes of Anchor or even Apple’s own Voice Recorder will get the job done. For music production, though, you’ll need something rather more in-depth, such as Cubasis 3,Garageband or Ferrite Recording Studio. These fully-fledged DAWs not only offer multitrack recording, so you can capture multiple inputs at once (your voice and your guitar, for example), but also integrate a wealth of powerful editing tools, effects and more – literally everything you need to record, edit, process and mix complete tracks on your iPhone or iPad.
When you register your EVO 4 audio interface, you’ll get a code with which to download Steinberg’s Cubasis LE 3 – a cut-down version of the full Cubasis 3, and a superb app with which to begin your iOS recording adventures.
How to record to your iOS device via the EVO 4
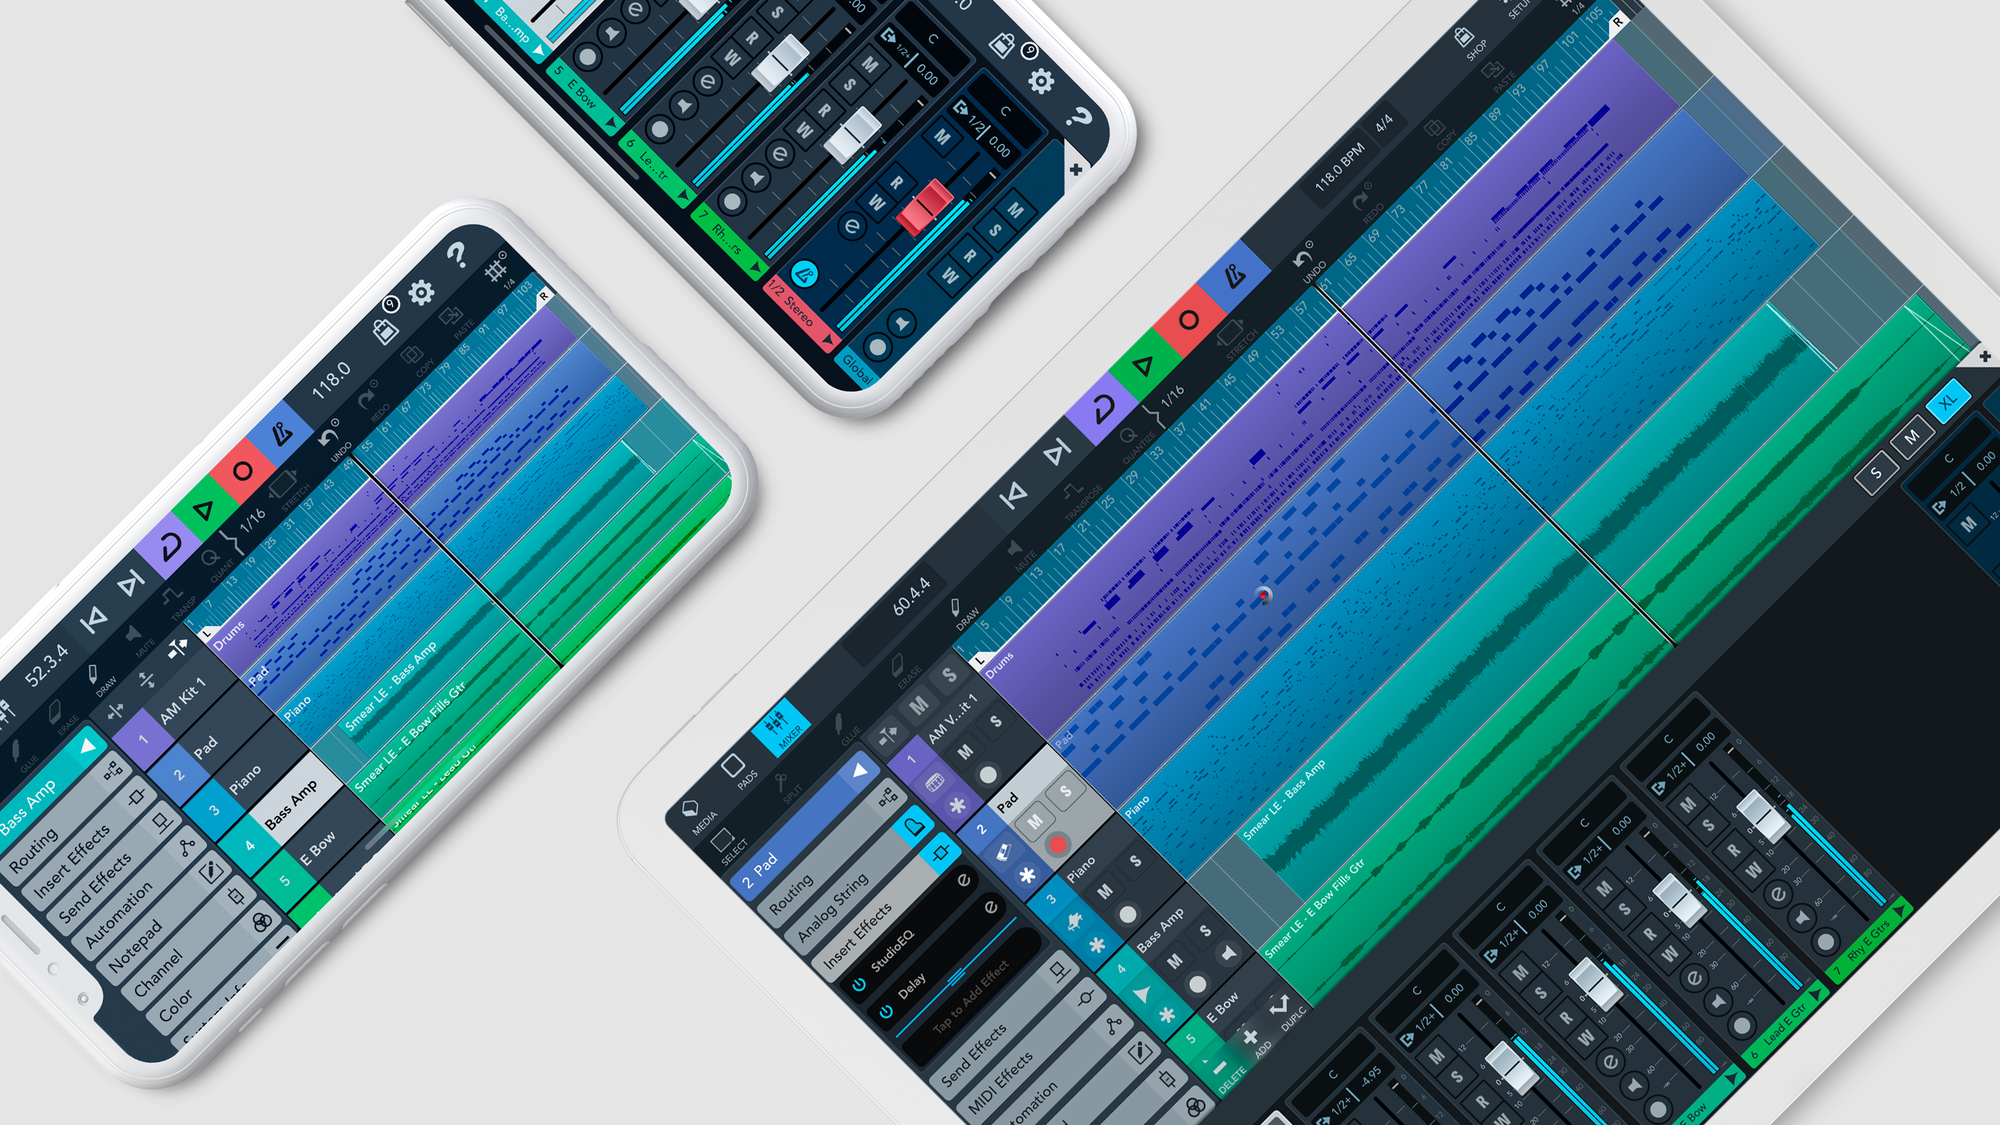
With your EVO 4 connected to your iOS device and your DAW or recording app running, the first thing to do is get your input routing sorted. Single-track voice recorders and streaming apps might take this part of the process out of your hands by only ‘seeing’ Input 1 on the interface, in which case, just make sure that’s the one your mic or instrument is plugged into.
Multitrack DAWs, on the other hand, will allow you to assign the inputs on your EVO interface to whatever tracks you choose, using a selection menu on each track. For example, if you’re using the EVO 4 to record yourself playing guitar and singing, you’ll want your vocal microphone channel set as the input for one track, and your guitar mic or instrument input channel set as the input for a second track. Exactly how this is done will depend on the app in question, so check your documentation for the specifics.
Setting up monitoring – that is, routing your EVO interface’s inputs to its outputs via the app, so that you can hear yourself in your headphones or, if you’re not using microphones, speakers – will also vary from app to app. However, given that monitoring through your iOS app will inevitably introduce latency (an audible delay between the arrival of the input signal and the monitored output), which can be incredibly distracting, we’d generally recommend using your EVO4 Monitor Mix function. This routes the input directly to the output within the interface itself, bypassing your iOS device and thereby reducing latency to almost zero, the only caveat being that you won’t hear any live effects that might be active in your iOS recording app. To be clear, Monitor Mix only affects what you hear ‘live’ – the input signal is still also sent to your iOS app for recording, of course.
Having set up and tested your inputs and monitoring scheme, all that remains is to arm your target tracks for recording (there’ll be a small red button on each one for this), hit the record button and do your thing!
Related Articles


The arrival of the iPhone, iPod touch and iPad, and the subsequently-added ability to connect USB audio interfaces to them, marked a technological sea change for musicians, producers, podcasters, dialogue artists and anyone else looking to record high-quality audio on the go.
Written by EVO
Suddenly – and, at first, almost unthinkably – the laptop felt like a comparatively cumbersome mobile studio next to Apple’s super svelte touchscreen computers, and, for more straightforward recording jobs, often an overpowered one.
A decade or so later, while the macOS/Windows laptop (and, indeed, desktop) computer has convincingly maintained its position as the dominant platform for ‘serious’ recording and production, for numerous reasons (open plugin architectures, greater screen space, better multitasking, far greater editing precision, etc), the iOS device has found its niche as a truly excellent option for field recording, capturing rehearsals and gigs, writing on the bus/train/plane, getting ideas down in the studio, podcasting, streaming and all other creative audio scenarios in which mobility, speed and/or operational simplicity are paramount.
Setting up your EVO 4 with your iOS device
All you need to make professional grade recordings on your iPad, iPhone or iPod touch is a suitable recording or digital audio workstation (DAW) app and an EVO audio interface. Being class compliant USB devices, the EVO 4 works perfectly with iOS right out of the box – simply connect your interface to your iOS device and its inputs and outputs will be made available to any and all apps built to handle multichannel audio.
If you’re using an iPad Pro with a USB-C port, that connection is made using a USB-C to USB-C cable capable of passing power and data: one end into the EVO 4 or 8, the other end into the iPad Pro. Job done, with the EVO drawing bus power from the iPad.
The Lightning ports of older iPads, iPhones and the iPod touch, however, are unable to provide power, so the connection becomes a little more involved, requiring a powered USB hub and a Lightning to USB adaptor. Plug the USB hub’s power supply into mains power or a battery pack, and the EVO 4 or 8 into the USB hub, then the hub into the USB port on the Lightning to USB adapter, and the Lightning to USB adapter into your iOS device.
And that’s it! Now you can plug whatever combination of microphones and instruments you intend to record into your EVO 4, and fire up your iOS app of choice.
Apps: recorders and DAWs
There are plenty of great recording apps to be found on the iOS App Store, and if all you aim to do is record your own voice for a podcast, say, the likes of Anchor or even Apple’s own Voice Recorder will get the job done. For music production, though, you’ll need something rather more in-depth, such as Cubasis 3,Garageband or Ferrite Recording Studio. These fully-fledged DAWs not only offer multitrack recording, so you can capture multiple inputs at once (your voice and your guitar, for example), but also integrate a wealth of powerful editing tools, effects and more – literally everything you need to record, edit, process and mix complete tracks on your iPhone or iPad.
When you register your EVO 4 audio interface, you’ll get a code with which to download Steinberg’s Cubasis LE 3 – a cut-down version of the full Cubasis 3, and a superb app with which to begin your iOS recording adventures.
How to record to your iOS device via the EVO 4
With your EVO 4 connected to your iOS device and your DAW or recording app running, the first thing to do is get your input routing sorted. Single-track voice recorders and streaming apps might take this part of the process out of your hands by only ‘seeing’ Input 1 on the interface, in which case, just make sure that’s the one your mic or instrument is plugged into.
Multitrack DAWs, on the other hand, will allow you to assign the inputs on your EVO interface to whatever tracks you choose, using a selection menu on each track. For example, if you’re using the EVO 4 to record yourself playing guitar and singing, you’ll want your vocal microphone channel set as the input for one track, and your guitar mic or instrument input channel set as the input for a second track. Exactly how this is done will depend on the app in question, so check your documentation for the specifics.
Setting up monitoring – that is, routing your EVO interface’s inputs to its outputs via the app, so that you can hear yourself in your headphones or, if you’re not using microphones, speakers – will also vary from app to app. However, given that monitoring through your iOS app will inevitably introduce latency (an audible delay between the arrival of the input signal and the monitored output), which can be incredibly distracting, we’d generally recommend using your EVO4 Monitor Mix function. This routes the input directly to the output within the interface itself, bypassing your iOS device and thereby reducing latency to almost zero, the only caveat being that you won’t hear any live effects that might be active in your iOS recording app. To be clear, Monitor Mix only affects what you hear ‘live’ – the input signal is still also sent to your iOS app for recording, of course.
Having set up and tested your inputs and monitoring scheme, all that remains is to arm your target tracks for recording (there’ll be a small red button on each one for this), hit the record button and do your thing!
Related Articles