
What is Smartgain?
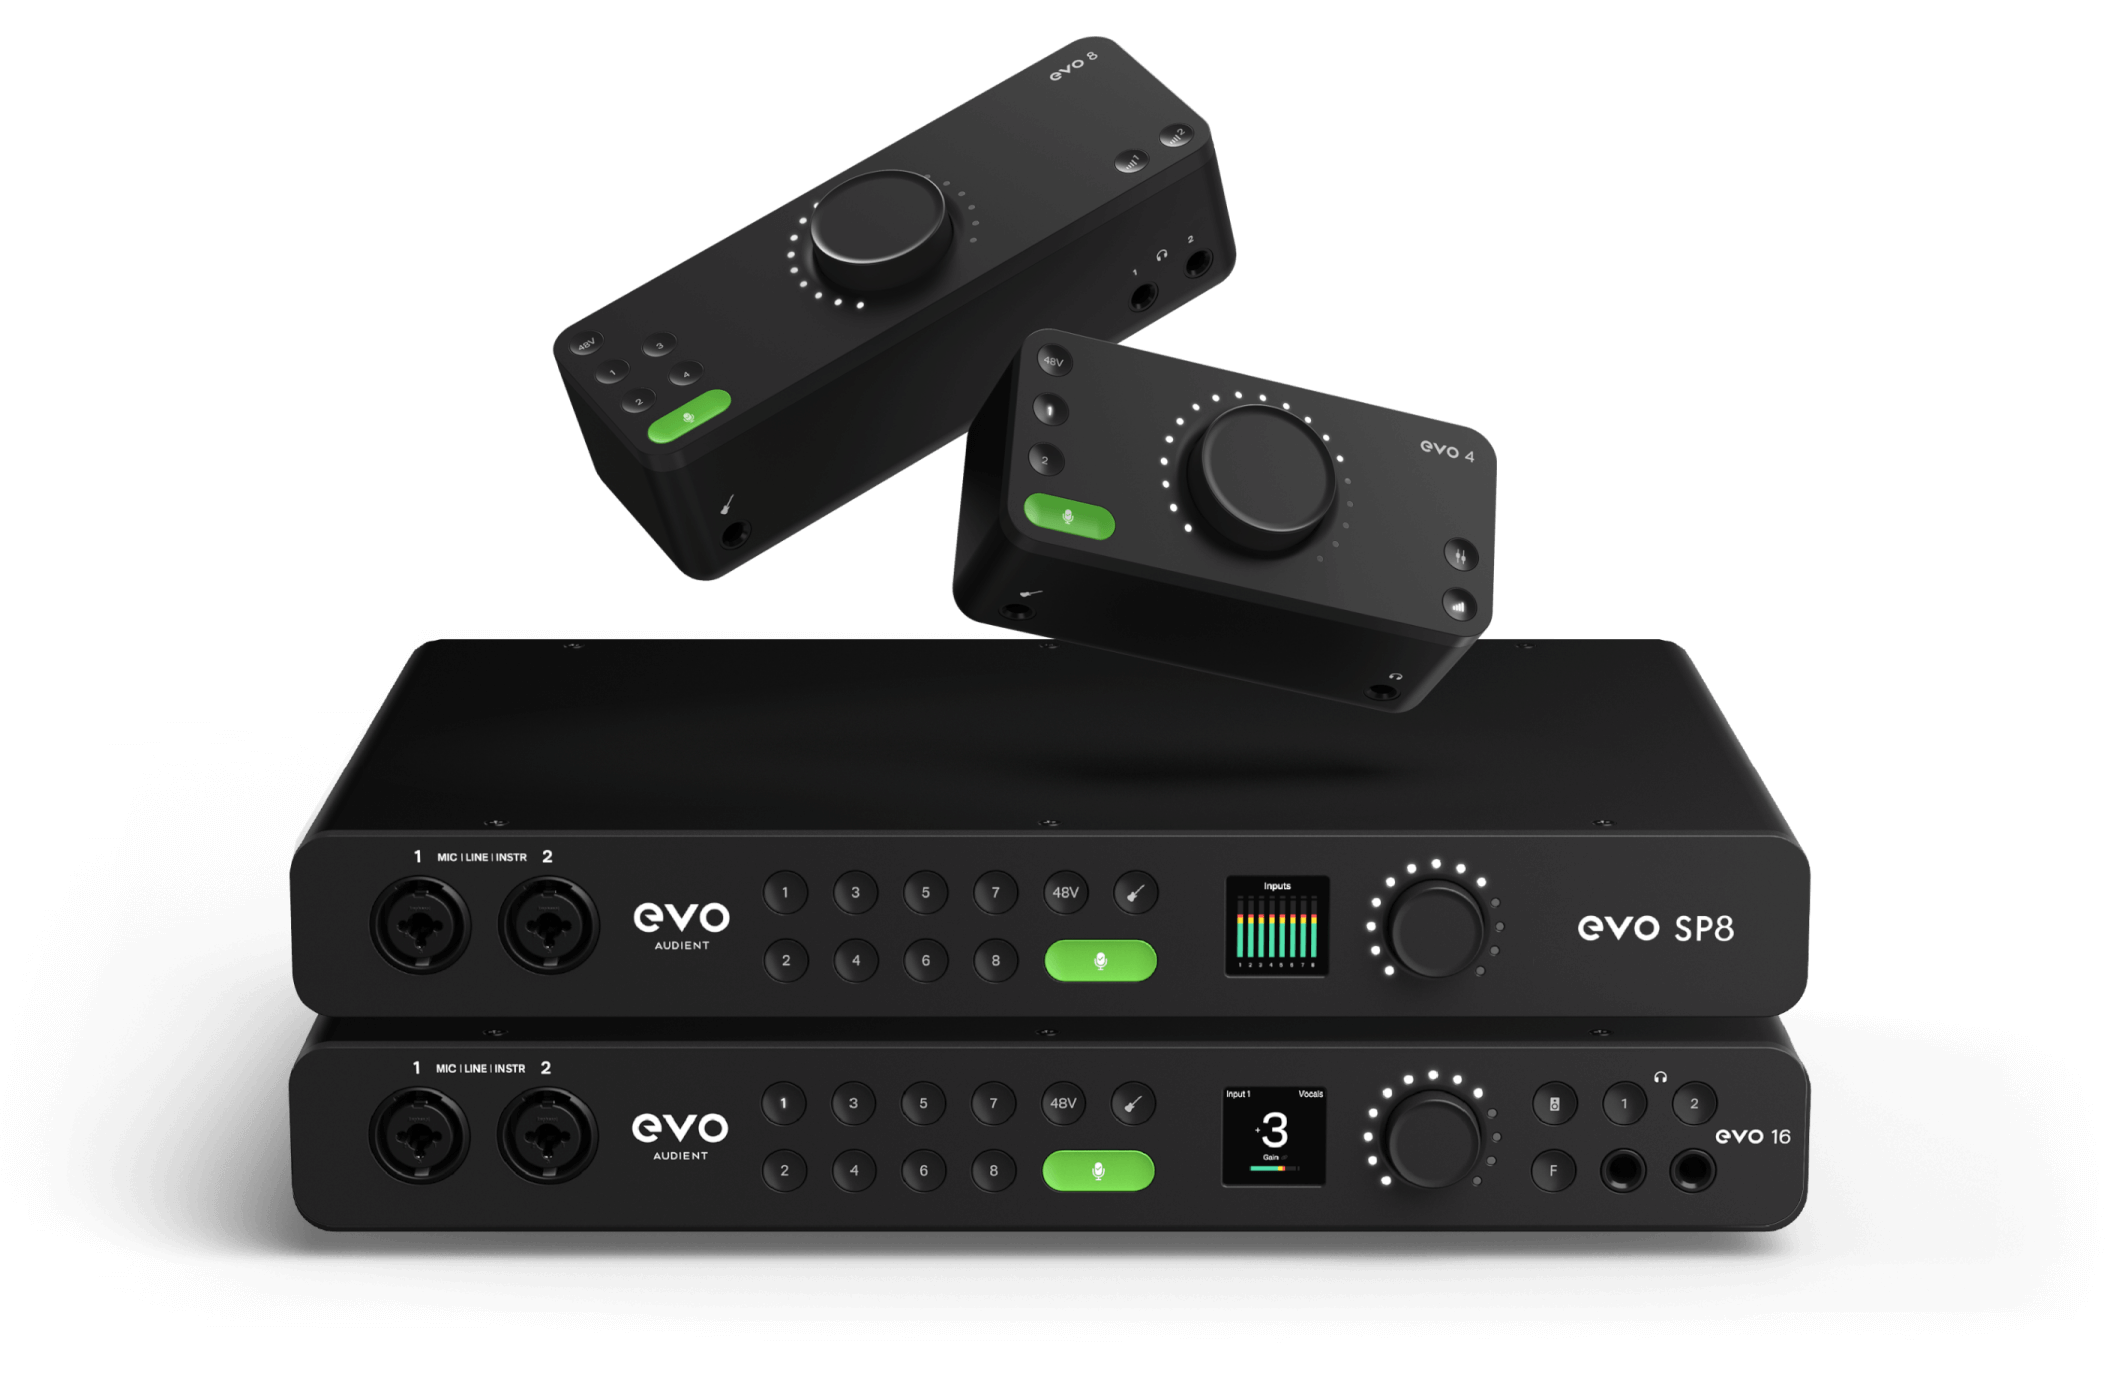
All EVO interfaces are equipped with the unique and time saving feature Smartgain, designed to automatically and intelligently set the input levels of your microphones or instruments. Powered by our lightning quick Smartgain algorithm, Smartgain uses advanced peak analysis to automatically analyse, adjust and set your gain to the perfect levels – all in less than 20 seconds!
Why is gain important?
Whether you are just starting out or a seasoned pro, setting your levels correctly is crucial to getting an amazing sounding recording. If you set the level too high, you will capture a nasty distortion known as clipping which cannot be easily removed. Set it too low and you’ll end up needing to boost the level in software, which will add extra noise to your recording in the form of a hiss.
Using Smartgain ensures your levels are set correctly from the start by analysing the incoming signal and adjusting the gain accordingly. It can even set the gain of multiple inputs at the same time! Of course, you may opt to use Smartgain as a starting point and manually adjust the gain afterwards.
Take a closer look at how Smartgain works for the EVO Range below
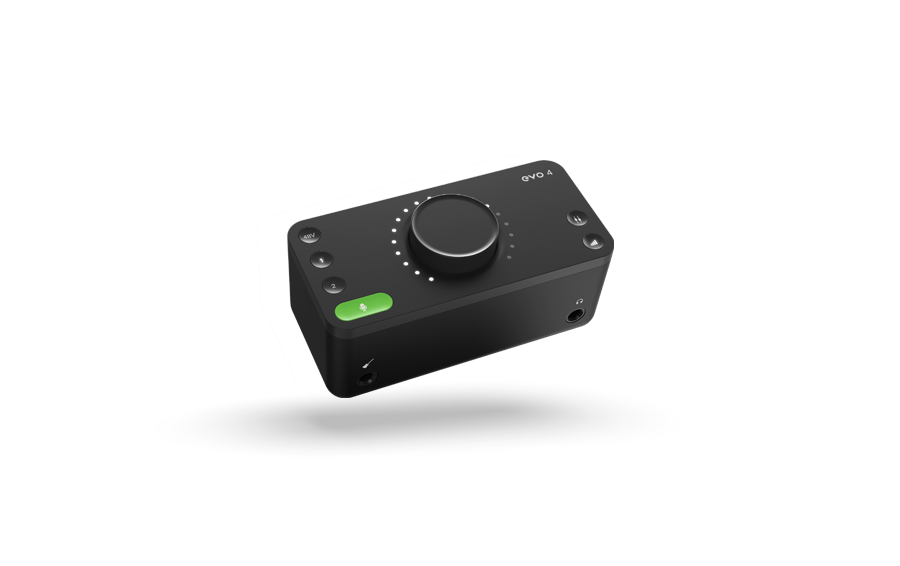
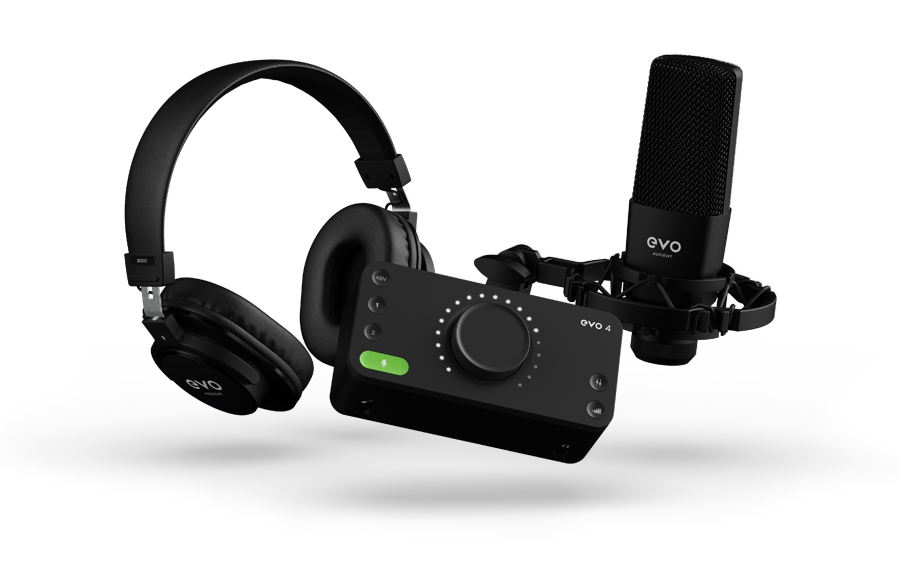
EVO 4

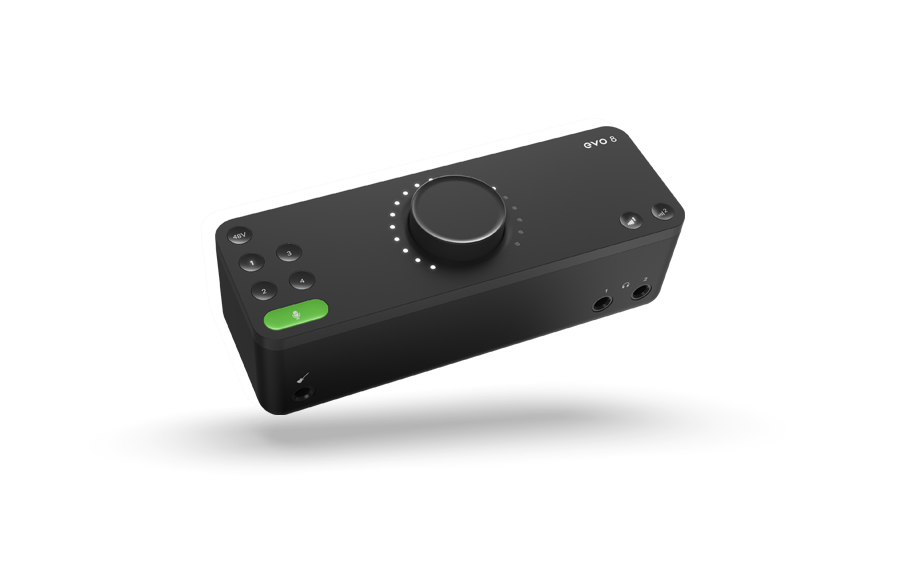
EVO 8
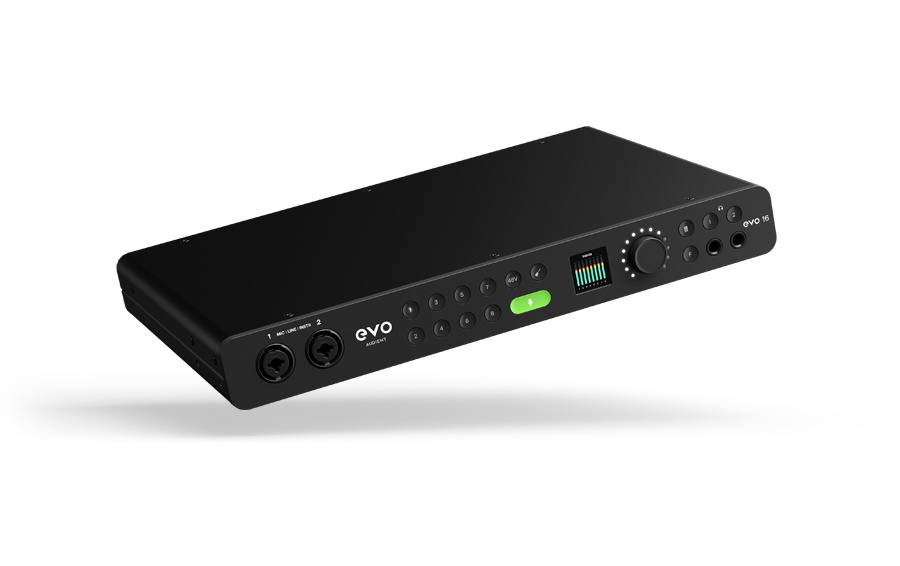
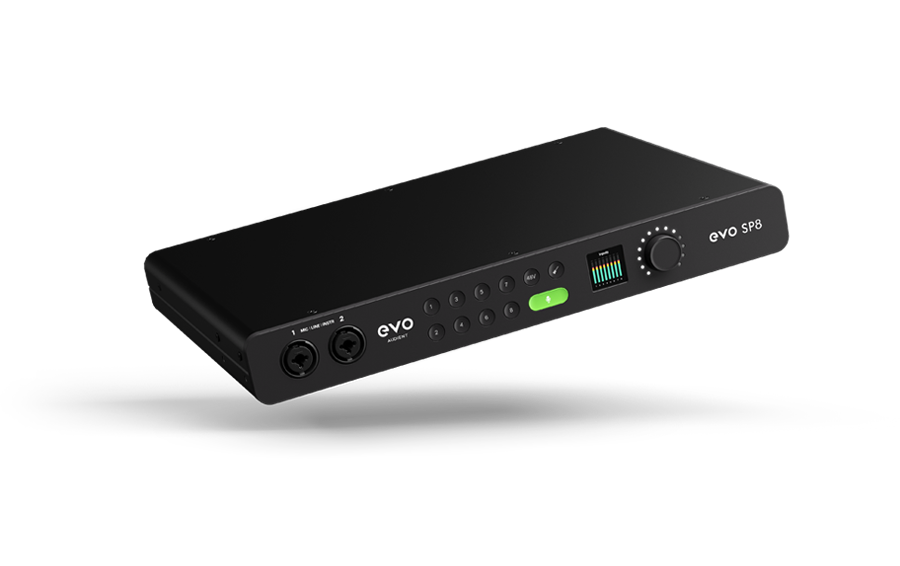
Expanded System
Make recording easy
Smartgain makes recording and capturing audio easier by doing all the hard work and allows you to concentrate on the important things; whether that’s writing a new song, recording a new episode of your podcast, or getting a mic set up to do some streaming. You can simply focus on being creative and getting great sounding audio!

Works on multiple
inputs simultaneously
No more
clipping

Perfectly match
stereo pairs
Getting Started
Let’s take a look at how to use Smartgain in an average recording scenario. In this example, we have connected a Guitar and a microphone to our EVO interface and want to set the levels for them both at the same time.
To start, press the green Smartgain button and the input buttons will now begin to pulse, indicating Smartgain has been activated. Next, select the input(s) that you wish to set the levels for with Smartgain.
For the sake of this example, select both channels 1 and 2 as we’re using both inputs. Now, press the Smartgain button again, it will flash red and the LED ring will start pulsing to show that Smartgain is now listening.
Next, play or perform the piece you’re about to record, ideally the most dynamic part, and Smartgain will begin to analyse the incoming signal. Provided it is receiving adequate signal Smartgain will set the levels, this could take up to 20 seconds.
Once the levels are set the Smartgain button will flash green to indicate Smartgain was successful. You are now ready to start recording.
Tips & Tricks
If Smartgain doesn’t detect any audio on the channels, it will flash red on EVO 4 and EVO 8. On EVO 16 and SP8, unsuccessful channels will be highlighted red on the Motion UI LCD Screen.
If Smartgain fails, double-check your connections to make sure that everything is plugged-in correctly. If you’re using a microphone that requires phantom power, ensure that you have turned this on before you use Smartgain.
To get the best results, when setting levels manually or using Smartgain, it’s always good to pick the loudest section of what you are recording, whether a loud guitar part in the chorus of a song, or the volume of a loud conversation or laughter if recording a podcast. This way you don’t get caught out if you have any loud parts, and you still have a bit of space if someone goes a bit over the top!
If you want to adjust your levels manually then this can be easily done by simply tapping an input button and turning the knob up or down to adjust the gain.


What is Smartgain?
All EVO interfaces are equipped with the unique and time saving feature Smartgain, designed to automatically and intelligently set the input levels of your microphones or instruments. Powered by our lightning quick Smartgain algorithm, Smartgain uses advanced peak analysis to automatically analyse, adjust and set your gain to the perfect levels – all in less than 20 seconds!
Why is gain important?
Whether you are just starting out or a seasoned pro, setting your levels correctly is crucial to getting an amazing sounding recording. If you set the level too high, you will capture a nasty distortion known as clipping which cannot be easily removed. Set it too low and you’ll end up needing to boost the level in software, which will add extra noise to your recording in the form of a hiss.
Using Smartgain ensures your levels are set correctly from the start by analysing the incoming signal and adjusting the gain accordingly. It can even set the gain of multiple inputs at the same time! Of course, you may opt to use Smartgain as a starting point and manually adjust the gain afterwards.
Take a closer look at how Smartgain works for the EVO Range below
EVO 4
EVO 8
Expanded System
Make recording easy
Smartgain makes recording and capturing audio easier by doing all the hard work and allows you to concentrate on the important things; whether that’s writing a new song, recording a new episode of your podcast, or getting a mic set up to do some streaming. You can simply focus on being creative and getting great sounding audio!
Works on multiple
inputs simultaneously
No more
clipping
Perfectly match
stereo pairs
Getting Started
Let’s take a look at how to use Smartgain in an average recording scenario. In this example, we have connected a Guitar and a microphone to our EVO interface and want to set the levels for them both at the same time.
To start, press the green Smartgain button and the input buttons will now begin to pulse, indicating Smartgain has been activated. Next, select the input(s) that you wish to set the levels for with Smartgain.
For the sake of this example, select both channels 1 and 2 as we’re using both inputs. Now, press the Smartgain button again, it will flash red and the LED ring will start pulsing to show that Smartgain is now listening.
Next, play or perform the piece you’re about to record, ideally the most dynamic part, and Smartgain will begin to analyse the incoming signal. Provided it is receiving adequate signal Smartgain will set the levels, this could take up to 20 seconds.
Once the levels are set the Smartgain button will flash green to indicate Smartgain was successful. You are now ready to start recording.
Tips & Tricks
If Smartgain doesn’t detect any audio on the channels, it will flash red on EVO 4 and EVO 8. On EVO 16 and SP8, unsuccessful channels will be highlighted red on the Motion UI LCD Screen.
If Smartgain fails, double-check your connections to make sure that everything is plugged-in correctly. If you’re using a microphone that requires phantom power, ensure that you have turned this on before you use Smartgain.
To get the best results, when setting levels manually or using Smartgain, it’s always good to pick the loudest section of what you are recording, whether a loud guitar part in the chorus of a song, or the volume of a loud conversation or laughter if recording a podcast. This way you don’t get caught out if you have any loud parts, and you still have a bit of space if someone goes a bit over the top!
If you want to adjust your levels manually then this can be easily done by simply tapping an input button and turning the knob up or down to adjust the gain.


