Whether you’re an educator, a vlogger or an aspiring influencer, get the audio side of your YouTube videos fully up to snuff with our guide.

Written by EVO
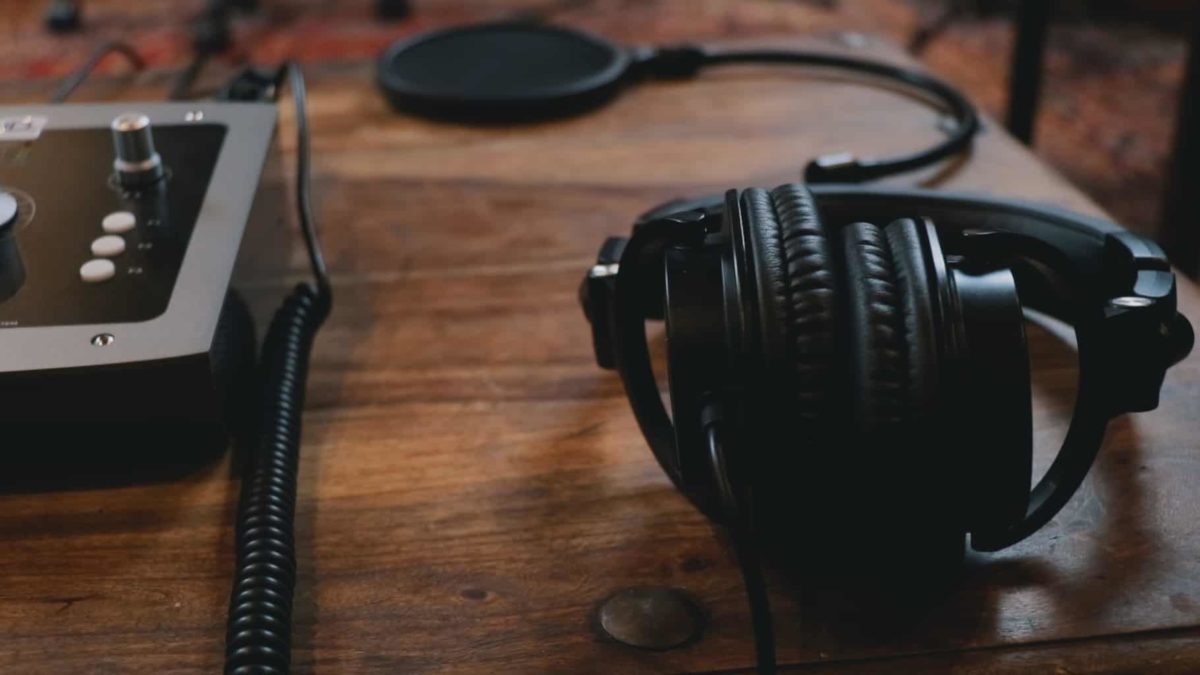
Use a dedicated audio interface
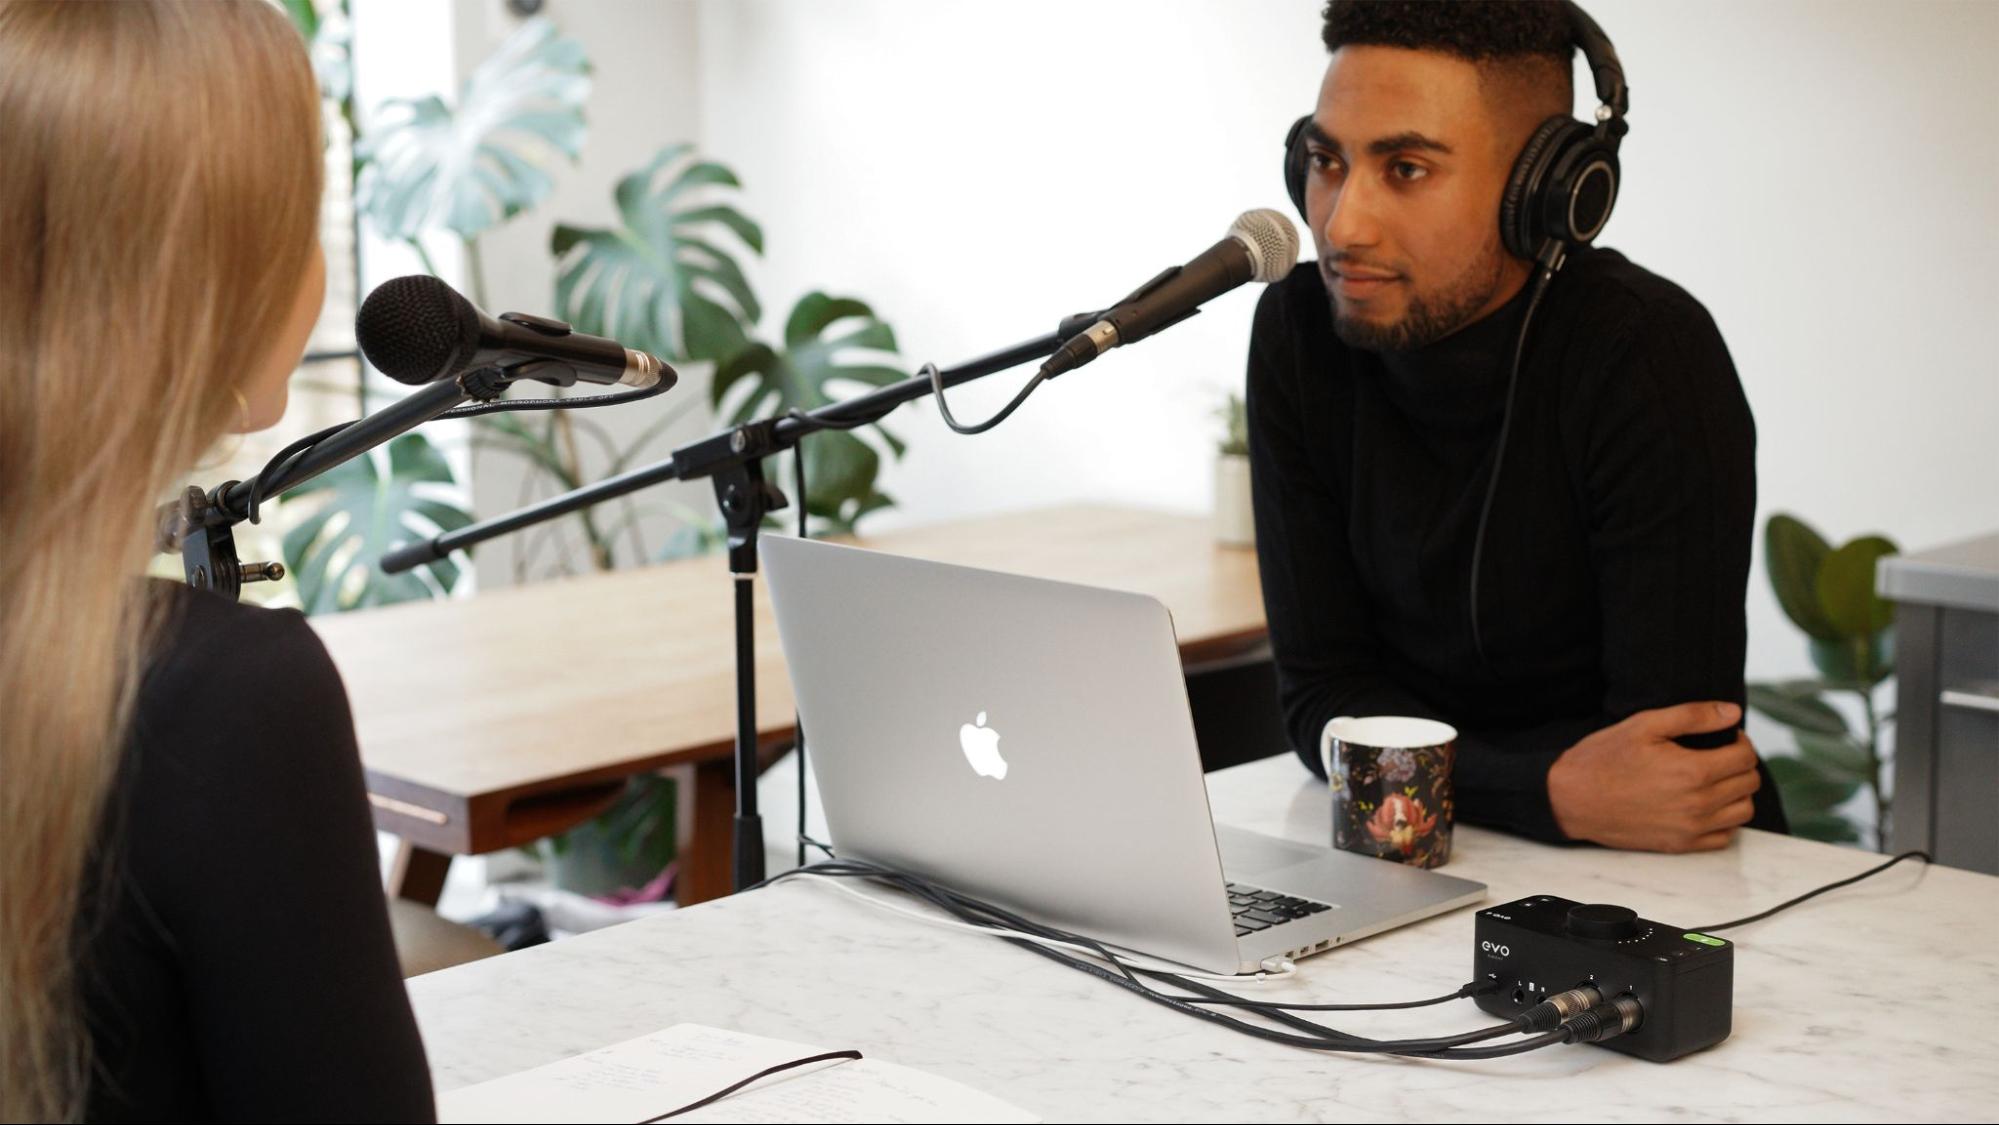
If you’re really serious about achieving the best voice recordings you possibly can for your YouTube uploads, you’re going to want to abandon the microphone built into the camera or phone you’re using to capture the video, and instead invest in an audio interface and a high-spec discrete mic to plug into it. The difference this will make to the professionalism of your voice tracks can’t be understated, thanks not only to the quality of the pre-amplification and AD/DA conversion circuitry involved, but also the ability to position the microphone much closer to your head than the integrated alternative will permit.
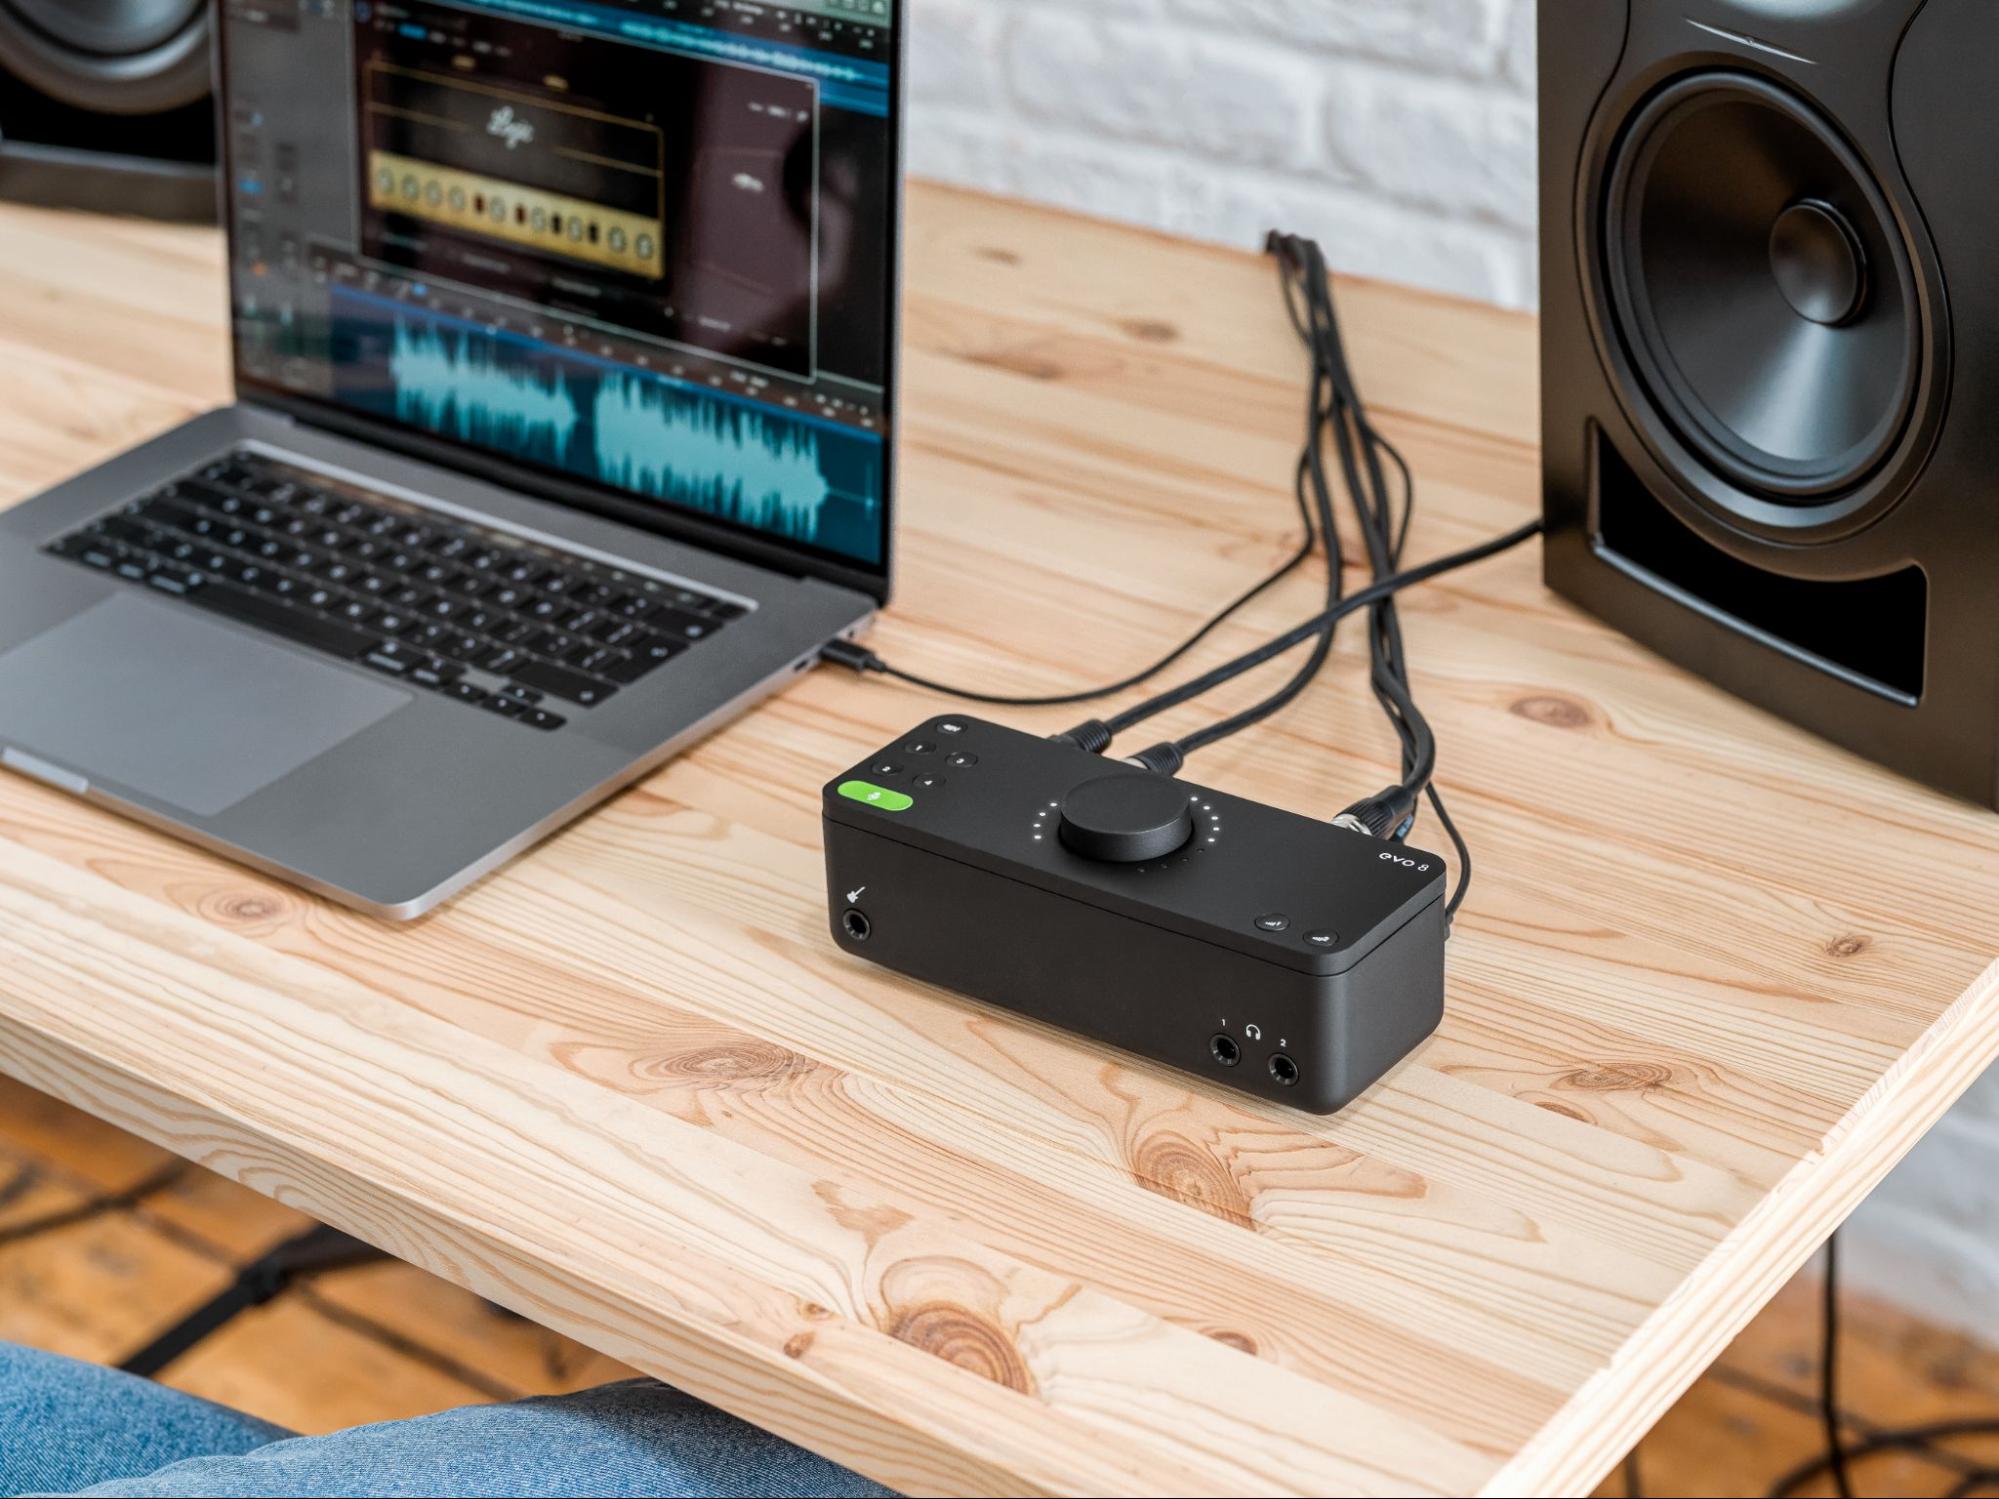
Whether you’re shooting and editing videos on Mac, PC, iPhone or iPad, the EVO4 audio interface is the ideal solution. Featuring high-quality mic preamps, Audio Loopback for recording internal audio signals alongside the mic input, and the extremely helpful Smartgain function, which automatically sets input gain levels at the touch of a button, it’s versatile, easy to use, affordable and sonically superlative.
Choose the right microphone
There’s almost no limit to the amount of money you can spend on a high-end microphone, but these days there are endless options available to the YouTuber that won’t come anywhere near to breaking the bank. The first thing to think about, though, is whether or not you want the mic to be visible in your videos – a decision that’s likely to be influenced by the particular style of presentation you’re aiming for, and possibly your subject matter.
If you’re happy to flaunt your mic, three wildly ubiquitous and proven options are the Shure SM7B, Electro Voice RE-20 and Audio-Technica AT2020, all of which are built with voice recording at the top of the agenda and look awesome onscreen. Don’t forget to stick a desktop stand or clamping boom arm in your shopping basket as well, of course.
Also worth considering is the The EVO Start Recording Bundle, which brings together the EVO 4 audio interface, EVO SR1 microphone, a shockmount and XLR cable, and the EVO SR2000 headphones in a competitively priced package.
If you’d prefer to keep the technology out of the picture, a lavalier mic is the way to go. These are the tiny clip-on microphones that you see on TV news and sports shows, and with a little shirt adaptation, they can easily be hidden entirely from view. Noteworthy models include the Rode SmartLav+ and Sennheiser MKE 40, but bear in mind that you’ll need a converter to upsize the standard 3.5mm minijack connectors of most lavaliers to the XLR or quarter-inch jack plugs demanded by your audio interface, unless you’re happy to plug them straight into your computer.
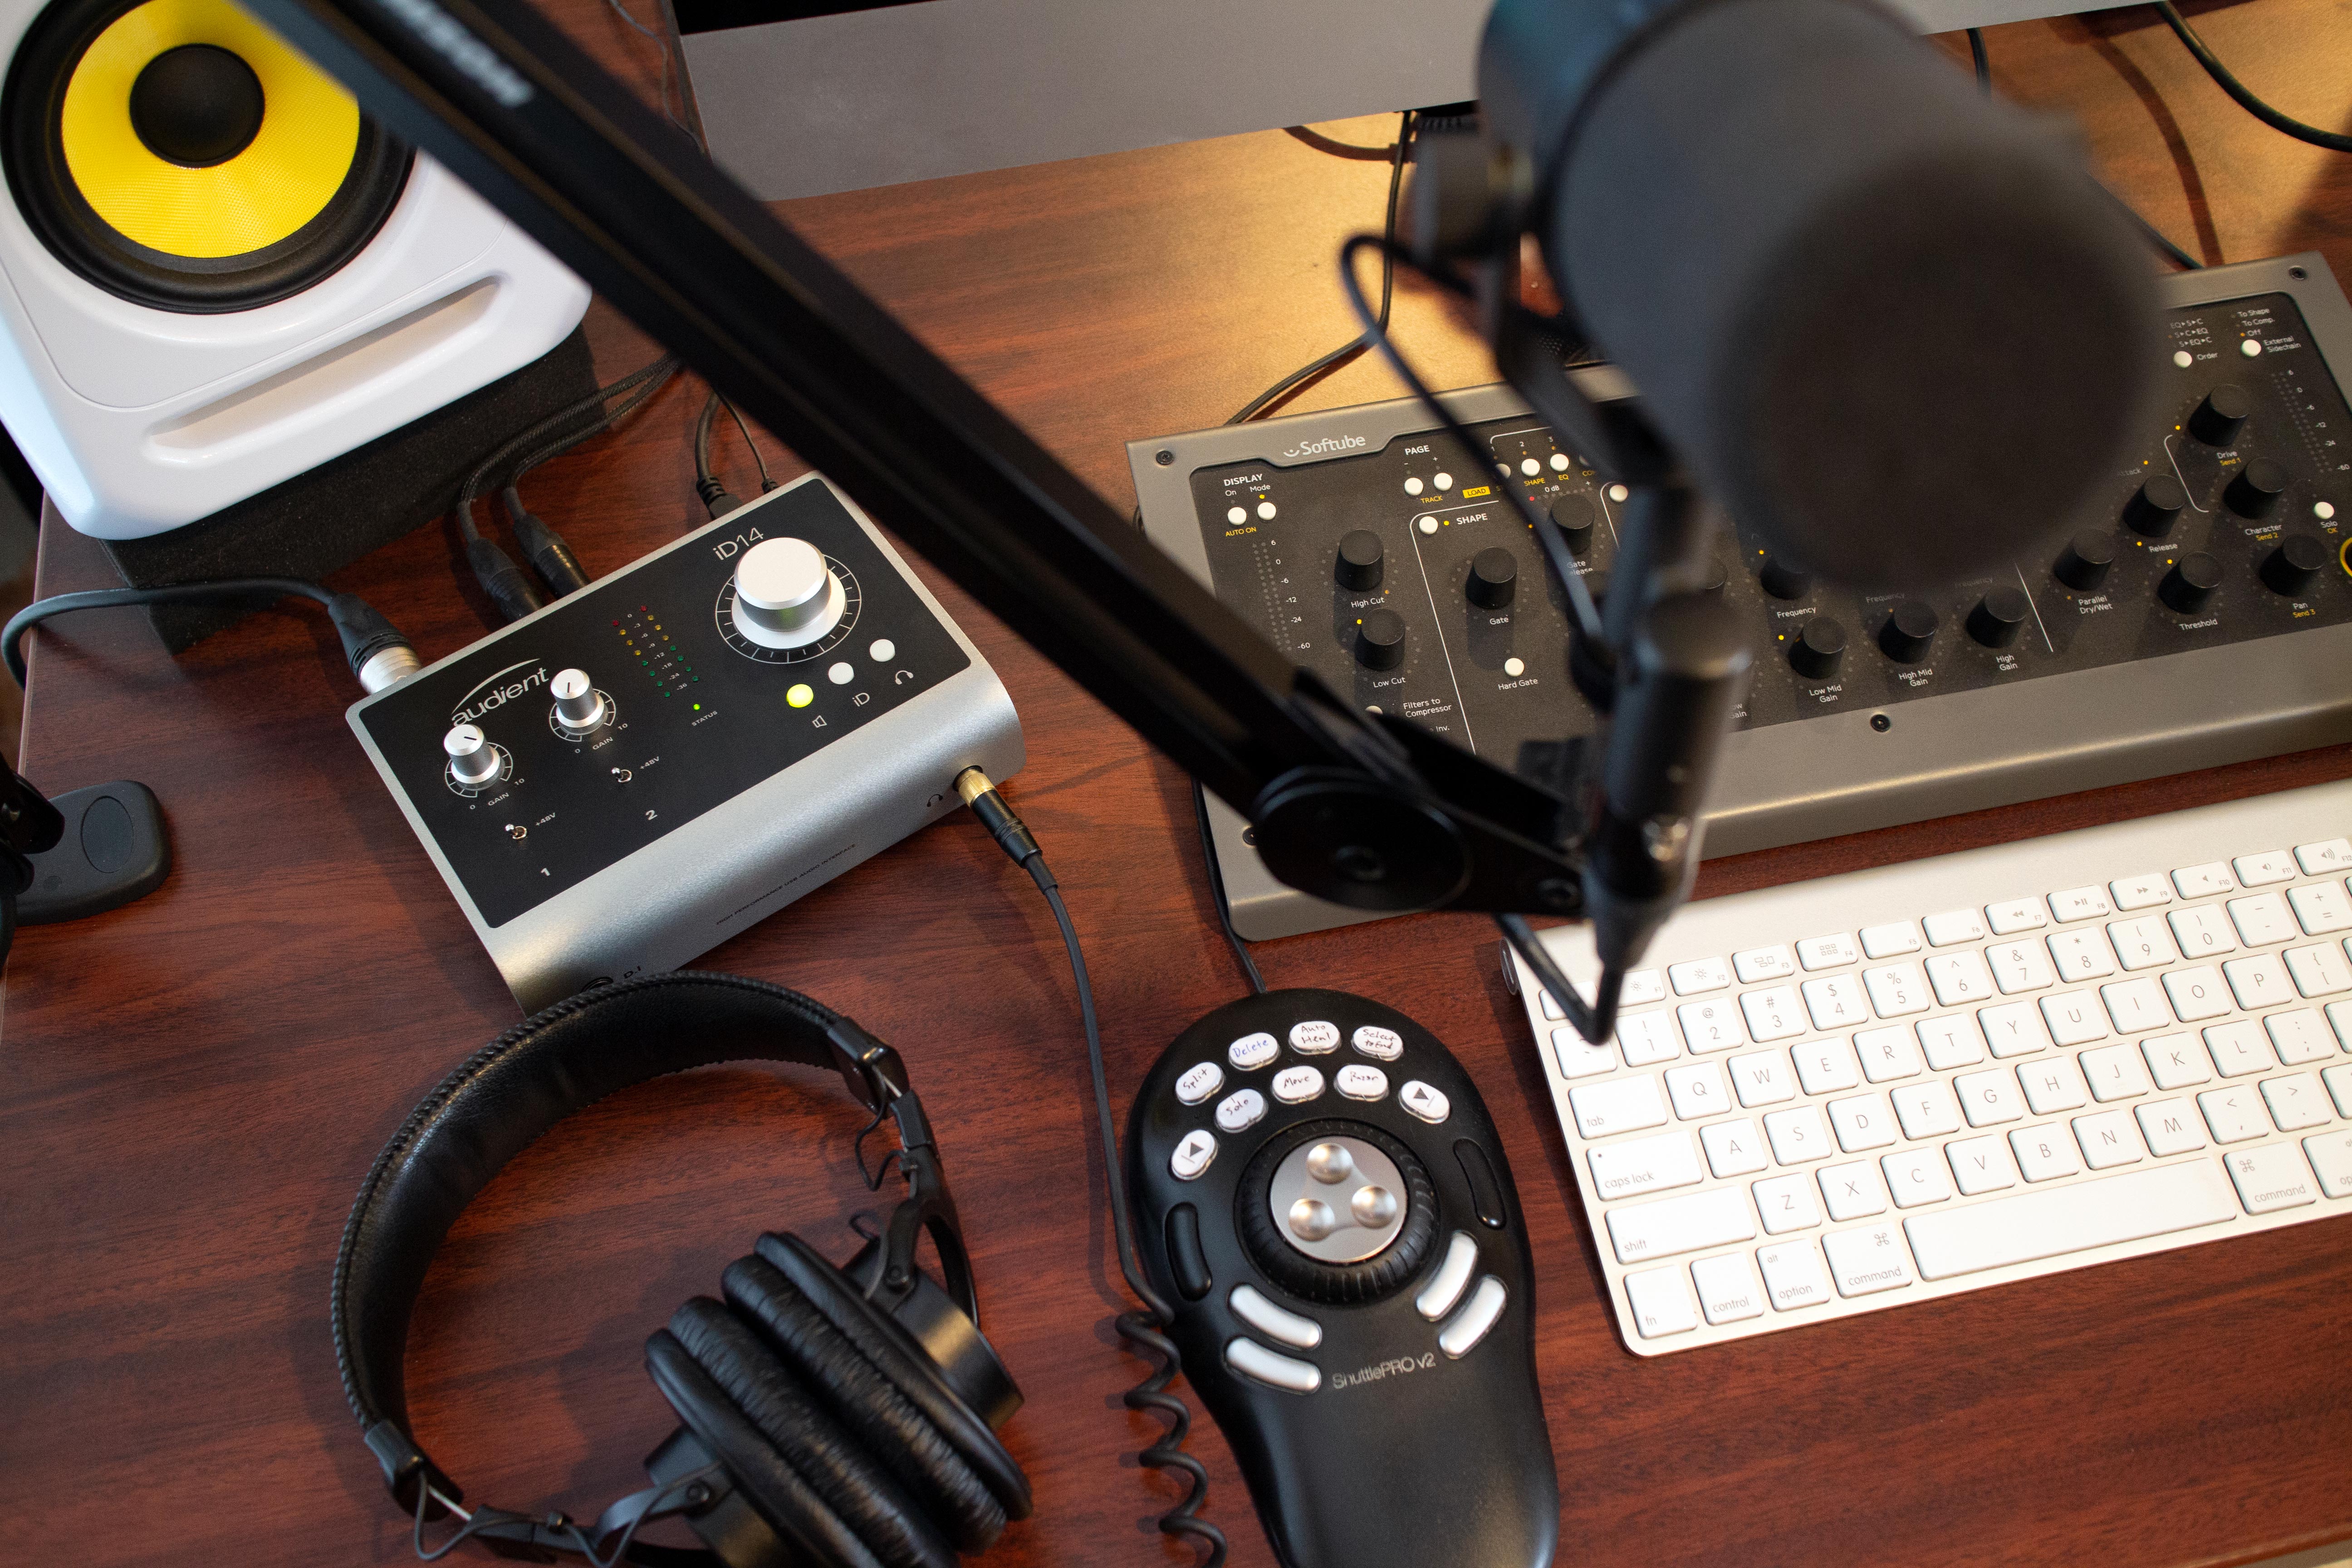
Use your gear correctly
It’s all very well splashing out on a fantastic audio interface and microphone, but you also need to set them up and deploy them properly. Make sure your stand-mounted mic is securely in place and fitted with a pop shield (be that a foam head on the mic itself or a clamped-on ‘hoop’ model); and if you’re using a lavalier, check that there’s no chance of it making any rustling or scratching sounds with normal body movement.
On the audio interface, set the input gain so that the signal level averages between -12 and 20dB and never exceeds -6dB, to ensure a clean, clear recording, free of nasty clipping distortion. The EVO 4, as mentioned, makes this part of the process literally effortless with it Smartgain button.
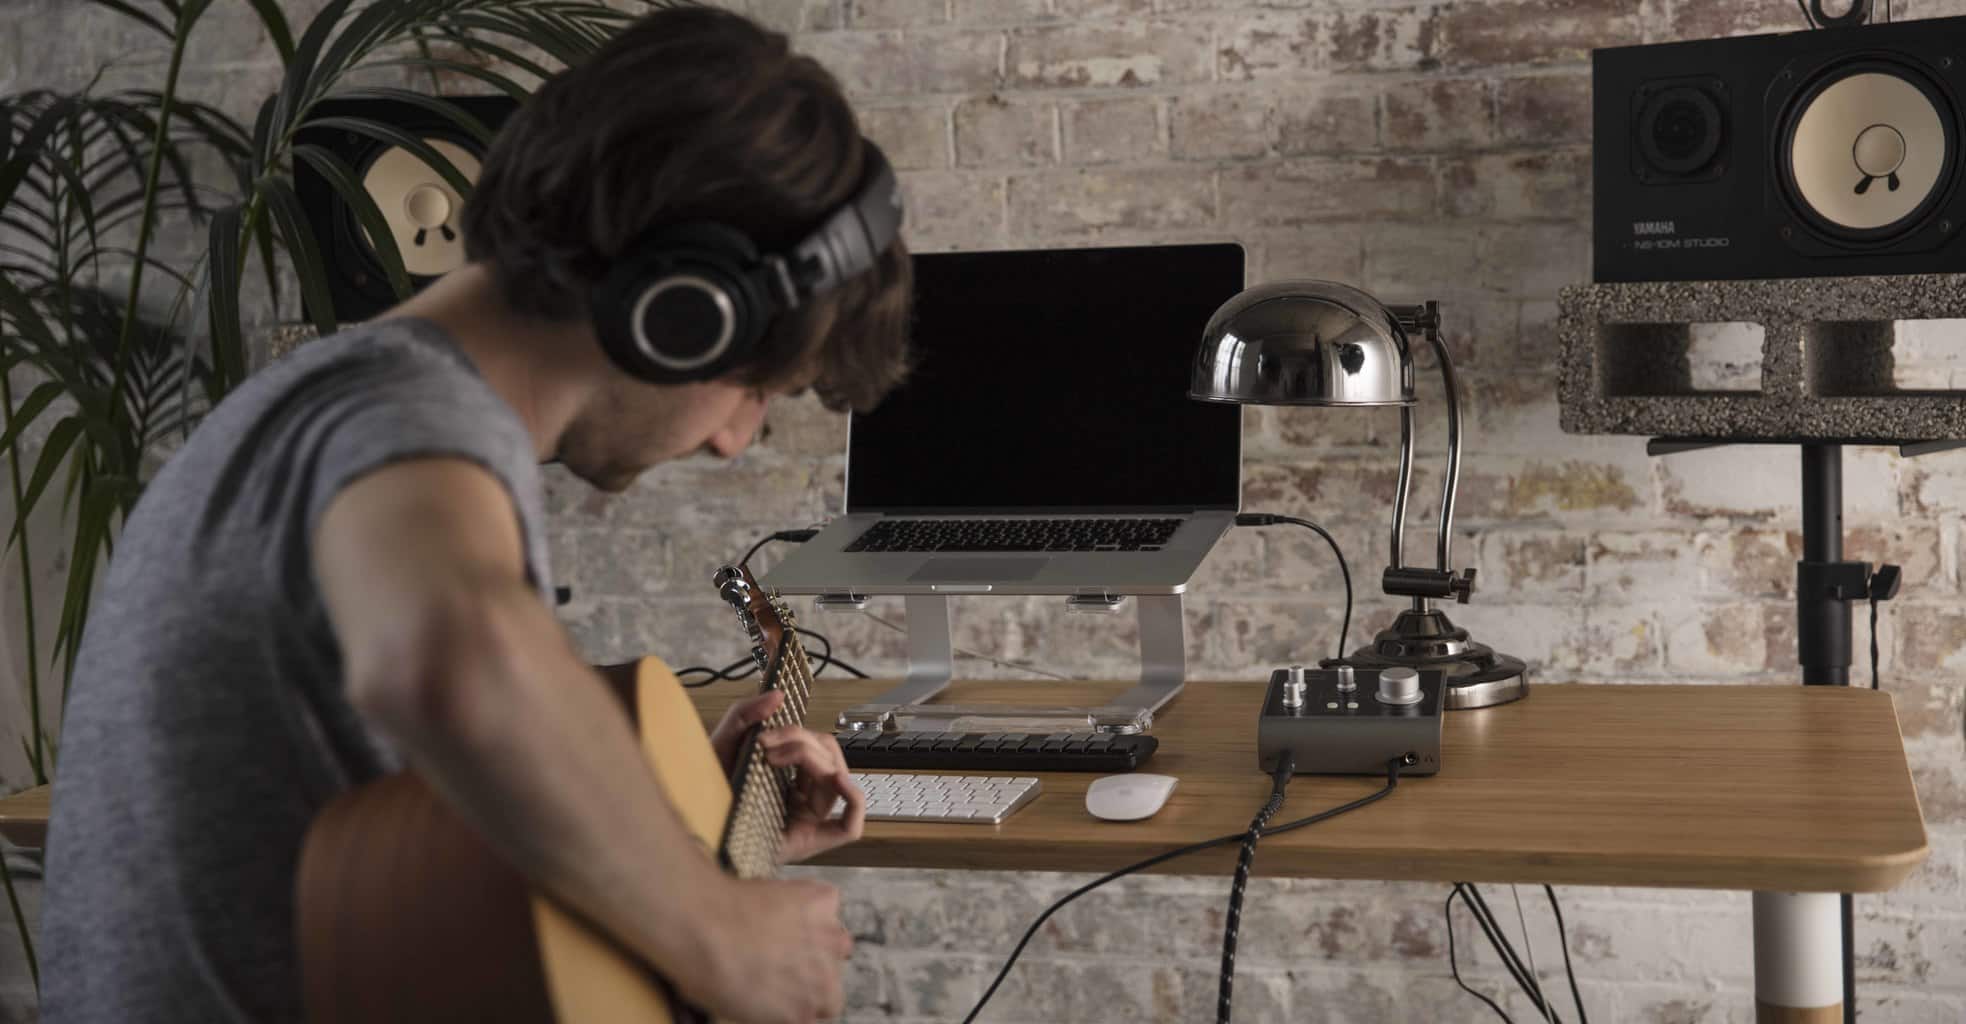
Then it’s all down to microphone technique, which starts with experimenting to find the optimum distance between the mic and your mouth to bring out the best in your voice in terms of bass response, while at the same time minimising room ambience. You then just need to maintain that distance as best you can while shooting, as even fairly small variations can have a profound influence on the sound, due the ‘proximity effect’: the further you are away from the mic capsule, the less low-end is captured by it.
Edit the recording to perfection
Once you’ve shot your video, there are almost always things you can do to improve the audio track, no matter how good it sounds straight out of the can, so to speak. Depending on the recording software you’re using, you might be able to apply enough sonic manipulation directly within the video project to get the job done. If, however, your application is lacking in the audio editing and processing department, consider exporting the audio track to a dedicated audio editor, such as the free and excellent Audacity, and sorting out there, before importing it back into your video package.
So what kinds of things are we talking about? At the purely corrective level, noise reduction/elimination is a big one. The whir of a computer fan, traffic on the road outside, mouth clicks, excessive room ambience, etc, can all detract from the effectiveness of a recording even if they don’t ruin it, but there are applications and plugins available capable of eliminating such aural intrusions with almost magical efficacy, the industry standard being iZotope’s remarkable RX suite. If that degree of technical involvement doesn’t appeal, you can at least get rid of any background noise that might be audible when you’re not talking by simply going through the voice track with your audio editor’s scissors tool and deleting every section of ‘silence’ manually.

Beyond that, equalisation and compression are go-to audio engineering techniques for improving the sound of any voice, enabling detailed shaping of frequency content and dynamic range. The specifics of those are beyond the scope of this article, but there’s plenty of advice to be found online, not to mention a wide array of excellent free plugin EQs and compressors with which to put it into practice.
Maximise audio quality
Last but not least, since YouTube heavily compresses videos as part of the upload process in order to reduce them in size (as in data compression, not the audio compression mentioned above), it’s imperative that you render your audio track at the highest possible quality setting. With YouTube’s lossy compression algorithm inevitably introducing high-frequency artefacts, the last thing you want to do is exacerbate them with an already compromised source file. So, set your recording software to capture 16- or 24-bit WAV or AIF, at at least 44.1kHz sample rate in its preferences dialog, if it doesn’t already by default.
Related Articles


Bass guitar is an instrument which is a bit harder to mix than one can imagine. Of course, there is the whole story with the kick and the bass, which has to be taken care of.. But still, many times you may need to add some processing to your bass guitar track in order to make it really pop out in the mix.
Written by EVO
Use a dedicated audio interface
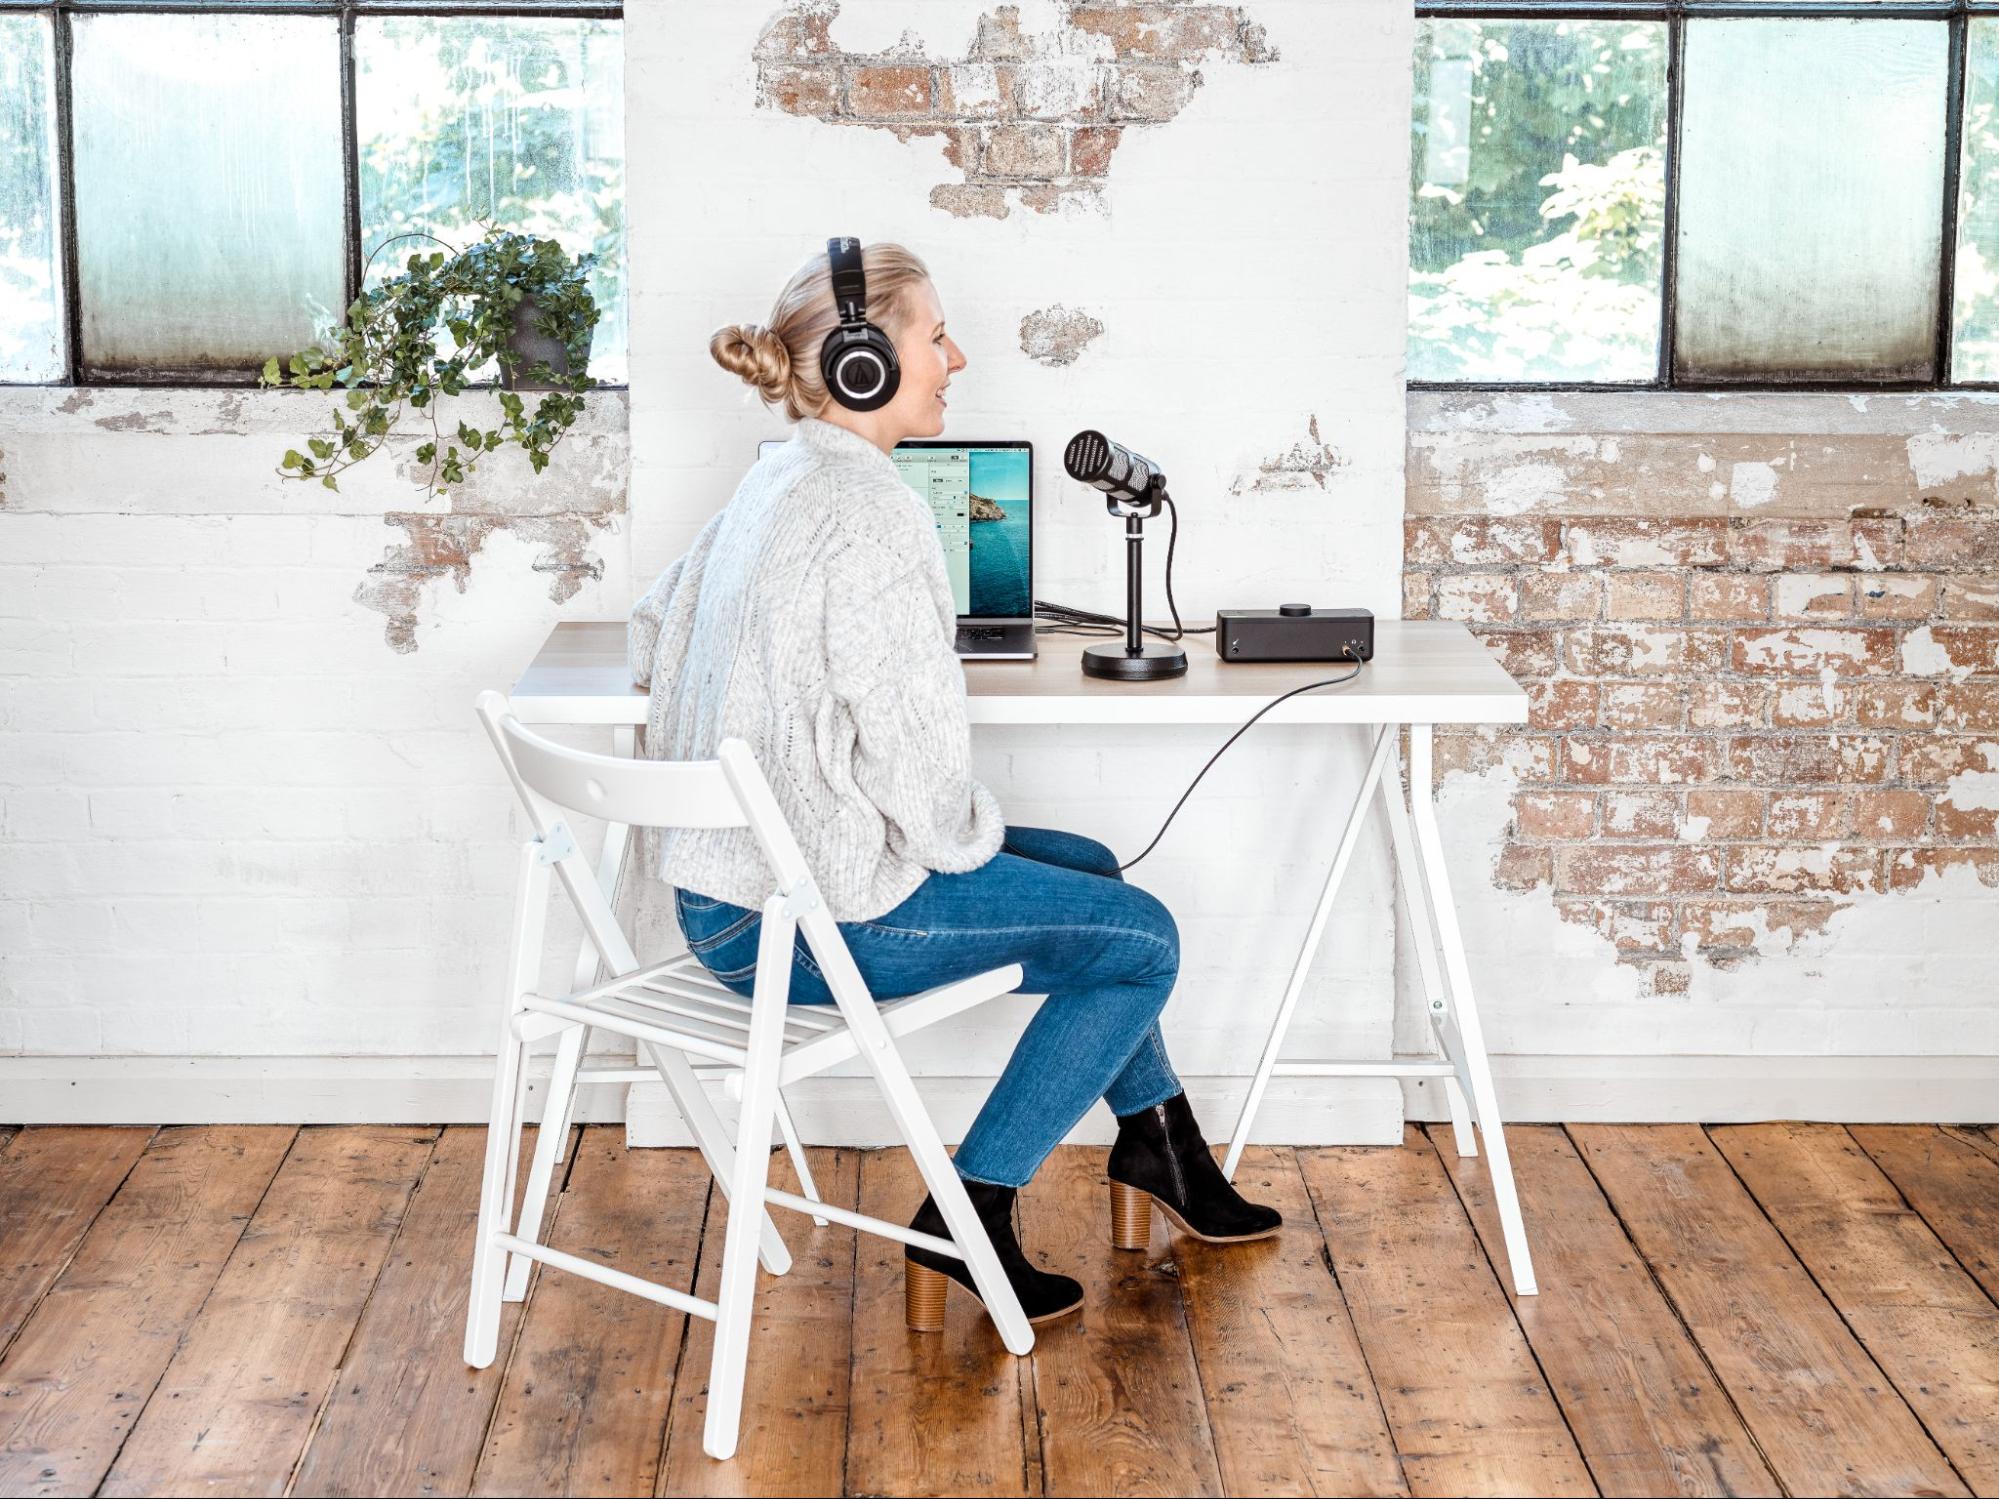
If you’re really serious about achieving the best voice recordings you possibly can for your YouTube uploads, you’re going to want to abandon the microphone built into the camera or phone you’re using to capture the video, and instead invest in an audio interface and a high-spec discrete mic to plug into it. The difference this will make to the professionalism of your voice tracks can’t be understated, thanks not only to the quality of the pre-amplification and AD/DA conversion circuitry involved, but also the ability to position the microphone much closer to your head than the integrated alternative will permit.
Whether you’re shooting and editing videos on Mac, PC, iPhone or iPad, the EVO4 audio interface is the ideal solution. Featuring high-quality mic preamps, Audio Loopback for recording internal audio signals alongside the mic input, and the extremely helpful Smartgain function, which automatically sets input gain levels at the touch of a button, it’s versatile, easy to use, affordable and sonically superlative.
Choose the right microphone
There’s almost no limit to the amount of money you can spend on a high-end microphone, but these days there are endless options available to the YouTuber that won’t come anywhere near to breaking the bank. The first thing to think about, though, is whether or not you want the mic to be visible in your videos – a decision that’s likely to be influenced by the particular style of presentation you’re aiming for, and possibly your subject matter.
If you’re happy to flaunt your mic, three wildly ubiquitous and proven options are the Shure SM7B, Electro Voice RE-20 and Audio-Technica AT2020, all of which are built with voice recording at the top of the agenda and look awesome onscreen. Don’t forget to stick a desktop stand or clamping boom arm in your shopping basket as well, of course.
Also worth considering is the The EVO Start Recording Bundle, which brings together the EVO 4 audio interface, EVO SR1 microphone, a shockmount and XLR cable, and the EVO SR2000 headphones in a competitively priced package.
If you’d prefer to keep the technology out of the picture, a lavalier mic is the way to go. These are the tiny clip-on microphones that you see on TV news and sports shows, and with a little shirt adaptation, they can easily be hidden entirely from view. Noteworthy models include the Rode SmartLav+ and Sennheiser MKE 40, but bear in mind that you’ll need a converter to upsize the standard 3.5mm minijack connectors of most lavaliers to the XLR or quarter-inch jack plugs demanded by your audio interface, unless you’re happy to plug them straight into your computer.
Use your gear correctly
It’s all very well splashing out on a fantastic audio interface and microphone, but you also need to set them up and deploy them properly. Make sure your stand-mounted mic is securely in place and fitted with a pop shield (be that a foam head on the mic itself or a clamped-on ‘hoop’ model); and if you’re using a lavalier, check that there’s no chance of it making any rustling or scratching sounds with normal body movement.
On the audio interface, set the input gain so that the signal level averages between -12 and 20dB and never exceeds -6dB, to ensure a clean, clear recording, free of nasty clipping distortion. The EVO 4, as mentioned, makes this part of the process literally effortless with it Smartgain button.
Then it’s all down to microphone technique, which starts with experimenting to find the optimum distance between the mic and your mouth to bring out the best in your voice in terms of bass response, while at the same time minimising room ambience. You then just need to maintain that distance as best you can while shooting, as even fairly small variations can have a profound influence on the sound, due the ‘proximity effect’: the further you are away from the mic capsule, the less low-end is captured by it.
Edit the recording to perfection
Once you’ve shot your video, there are almost always things you can do to improve the audio track, no matter how good it sounds straight out of the can, so to speak. Depending on the recording software you’re using, you might be able to apply enough sonic manipulation directly within the video project to get the job done. If, however, your application is lacking in the audio editing and processing department, consider exporting the audio track to a dedicated audio editor, such as the free and excellent Audacity, and sorting out there, before importing it back into your video package.
So what kinds of things are we talking about? At the purely corrective level, noise reduction/elimination is a big one. The whir of a computer fan, traffic on the road outside, mouth clicks, excessive room ambience, etc, can all detract from the effectiveness of a recording even if they don’t ruin it, but there are applications and plugins available capable of eliminating such aural intrusions with almost magical efficacy, the industry standard being iZotope’s remarkable RX suite. If that degree of technical involvement doesn’t appeal, you can at least get rid of any background noise that might be audible when you’re not talking by simply going through the voice track with your audio editor’s scissors tool and deleting every section of ‘silence’ manually.
Beyond that, equalisation and compression are go-to audio engineering techniques for improving the sound of any voice, enabling detailed shaping of frequency content and dynamic range. The specifics of those are beyond the scope of this article, but there’s plenty of advice to be found online, not to mention a wide array of excellent free plugin EQs and compressors with which to put it into practice.
Maximise audio quality
Last but not least, since YouTube heavily compresses videos as part of the upload process in order to reduce them in size (as in data compression, not the audio compression mentioned above), it’s imperative that you render your audio track at the highest possible quality setting. With YouTube’s lossy compression algorithm inevitably introducing high-frequency artefacts, the last thing you want to do is exacerbate them with an already compromised source file. So, set your recording software to capture 16- or 24-bit WAV or AIF, at at least 44.1kHz sample rate in its preferences dialog, if it doesn’t already by default.
Related Articles