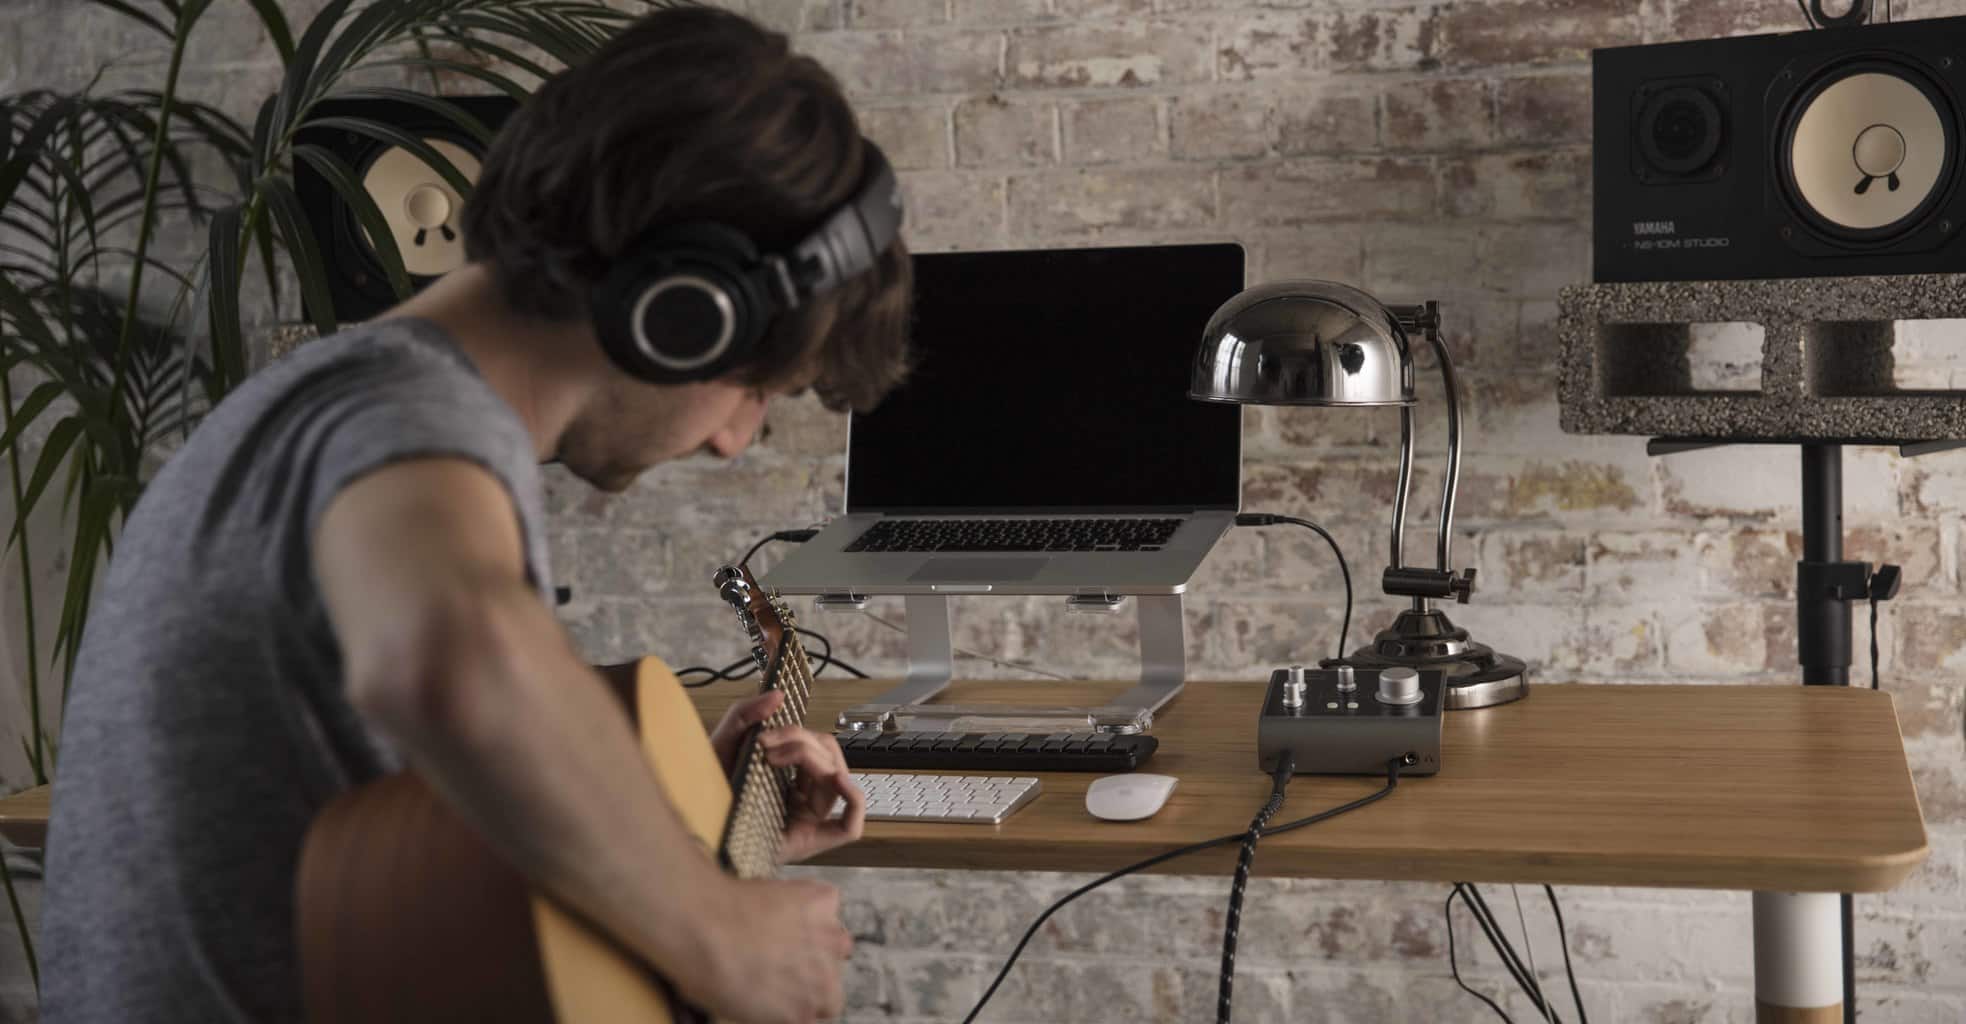
The art of vocal processing is shrouded in myth and technical hyperbole, which can make it an intimidating subject for the newcomer to music production. Really, though, as long as the recording itself is up to scratch, and you have the right tools at hand with which to mould it into shape, there’s nothing stopping you from achieving thoroughly professional vocal sounds in the comfort of your home studio DAW. To that end, let’s look the five key effects you need to focus on when dealing with the human voice…

Written by EVO
Pitch correction
If the name Auto-Tune brings to mind the extreme pitch snapping vocal treatments of T-Pain and Cher, you might be surprised to learn that the world’s most famous plugin – and others of its ilk that came after it – was originally designed for the rather more mundane purpose of getting wayward vocal performances in tune transparently.
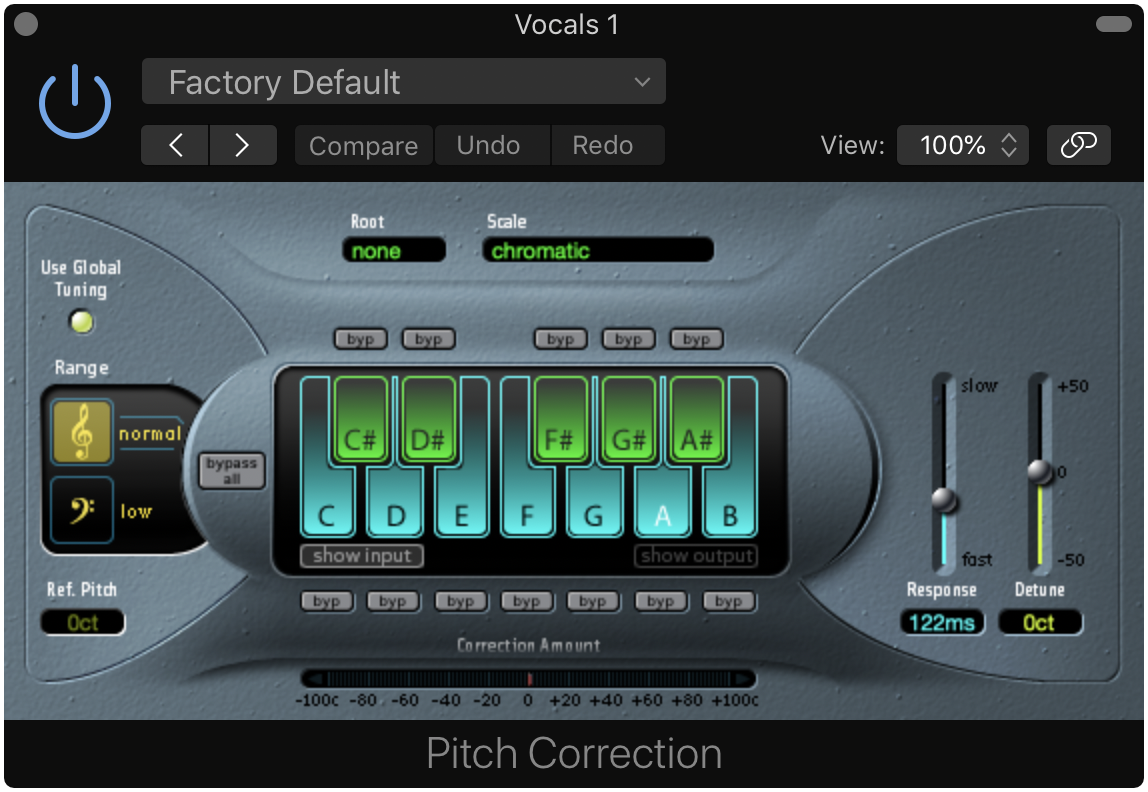
There are a few pitch correction plugins on the market, and they all work in one of two ways. Antares Auto-Tune and Waves Tune Real-Time, for example, apply ‘live’ pitch correction, with adjustable parameters determining how fast and aggressively out-of-tune incoming notes are pushed towards the correct pitch; while Celemony Melodyne and Synchro Arts RePtich employ ‘offline’ graphical editors, in which notes are represented by ‘blobs’ or bars that are dragged around on a pitch scale to tune them up.
The main difference is that the real-time approach involves nothing more than setting the tuning parameters and hitting play, while the offline method requires the vocal to be imported into the plugin, corrected by hand, then exported – although the powerful ARA plugin format makes this process almost effortless, if your DAW supports it. The first is quicker and easier, then, while the second takes longer but offers much more in the way of control and detail. Auto-Tune Pro actually supports both techniques, but its graphical editor isn’t on the same level as those of Melodyne and RePitch. Crucially, all four of the plugins we’ve highlighted are capable of delivering beautifully transparent tuning, as well as adjustment of vibrato and formant shaping.
Having access to a pitch correction plugin should be considered essential for any vocal producer, as even the most talented singer needs the occasional subtle nudge in the right direction.
EQ
You’re first port of call when it comes to engineering any vocal should usually be EQ, or equalisation. This is the process of shaping the spectral profile of the signal by lowering and/or boosting the gains of particular frequency ranges in order to reduce problematic elements, such as low-end rumble, and bring out the best in your singer’s voice by emphasising its focal frequencies.
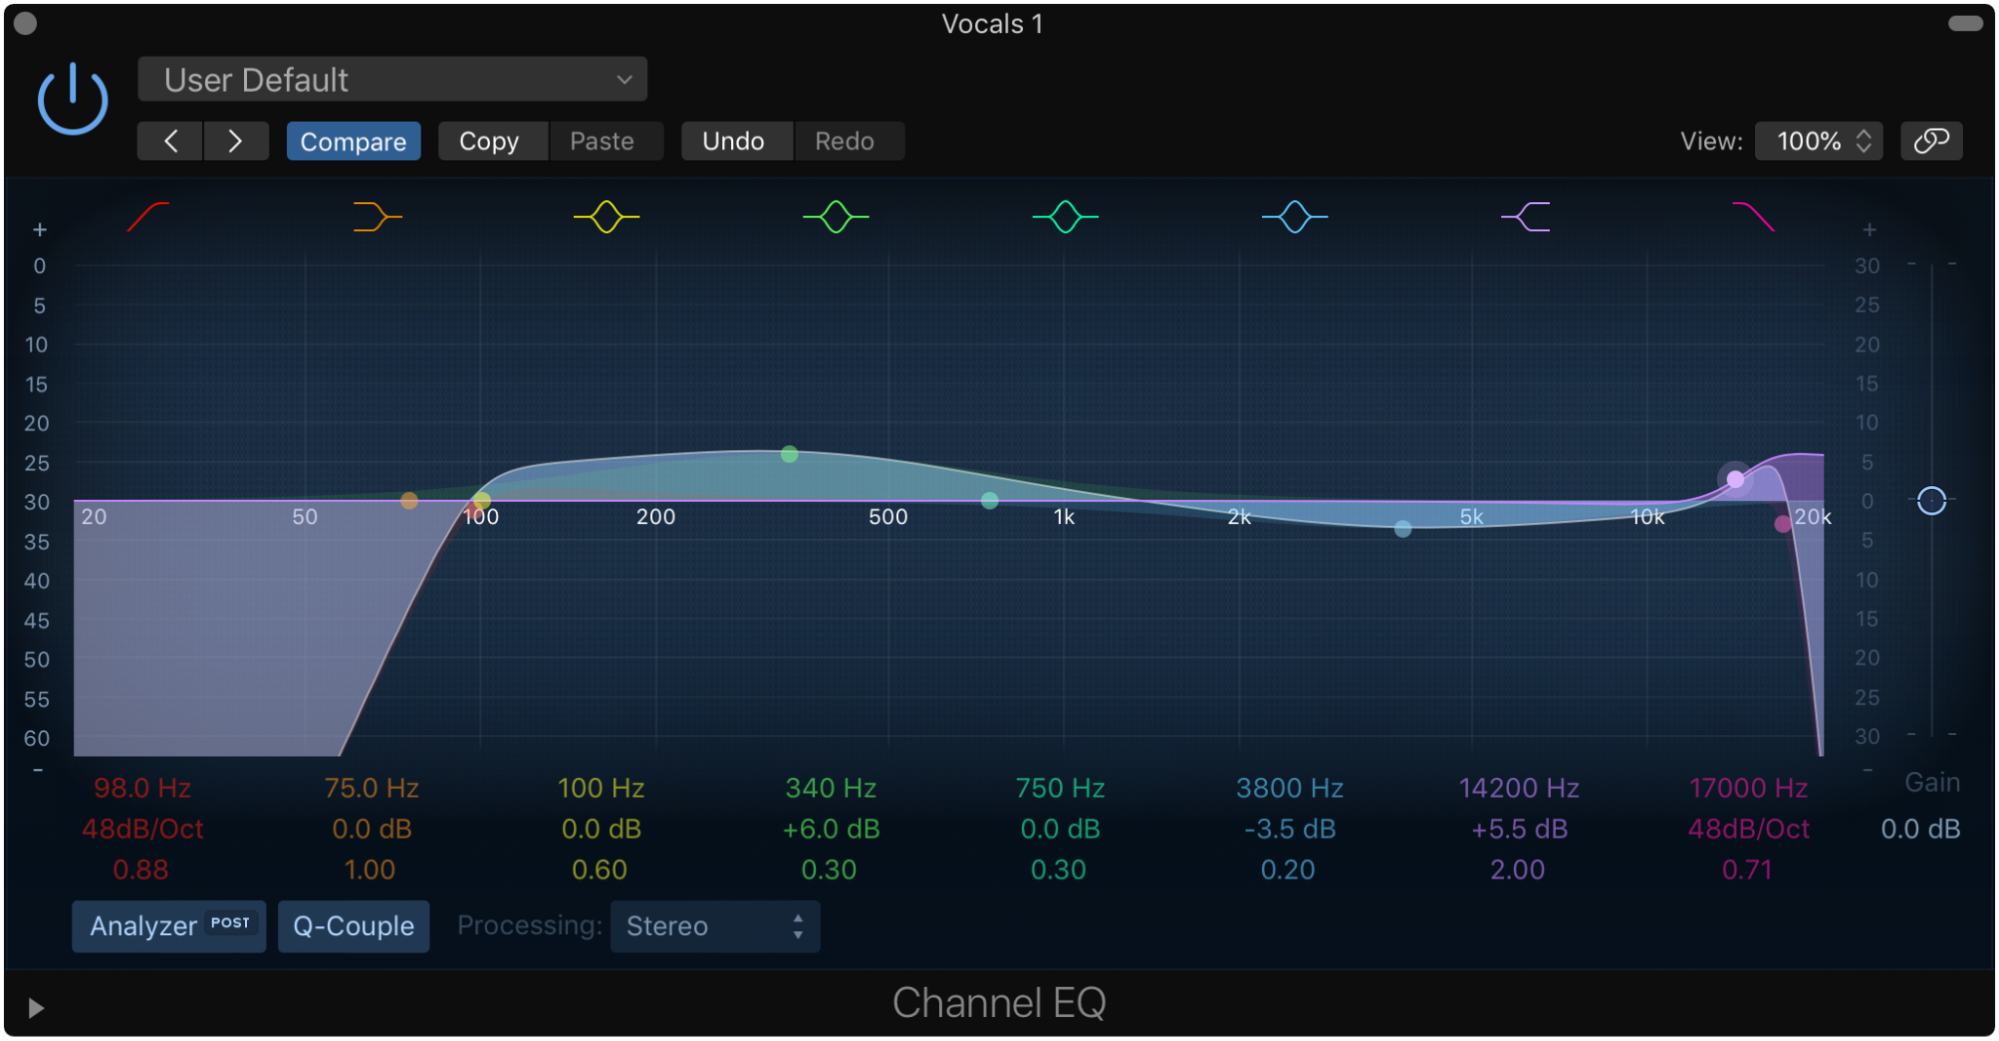
Developing proficiency with EQ takes time and experience, but an important rule of thumb is to exercise restraint, particularly when applying boosts, as these can easily end up sounding unnatural if overcooked. In fact, cutting problematic resonances is by and large preferable to boosting the more flattering ones under any circumstances.
There are endless amazing EQ plug-ins available, including emulations of vocal production classics such as the Pultec EQP-1A and Trident A-Range, but the stock EQ built into your DAW will serve as a great starting point. For more on the specifics of EQ, see our beginner’s guide.
Compression
Along with EQ, compression is one of the most important tools at your disposal for making raw vocal recordings sound awesome. A compressor lowers the volume of the input signal by a user-specified amount whenever it exceeds a user-specified threshold, and the reduction in dynamic range (ie, narrowing of the gap between the quietest and loudest parts of the performance) results in added punch, weight, consistency and presence – all highly desirable qualities in most vocals.
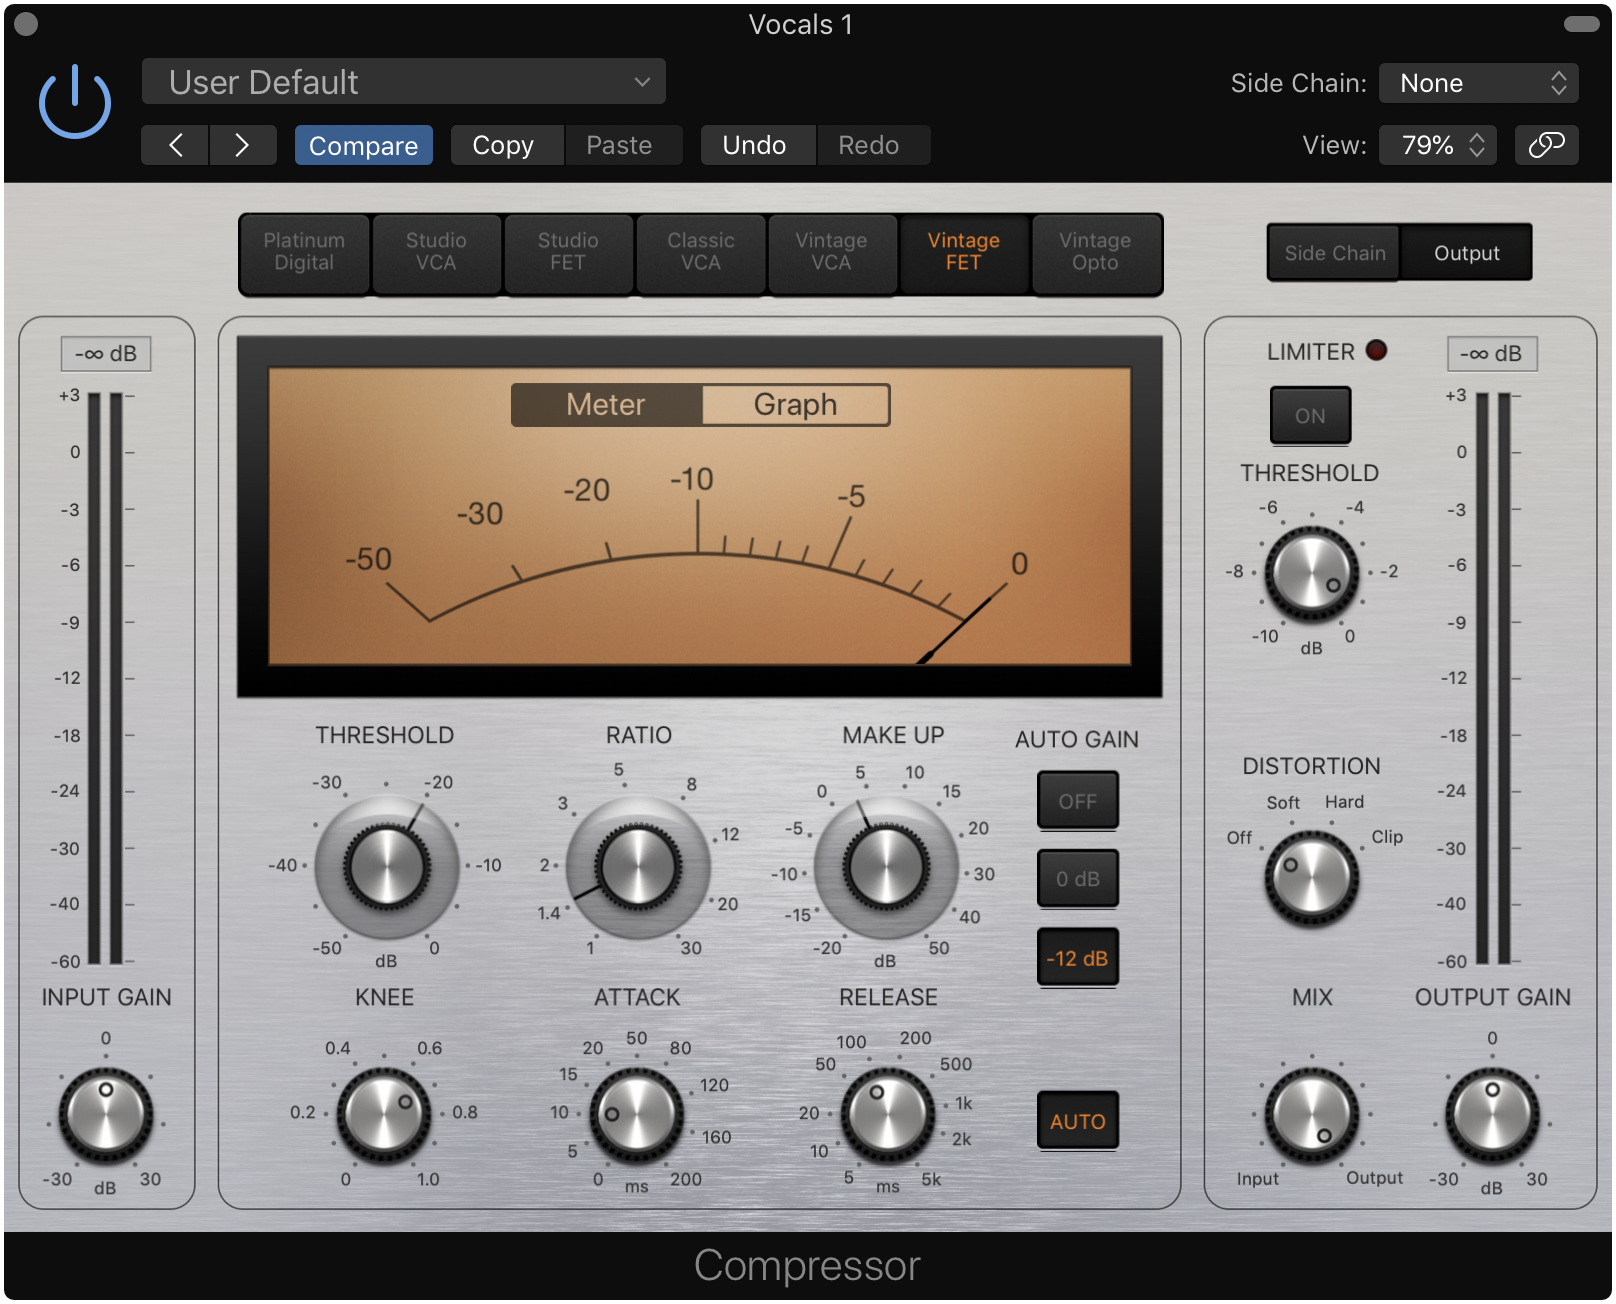
Again, compressors are very well represented on the third-party plugin market – from classic hardware emulations to all-new designs – but all DAWs these days feature superb bundled models that will more than suffice.
De-essing
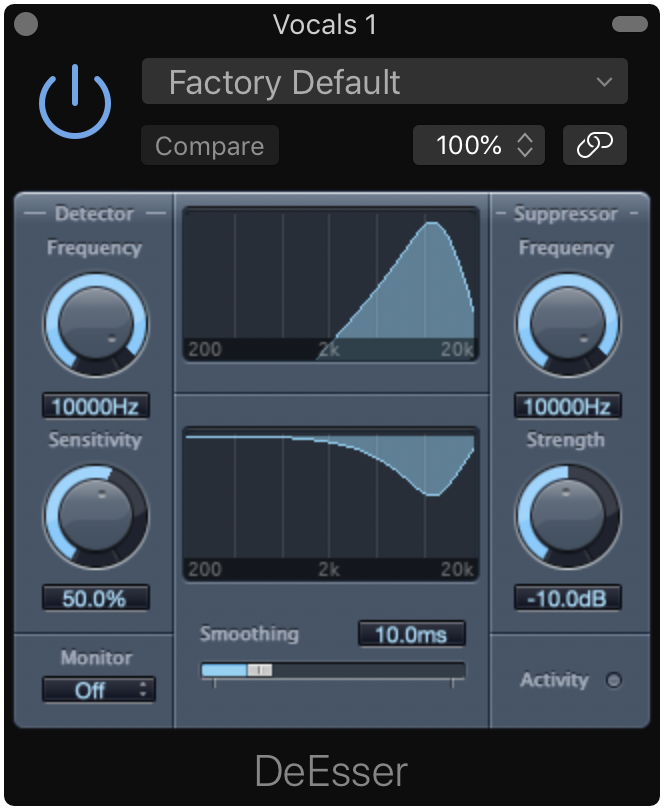
One of the most frequently encountered issues when recording vocals is excessive sibilance – harsh ‘s’ sounds that can do a fair bit of damage to a mix if left unchecked. A de-esser is a frequency-dependent compressor that detects and attenuates such sounds in real time without damaging the rest of the vocal, and it goes without saying that you should have one in your plugins folder. Good examples include FabFilter Pro-DS and Eiosis E2Deesser.
Reverb and delay
While the previous four effects are all intended to make vocal recordings sound professional and polished, this last duo are more about defining the spaces in which they sit. Unless you’re in an anechoic chamber, no sound in the real world is ever heard without at least some degree of spatial ambience and reverberation, even if it’s extremely subtle, so a vocal recorded in a deadened vocal booth will usually require at least a little bit of reverb or delay to prevent it from sounding unnaturally dry. We look at the differences between the two effects in this article, but in a nutshell, a reverb plugin creates a virtual room, hall or other environment, while a delay plugin generates echoes, which can be equally if not more effective at giving vocals a sense of ambient context and scale.
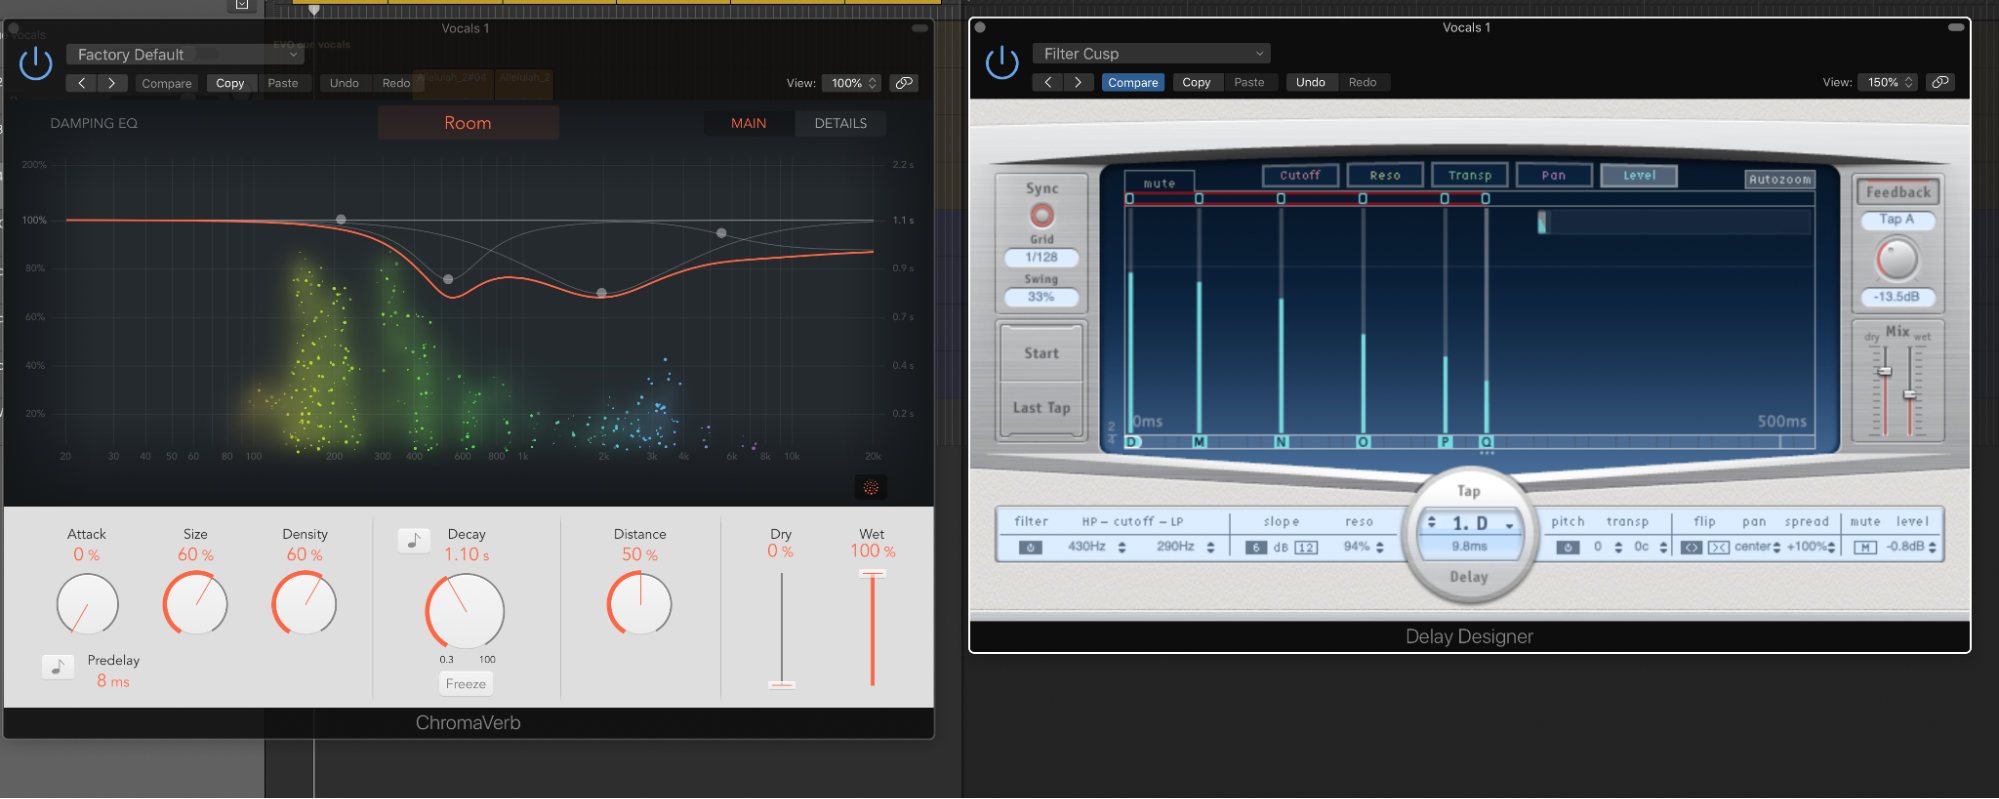
There are countless delay and reverb plugins out there, and your DAW will include at least one high-quality example of each, which may well be all you need. They’re both generally best deployed on auxiliary returns, 100% wet, so you can send a variable amount of the vocal (and any other sound you want to place in the same imagined space) via the send controls in the mixer. Some reverb and delay plugins also feature ‘ducking’ controls for lowering the volume of the wet signal whenever an input signal is present, which can be great for maintaining clarity in your treated vocal.
With these five processors at your back and call, you should be able to turn any half decent vocal recording into audio gold. As with many things in music production, though, less if generally more with vocal effects, so don’t over-do any of them, or, indeed, feel that you have to use all of them every time. Pitch correction and de-essing, for example, may not be required at all if your vocal is well performed and recorded, and you’re looking to retain the most natural sound possible.
Of course, good source material is essential right from the off, and if no amount of transformation and manipulation seems to be getting a given vocal where you want it, it might just be that you need to re-record. And finally, we’re not for one moment suggesting that these are all the effects you’ll ever need for vocal processing – rather, that they’re the fundamentals required to get any vocal sounding ‘right and proper’. Beyond that, don’t hesitate to get creative with distortion, flanging, auto-filtering, vocoding and anything else you feel has something positive to bring to the mix in question.
Related Articles
The art of vocal processing is shrouded in myth and technical hyperbole, which can make it an intimidating subject for the newcomer to music production. Really, though, as long as the recording itself is up to scratch, and you have the right tools at hand with which to mould it into shape, there’s nothing stopping you from achieving thoroughly professional vocal sounds in the comfort of your home studio DAW. To that end, let’s look the five key effects you need to focus on when dealing with the human voice…

Written by EVO
Pitch correction
If the name Auto-Tune brings to mind the extreme pitch snapping vocal treatments of T-Pain and Cher, you might be surprised to learn that the world’s most famous plugin – and others of its ilk that came after it – was originally designed for the rather more mundane purpose of getting wayward vocal performances in tune transparently.

There are a few pitch correction plugins on the market, and they all work in one of two ways. Antares Auto-Tune and Waves Tune Real-Time, for example, apply ‘live’ pitch correction, with adjustable parameters determining how fast and aggressively out-of-tune incoming notes are pushed towards the correct pitch; while Celemony Melodyne and Synchro Arts RePtich employ ‘offline’ graphical editors, in which notes are represented by ‘blobs’ or bars that are dragged around on a pitch scale to tune them up.
The main difference is that the real-time approach involves nothing more than setting the tuning parameters and hitting play, while the offline method requires the vocal to be imported into the plugin, corrected by hand, then exported – although the powerful ARA plugin format makes this process almost effortless, if your DAW supports it. The first is quicker and easier, then, while the second takes longer but offers much more in the way of control and detail. Auto-Tune Pro actually supports both techniques, but its graphical editor isn’t on the same level as those of Melodyne and RePitch. Crucially, all four of the plugins we’ve highlighted are capable of delivering beautifully transparent tuning, as well as adjustment of vibrato and formant shaping.
Having access to a pitch correction plugin should be considered essential for any vocal producer, as even the most talented singer needs the occasional subtle nudge in the right direction.
EQ
You’re first port of call when it comes to engineering any vocal should usually be EQ, or equalisation. This is the process of shaping the spectral profile of the signal by lowering and/or boosting the gains of particular frequency ranges in order to reduce problematic elements, such as low-end rumble, and bring out the best in your singer’s voice by emphasising its focal frequencies.

Developing proficiency with EQ takes time and experience, but an important rule of thumb is to exercise restraint, particularly when applying boosts, as these can easily end up sounding unnatural if overcooked. In fact, cutting problematic resonances is by and large preferable to boosting the more flattering ones under any circumstances.
There are endless amazing EQ plug-ins available, including emulations of vocal production classics such as the Pultec EQP-1A and Trident A-Range, but the stock EQ built into your DAW will serve as a great starting point. For more on the specifics of EQ, see our beginner’s guide.
Compression
Along with EQ, compression is one of the most important tools at your disposal for making raw vocal recordings sound awesome. A compressor lowers the volume of the input signal by a user-specified amount whenever it exceeds a user-specified threshold, and the reduction in dynamic range (ie, narrowing of the gap between the quietest and loudest parts of the performance) results in added punch, weight, consistency and presence – all highly desirable qualities in most vocals.

Again, compressors are very well represented on the third-party plugin market – from classic hardware emulations to all-new designs – but all DAWs these days feature superb bundled models that will more than suffice.
De-essing
One of the most frequently encountered issues when recording vocals is excessive sibilance – harsh ‘s’ sounds that can do a fair bit of damage to a mix if left unchecked. A de-esser is a frequency-dependent compressor that detects and attenuates such sounds in real time without damaging the rest of the vocal, and it goes without saying that you should have one in your plugins folder. Good examples include FabFilter Pro-DS and Eiosis E2Deesser.

Reverb and delay
While the previous four effects are all intended to make vocal recordings sound professional and polished, this last duo are more about defining the spaces in which they sit. Unless you’re in an anechoic chamber, no sound in the real world is ever heard without at least some degree of spatial ambience and reverberation, even if it’s extremely subtle, so a vocal recorded in a deadened vocal booth will usually require at least a little bit of reverb or delay to prevent it from sounding unnaturally dry. We look at the differences between the two effects in this article, but in a nutshell, a reverb plugin creates a virtual room, hall or other environment, while a delay plugin generates echoes, which can be equally if not more effective at giving vocals a sense of ambient context and scale.

There are countless delay and reverb plugins out there, and your DAW will include at least one high-quality example of each, which may well be all you need. They’re both generally best deployed on auxiliary returns, 100% wet, so you can send a variable amount of the vocal (and any other sound you want to place in the same imagined space) via the send controls in the mixer. Some reverb and delay plugins also feature ‘ducking’ controls for lowering the volume of the wet signal whenever an input signal is present, which can be great for maintaining clarity in your treated vocal.
With these five processors at your back and call, you should be able to turn any half decent vocal recording into audio gold. As with many things in music production, though, less if generally more with vocal effects, so don’t over-do any of them, or, indeed, feel that you have to use all of them every time. Pitch correction and de-essing, for example, may not be required at all if your vocal is well performed and recorded, and you’re looking to retain the most natural sound possible.
Of course, good source material is essential right from the off, and if no amount of transformation and manipulation seems to be getting a given vocal where you want it, it might just be that you need to re-record. And finally, we’re not for one moment suggesting that these are all the effects you’ll ever need for vocal processing – rather, that they’re the fundamentals required to get any vocal sounding ‘right and proper’. Beyond that, don’t hesitate to get creative with distortion, flanging, auto-filtering, vocoding and anything else you feel has something positive to bring to the mix in question.

