For the newcomer to music production, it’s all too easy to become overwhelmed by the sheer amount of stuff there is to learn, particularly when it comes to the pivotal art of mixing. From dynamics processing and EQ to bussing, effects and all the rest of it, it’s a head-spinning world of plugins and techniques that can feel utterly bewildering until a certain amount of experience is built up.

Written by EVO
But stop! If there’s one thing we would strongly urge you to prioritise in your audio engineering education before all else, it’s the refreshingly straightforward practise of balancing the mix. This, as the name suggests, is the adjustment of channel volume levels and panning on a mixer in order to, quite simply, achieve a well balanced overall sound prior to effects processing, automation and everything that goes into a mix.
An unbalanced mix is invariably a bad mix, so this is an absolutely fundamental part of the production workflow, yet it doesn’t get as much emphasis and attention as the more glamorous, technical and overtly creative activities that come after it. Let’s rectify that right now with a quintet of pointers to get you on the road to sonic equilibrium…
Start with the main attraction
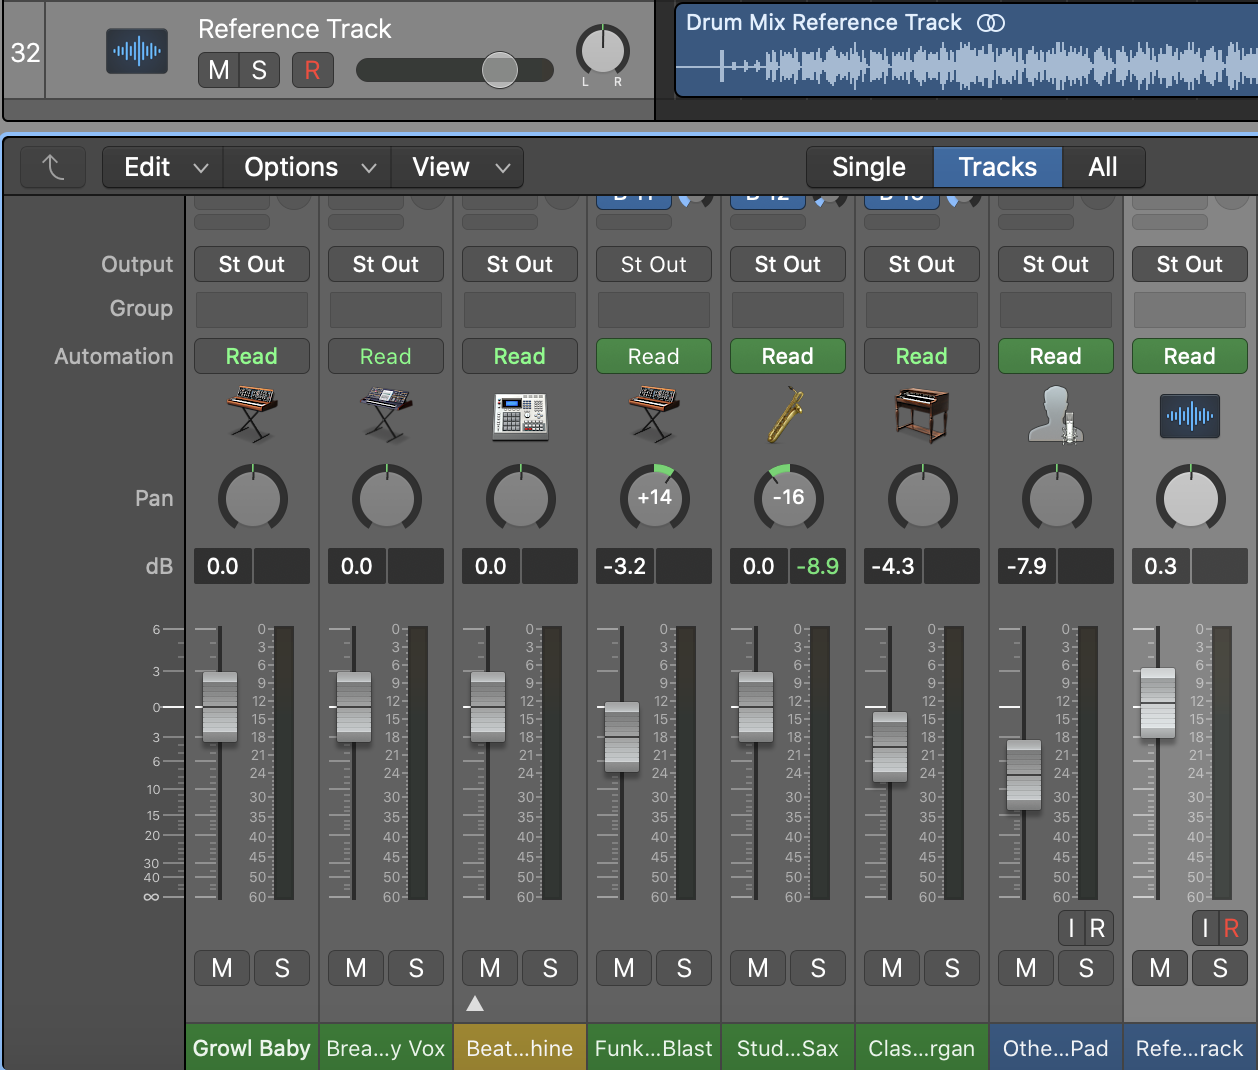
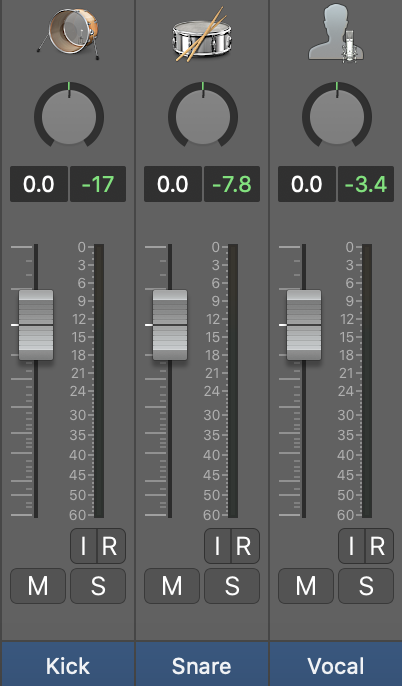
As we’ve suggested, balancing a mix shouldn’t be difficult: you’re just setting volume faders and pan pots to make sure that everything can be heard clearly, with the focal elements up-front – but not overwhelming – at any given point. With the faders all set to zero, start by bringing up whatever you consider to be the ‘lead’ sound or combination of sounds: probably the vocals if the project is a song, or the drums and bass if it’s dance music. With that/those channel/s peaking at around -6dB, you can then start bringing everything else in around it/them. A/B compare your mix with a reference track that you know well as you go, and trust your ears – don’t overthink it. And watch out for clipping at the output: if the meter goes into the red, pull the master fader down to compensate.
Leave those plugins alone!
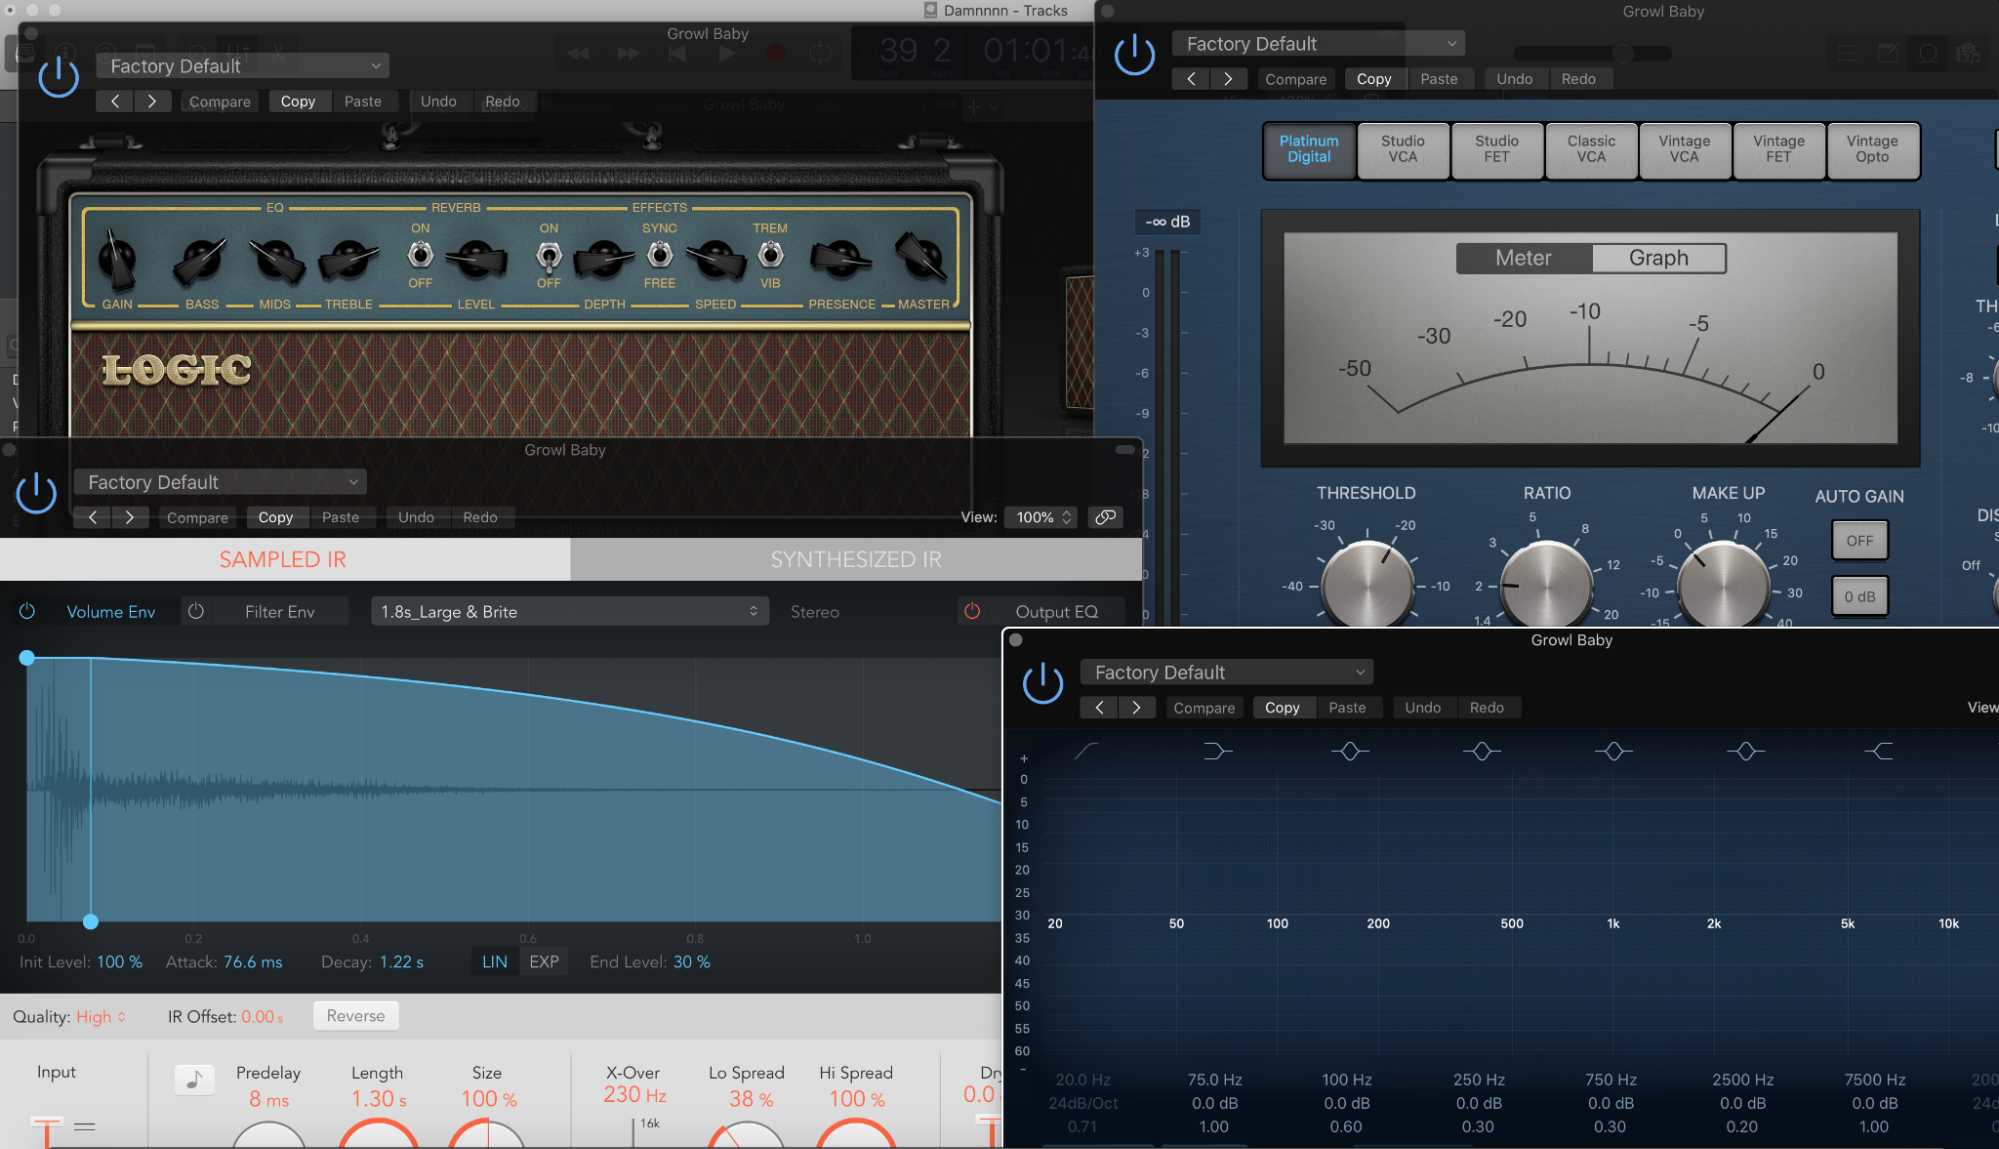
The reasoning behind getting an effective balance right from the off is that it enables you to apply EQ, compression and effects to your individual (and grouped) mix elements in a realistic, representative context, which should make the whole mixing process quicker and less complicated. With that in mind, then, while you’re setting those levels, resist the temptation to add plugins to anything – no EQs, compressors, transient shapers, wideners… nada. The urge might be hard to quell at times, as you just know those drums need pulling together, or that vocal needs high-pass filtering; but there’s plenty of time to do that once you’ve got your basic balance sorted, after which it will all become that much easier.
Of course, once you do start introducing plugins, the balance will change, but if you’ve established a solid starting point, it should hold up and require only minor compensatory shifts to maintain. If it doesn’t, that might mean that you’re either over-processing your sounds, or that the balance wasn’t actually right in the first place.
Don’t go mad with panning
Just as with level balancing, setting pan positions should be done so that the components of your mix all sit together comfortably without fighting for space. Ideally, most if not all your unprocessed instruments will be in mono, so placing them within the stereo spectrum shouldn’t be difficult. Keep your kick, snare, bass and vocals central, and position everything else around them as feels appropriate, but without venturing to the outward extremes, unless a given sound has been conceived with that in mind.
Stereo sources might be a bit trickier to find a place for, so consider mono-ising them if it helps. If a particularly stereoscopic synth proves problematic, for example, reduce or disable whatever it is in the patch that’s making it so wide (collapse it all the way down to mono if necessary), then re-address its panorama after the balancing stage.
Related to this, remember to check your balanced mix in mono from time to time: it should sound just as good in terms of relative inter-element volume levels as it does in stereo.
Don’t go solo
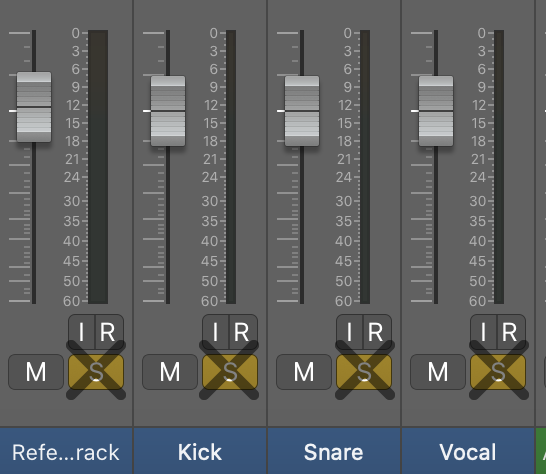
When balancing a mix, you shouldn’t ever really need to hear any single channel in isolation, as your only concern at this stage is the aggregate sound at the master output, not the individual characteristics of the disparate signals feeding into it. Soloing, say, the vocal because you’ve suddenly noticed that it might be a bit too sibilant immediately takes your head out of the mix and into the specifics of that sound on its own, which, as we’ve said, can come later, once you’ve dialled in a good balance. So, leave the solo buttons in your mixer well alone while working on the balance – indeed, you could even hide them if your DAW allows it!

Turn it down
The default playback level when balancing a mix will depend on your taste and perhaps musical genre, and while we wouldn’t recommend going super loud (ear fatigue is always to be avoided), it’s perfectly fine to crank it up periodically to check that you’re getting the requisite vibe and energy at high volume. What’s much more important, though, is to turn the volume down, as checking the balance when played very quietly is always hugely revealing. Even if the balance sounds fine at regular volume, dropping it right down will highlight any subtle differences between instrument levels that aren’t noticeable at full tilt. Ironing these discrepancies out will – we guarantee it – improve the balance when you bring the volume back up again.
Ultimately, if a mix sounds well balanced at very low volume, it’ll sound equally well balanced loud – but not necessarily vice versa.
Related Articles
For the newcomer to music production, it’s all too easy to become overwhelmed by the sheer amount of stuff there is to learn, particularly when it comes to the pivotal art of mixing. From dynamics processing and EQ to bussing, effects and all the rest of it, it’s a head-spinning world of plugins and techniques that can feel utterly bewildering until a certain amount of experience is built up.

Written by EVO

But stop! If there’s one thing we would strongly urge you to prioritise in your audio engineering education before all else, it’s the refreshingly straightforward practise of balancing the mix. This, as the name suggests, is the adjustment of channel volume levels and panning on a mixer in order to, quite simply, achieve a well balanced overall sound prior to effects processing, automation and everything that goes into a mix.
An unbalanced mix is invariably a bad mix, so this is an absolutely fundamental part of the production workflow, yet it doesn’t get as much emphasis and attention as the more glamorous, technical and overtly creative activities that come after it. Let’s rectify that right now with a quintet of pointers to get you on the road to sonic equilibrium…
Start with the main attraction
As we’ve suggested, balancing a mix shouldn’t be difficult: you’re just setting volume faders and pan pots to make sure that everything can be heard clearly, with the focal elements up-front – but not overwhelming – at any given point. With the faders all set to zero, start by bringing up whatever you consider to be the ‘lead’ sound or combination of sounds: probably the vocals if the project is a song, or the drums and bass if it’s dance music. With that/those channel/s peaking at around -6dB, you can then start bringing everything else in around it/them. A/B compare your mix with a reference track that you know well as you go, and trust your ears – don’t overthink it. And watch out for clipping at the output: if the meter goes into the red, pull the master fader down to compensate.

Leave those plugins alone!
The reasoning behind getting an effective balance right from the off is that it enables you to apply EQ, compression and effects to your individual (and grouped) mix elements in a realistic, representative context, which should make the whole mixing process quicker and less complicated. With that in mind, then, while you’re setting those levels, resist the temptation to add plugins to anything – no EQs, compressors, transient shapers, wideners… nada. The urge might be hard to quell at times, as you just know those drums need pulling together, or that vocal needs high-pass filtering; but there’s plenty of time to do that once you’ve got your basic balance sorted, after which it will all become that much easier.
Of course, once you do start introducing plugins, the balance will change, but if you’ve established a solid starting point, it should hold up and require only minor compensatory shifts to maintain. If it doesn’t, that might mean that you’re either over-processing your sounds, or that the balance wasn’t actually right in the first place.

Don’t go mad with panning
Just as with level balancing, setting pan positions should be done so that the components of your mix all sit together comfortably without fighting for space. Ideally, most if not all your unprocessed instruments will be in mono, so placing them within the stereo spectrum shouldn’t be difficult. Keep your kick, snare, bass and vocals central, and position everything else around them as feels appropriate, but without venturing to the outward extremes, unless a given sound has been conceived with that in mind.
Stereo sources might be a bit trickier to find a place for, so consider mono-ising them if it helps. If a particularly stereoscopic synth proves problematic, for example, reduce or disable whatever it is in the patch that’s making it so wide (collapse it all the way down to mono if necessary), then re-address its panorama after the balancing stage.
Related to this, remember to check your balanced mix in mono from time to time: it should sound just as good in terms of relative inter-element volume levels as it does in stereo.

Don’t go solo
When balancing a mix, you shouldn’t ever really need to hear any single channel in isolation, as your only concern at this stage is the aggregate sound at the master output, not the individual characteristics of the disparate signals feeding into it. Soloing, say, the vocal because you’ve suddenly noticed that it might be a bit too sibilant immediately takes your head out of the mix and into the specifics of that sound on its own, which, as we’ve said, can come later, once you’ve dialled in a good balance. So, leave the solo buttons in your mixer well alone while working on the balance – indeed, you could even hide them if your DAW allows it!

Turn it down
The default playback level when balancing a mix will depend on your taste and perhaps musical genre, and while we wouldn’t recommend going super loud (ear fatigue is always to be avoided), it’s perfectly fine to crank it up periodically to check that you’re getting the requisite vibe and energy at high volume. What’s much more important, though, is to turn the volume down, as checking the balance when played very quietly is always hugely revealing. Even if the balance sounds fine at regular volume, dropping it right down will highlight any subtle differences between instrument levels that aren’t noticeable at full tilt. Ironing these discrepancies out will – we guarantee it – improve the balance when you bring the volume back up again.
Ultimately, if a mix sounds well balanced at very low volume, it’ll sound equally well balanced loud – but not necessarily vice versa.
