If you’re wanting to start live streaming then you’re in the right place. This is the essential guide on how to start live streaming, covering all the equipment you need as well as how to attract your fan base.
Live streaming has become a seriously huge part of media culture and it’s spawned entirely new genres of entertainment for people to consume on a daily basis.
From the small beginnings of Justin.tv to the now industry giant Twitch.tv, people have built entire careers around streaming themselves doing anything from creating art to playing video games.
As the industry has matured, so too have the products that people use to go live every day and for those just dipping their toes in the water it can certainly be daunting trying to put the pieces together.
With that being said, whether you’re just starting or trying to take your live stream to the next level, there are some common pieces of software and hardware that can make your life a lot easier and give your content the best foundation to build off of.
1. Internet Speeds + Computer Specs
For the sake of focus we’ll assume you’re aware of the computer and internet connection requirements to live stream. There is a wealth of information out there to help you build or upgrade your computer to get it stream ready if you do need help, so don’t worry about going in blind.
We’re also going to focus on a high-level overview to give you a good idea of what’s available and what you can accomplish but in-depth tutorials for each individual topic we’ll cover here are readily available online.
So you’ve got your beautiful PC built, your internet is blisteringly fast, and you’re ready to press the go button on your live streaming adventure. Before you do there are still some technical bits to take into consideration. Do you want people to see you?
Do you want to be able to easily capture console audio/video? Do you want to have great, balanced audio? How complex do you want your audio/video production to be? Let’s tackle these one at a time.
2. Webcams vs Cameras
If you want people to easily be able to put a face to the name, a camera is going to be needed to make that happen for your viewers. The vast majority of streamers are going to simply want to pick up a webcam. The most ubiquitous webcam on the market today is the Logitech C920/C922 since they’re essentially unmatched in video quality for the cost.
However, you may notice some streamers look especially sharp and that’s likely because they’ve invested in a DSLR or a camcorder to be used in place of a simple webcam. While the jump in quality is indeed substantial, it’s an expensive leap to make and requires either special software or another piece of hardware called a capture card to be used which can also add cost.


Both webcams are great for streaming – it all depends on your budget.
Something to keep in mind about using DSLR cameras in this application is that their sensors weren’t meant for such prolonged use in video mode. As such, the sensor is likely to burn out much faster than in a normal use scenario and you’ll be out a camera.
Camcorders don’t have this issue, but to get the same video quality as a DSLR you’ll be spending quite a bit of money. Unless your stream’s focus is largely on you, meaning perhaps you’re playing an instrument, cooking, or doing some other activity that requires a full screen camera, a webcam is more than adequate.
However, if you’re in the market to take your camera up a notch, you’ll need one of those aforementioned capture cards so let’s talk about them a bit.
3. Capture Cards
For those looking to get into streaming video games from consoles, those in the market for a dual computer streaming setup, or those looking to capture other video sources like DSLR cameras/Camcorders, capture cards are your best friend.
In the world of streaming, few pieces of hardware will make or break your sanity quite like a capture card so it’s important to understand what your usage scenario is so that you can accurately select the right card for you.
Generally speaking the things to consider are: what resolutions you require the card to be able to capture, what frame rates you require the card to be able to capture, and what audio capabilities you need the card to have.
The resolution of our video content is largely still making the move from 1080p to 4k. While PC gaming is just about there, video game consoles are slowly beginning to support 4k, and many consumer DSLR cameras/camcorders are also beginning to support 4k.
While you’re unlikely to be streaming 4k video from your PC any time soon, your capture card still needs to be able to handle the video you’re sending through it. More recently, even more consumer-focused capture cards have adopted the 4k format and so thankfully it’s not really a huge hurdle should you require it.
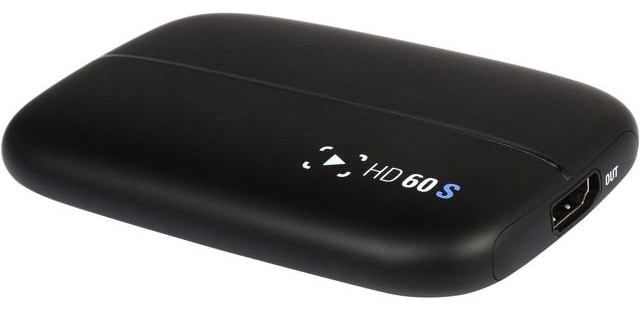
The HD60S is a staple of the live streaming community when it comes to console gaming.
Console gaming and most video content falls at or below 60 frames per second (fps) and so almost any capture card available today can easily handle that content at 1080p. However, in the world of PC gaming, many monitors now offer refresh rates of up to 144hz.
Without annoying workarounds, the maximum frame rate you’ll be able to game at will be tied to the lowest common denominator of your video hardware which in this case is often the capture card. The capture card’s ability to take on high refresh rates at higher resolutions (1080p – 4k) depends on its available bandwidth.
Just because a capture card says it can capture 1080p or even 4K doesn’t mean it will capture 1080p at 144 frames per second. Be sure to check what framerates the capture card can handle at various resolutions, so it does what you need it to.
The last piece of the capture card puzzle is whether you require it to handle audio coming from the source you’re giving it. While most mainstream capture cards like the popular Elgato HD60S series will take audio over HDMI for example, more prosumer and professional grade capture cards like the Magewell or Datapath lines sometimes only handle the video signal.
If you’re looking to be as minimalist as possible, a capture card that handles audio can be useful, if not the highest quality option in many cases. Depending on how you handle your audio, you may have other options.
4. Audio Interfaces, Microphones & External Hardware
Few things are as important as great audio when live streaming. Many people run live streams in the background while they work and so for them, audio is perhaps even more important than video.
Whether it’s a microphone, an instrument, your game audio, or some combination of any/all of them having great audio is key to having a professional stream.
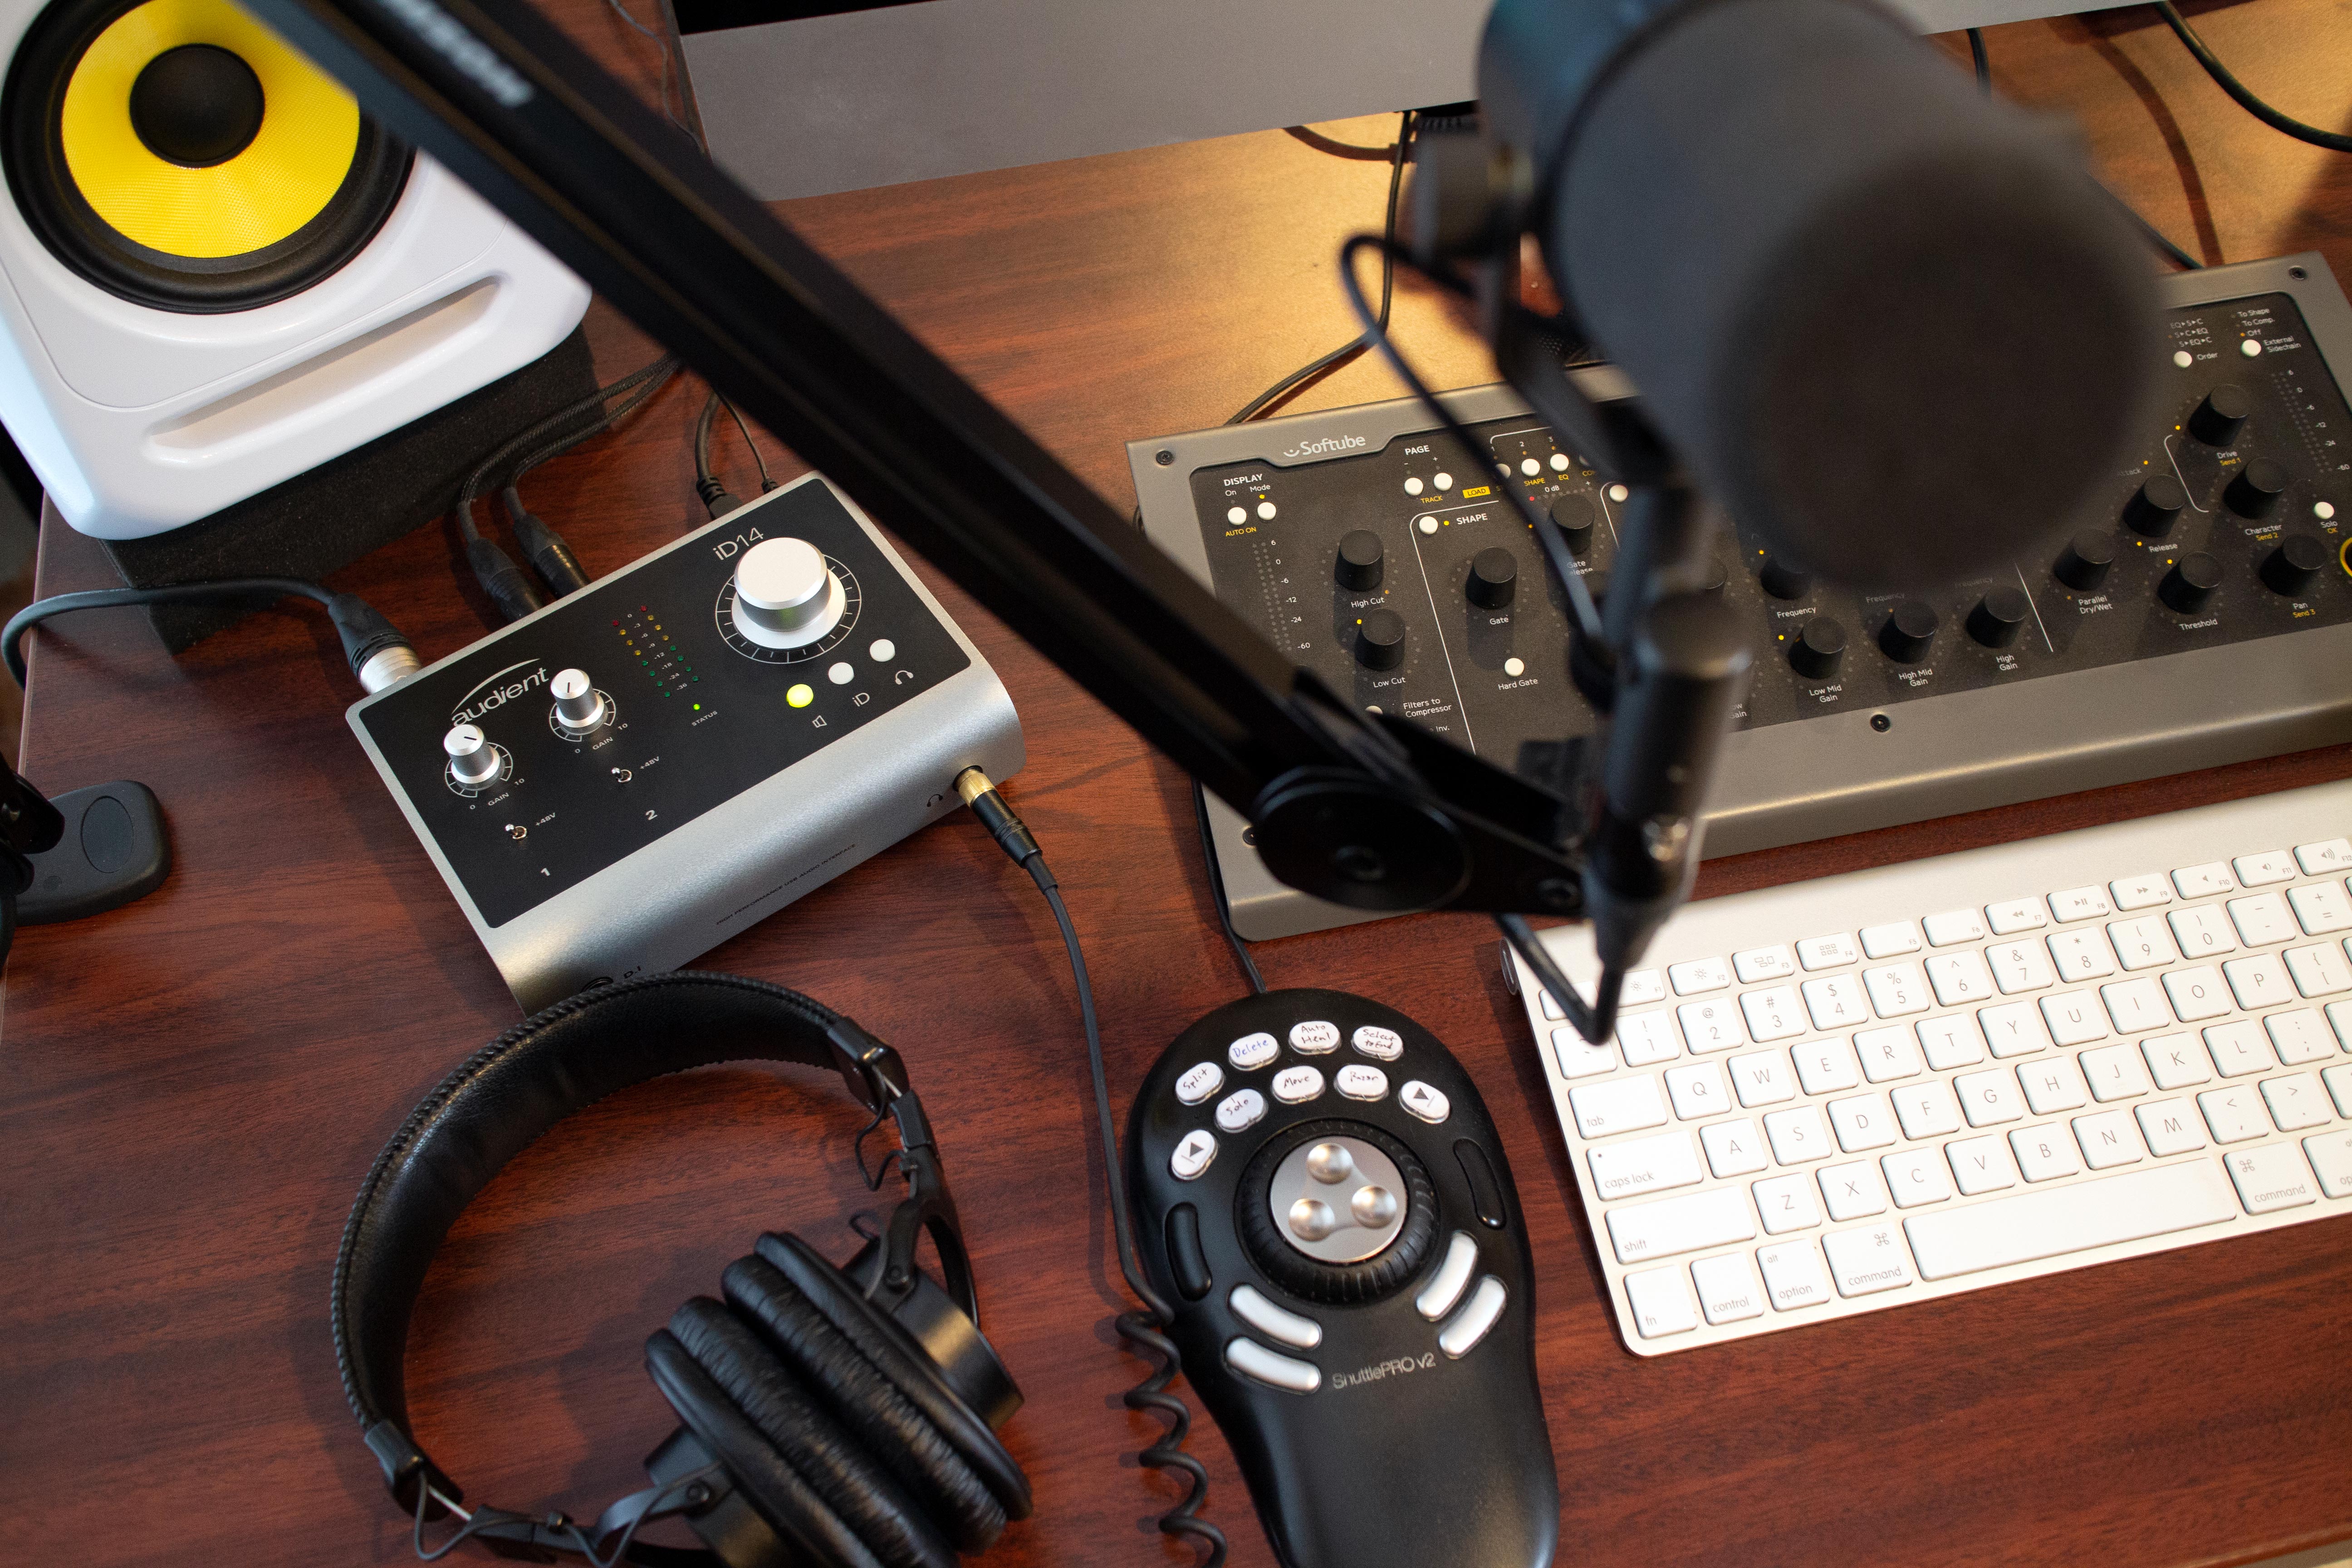
Luckily (and not completely coincidentally I promise you) Audient has a great line of products that you can plug into your studio to not only make your stream sound fantastic, but also make your life a lot easier.
While many streamers use USB microphones like the line from Blue, or the super popular USB variant of the Audio-Technica AT2020, XLR microphones can introduce a whole new level of audio quality to your stream.
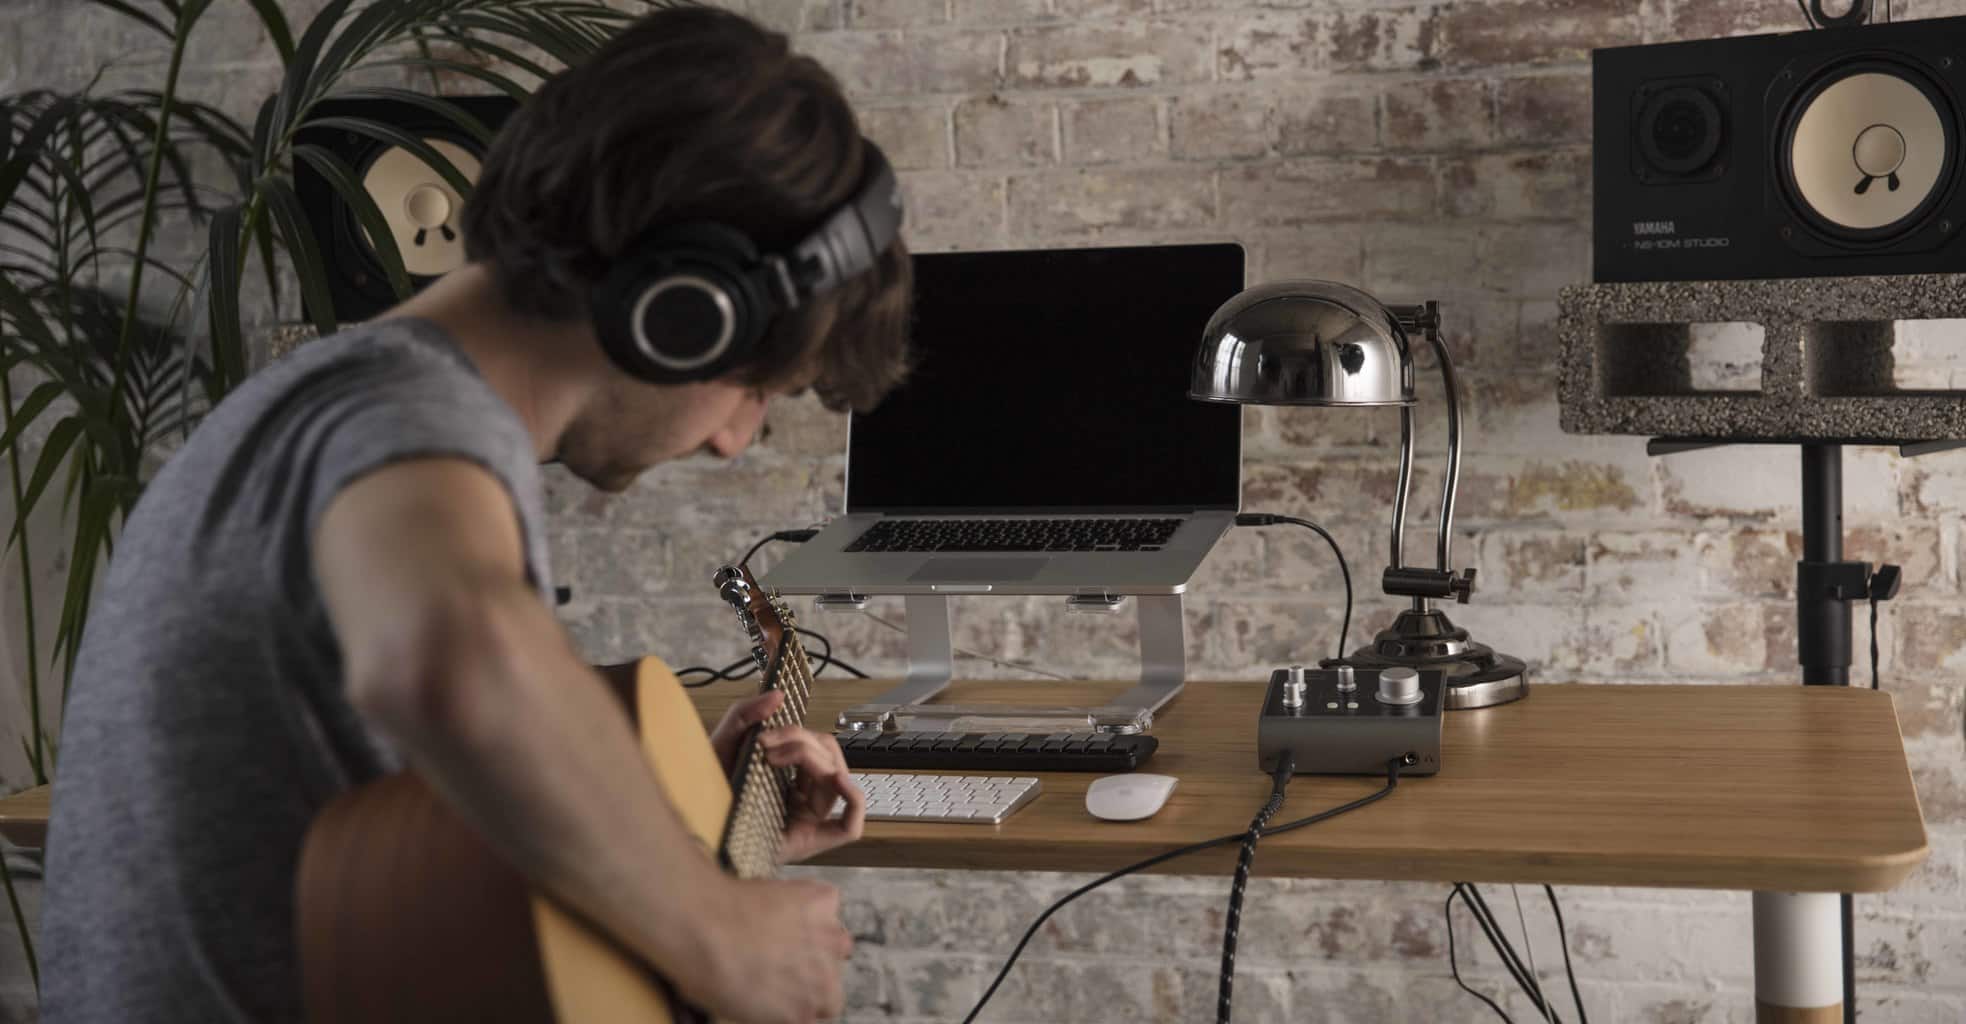
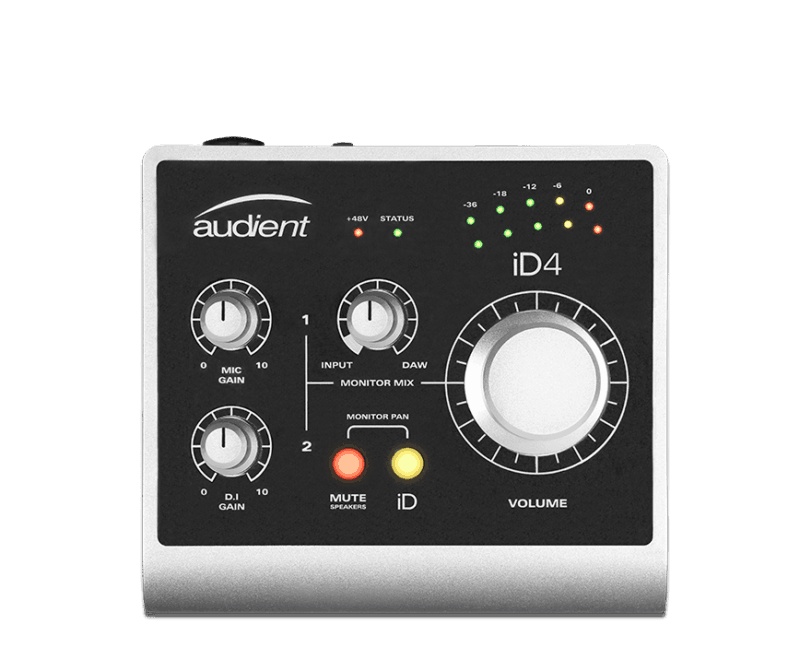
Audient’s iD4 is a fantastic option for those who only require a single XLR microphone input or perhaps even those who’d like to record an instrument.
For those who might require two microphone inputs, or would like to get optical audio from their game consoles or other sources instead of relying on the inferior capture card audio, the iD14 is a great solution to those requirements and more.
For those at the very top of the audio game, who may have hardware compressors, FX boxes, or other equipment, the iD22 will do everything the iD14 does plus allow you to extensively chain together a wide range of equipment and route it appropriately.
For those looking for a great audio experience for themselves and their viewers, the entire Audient line provides incredibly clean preamps and converters ensuring everyone’s ears are happy. Streamers will also be thrilled with Audient’s rock-solid drivers and incredibly intuitive and powerful user interface.
For those interested in maximizing the utility of a great interface like the Audient line, you can use a DAW like Adobe Audition to really take your audio over the top.
![]()
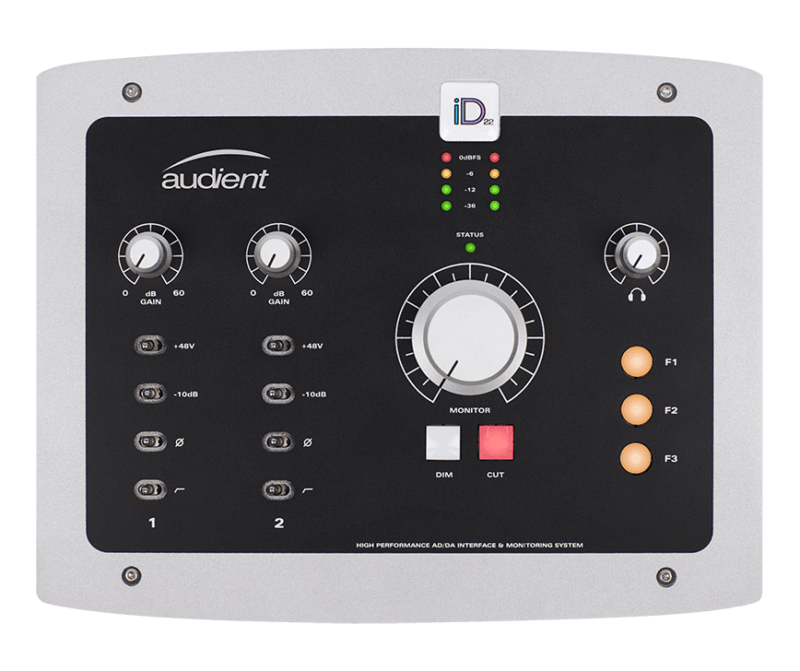
Depending on what features you need, the Audient range are the best quality you can get for your money.
If there’s one thing that any viewer will appreciate it’s not having their hearing damaged every time you get overly excited about something. Running your microphone through a DAW will allow you to compress, EQ, de-ess, gate and more.
If those terms mean nothing to you then don’t worry, you’re not alone. Thankfully there are loads of great resources to quickly learn what each of these functions do and why they’re great for your audio.
If there were only one of these anyone who streams should consider it’s the compressor, however, as it will do the most to make your microphone audio comfortable to listen to.
If you’ve got a great interface like the Audient line, you can route your mic audio to either a virtual audio cable in a single PC setup, or back through the audio interface to be sent to another PC for use after cleaning it up in your DAW.
VB-Audio or VAC are great virtual solutions to route your mic audio out of your DAW for use as your microphone in your streaming applications. Sending it out to another PC via your interface will require an audio mixer like the Yamaha MG10 series or another interface with stereo inputs like the Audient iD14.

![]()
The DBX 266xs is great compressor for the money. If you’re wanting to get more serious the Empirical Labs Distressor is the way to go.
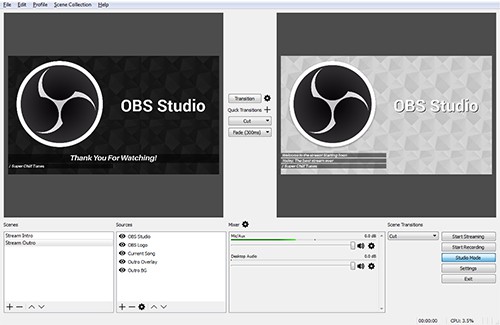
5. Software for Streaming
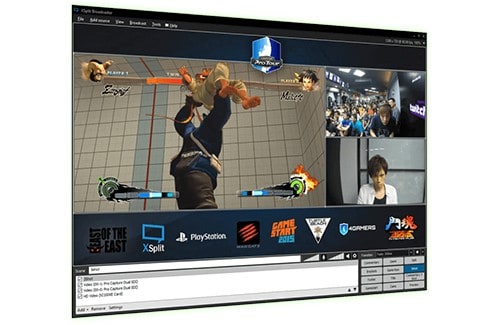
There is a myriad of programs available to you to set up your broadcast so you can go live. Among all the various competitors vying for your attention, the vast majority of live streamers are going to use either Open Broadcaster Software (OBS) or Xsplit Broadcaster/Gamecaster.
OBS is an open source, free program that’s used by a huge number of broadcasters as it’s been consistently updated to include an impressive feature set above and beyond the needs of many users while being user friendly and very light on your computer.
It’s a great choice whether you’re just starting or need some more robust features. Xsplit has both a for money, fully featured option in Xsplit Broadcaster, and a free but limited option in Xsplit Gamecaster. While Xsplit Gamecaster is respectable, it’s hard to recommend it over OBS given the more limited feature set.
Xsplit Broadcaster, however, can be a powerful tool for streamers that require a very robust feature set and support system
Much of the choice between a Mixer or an Interface is based on preference, space requirements, and/or input requirements.
Interfaces tend to provide better preamps/converters than mixers and are designed more specifically to be used directly with DAWs but have far few inputs on average than mixers.
Mixers, while physically much larger, come with far more inputs on average and more hardware based control over mixing levels etc. while also sometimes providing audio processing right on board.
All of this audio and video has to be put together somehow, so let’s talk a bit about the various software you have at your disposal to go live
7. A Setup For Every Level
Budget Setup
Microphone:
Blue Snowball iCE USB
Webcam:
Logitech C920 or C922.
Capture Card:
Elgato HD60S/HD60 Pro depending on needs.
NOTE: You may need an HDMI splitter/matrix depending on your setup. Things to keep in mind when buying a splitter/matrix are the resolution/refresh rate supported, and the HDCP standard supported.
Optional:
Rode PSA1 microphone boom arm to get the mic up off the desk and closer to your mouth for infinitely cleaner audio. NOTE: You will require a shock mount to attach the Blue Snowball to the boom arm.
Pop Filter of your choice to keep your plosives in check VSTHost software (Free) + free EQ/Compression/Noise Gate plugins sent through a Virtual Audio Cable for use in OBS/Xsplit.
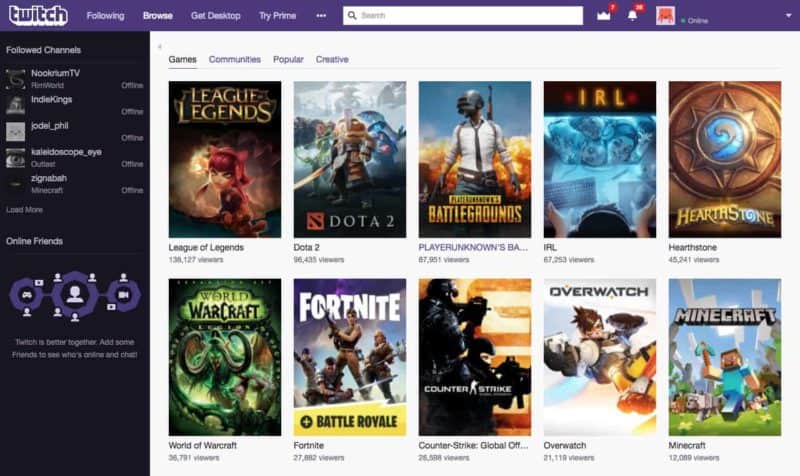
This gives you an idea of how many people are viewing each game at a time…
The next step in growth is consistency. If you can nail down a schedule in which you’ll be live throughout the week and keep to that schedule it allows your community to more readily be available to watch you and means that you’ll be consistently visible to others at those times.
A strategy you may want to try out is to keep an eye on the top streamers of the game or activity you plan on streaming and find out when they tend to stop their streams.
Once you know that, you can make sure you’ve been live for a while before hand and when they do end their stream their viewers will often spill over into other streams on the list, giving you an opportunity to catch some of them for yourself.
Outside of those two points, there are a few minor points to keep in mind. When you’re first starting out it’s important to be as interactive as possible with the few viewers you’ll have to keep them wanting to come back.
You’ll also want to spend some time crafting overlays to suit the games or activities you stream so that it at least shows you care about your presentation.
You don’t need to look like a professional sports broadcast network, but something as simple as a webcam border is great. No matter what you choose to do, take it seriously but also have fun with it.
Putting up a green screen and chroma keying out the background can keep the viewers immersed and watching for longer.
Success in streaming requires work just like anything else, but viewers are far more likely to stick around if they can tell you’re enjoying yourself. Lastly, understand that almost any level of success in the live streaming space requires an element of luck.
These suggestions are designed to simply increase your odds of catching lightning in a bottle, and so don’t get discouraged if you’re not taking over the world in the first year let alone the first month. Stick with it, and just about anyone can carve out a little spot of the internet for their community.
Both softwares have their advantages and disadvantages but we’d recommend starting with OBS.
While it indeed has a more refined user interface than OBS and a handful of features a select group of power users and professionals may find useful, ultimately the majority of users will be more than satisfied with OBS.
It’s also important to note that Xsplit is heavier on your computer than OBS is, meaning it simply takes more processing power to run due to a number of features it employs. For many people the CPU usage will unlikely effect performance but for those starting out with more meagre systems it’s something to keep in mind.
Intermediate Setup
Microphone/Audio:
Audient iD4
Microphone: Rode NT1 Microphone kit
Rode PSA1 mic boom arm
Reaper/Audition for EQ/Compression/Noise Gate etc.
Webcam:
Logitech C920 or C922
Capture Card:
Elgato Game Capture 4K60 Pro (Keep in mind the computer requirements for this level of capture card)
NOTE: You may need an HDMI splitter/matrix depending on your setup. Things to keep in mind when buying a splitter/matrix are the resolution/refresh rate supported, and the HDCP standard supported.
Optional:
Elgato Stream Deck for easy scene switching, and other fancy and fun production elements on the fly. Incredibly useful.
If you require more inputs or want to hardware mix your PC/Microphone/Console etc together I suggest checking out the Yamaha MG10XU.
Professional Setup
Microphone/Audio:
Audient iD14/iD22
If using iD22 you can add a side-chained hardware compressor/EQ/FX of your choice if you wish
Mixer of your choice if you require a high number of inputs.
ElectroVoice RE20 or Shure SM7B
CL-1 Cloudlifter
Rode PSA-1
Rycote or other shock mount of choice
Webcam:
Still the Logitech C920 or C922 unless;
Camcorder of your choice. Panasonic makes great gear in this space. I suggest making sure it has the best low light performance and low noise you can find.
If using a camcorder you will need an HDMI capture card to use it in OBS/Xsplit. You can use a single input like the Magewell Pro Capture HDMI, or get a dual input capture card to handle the camcorder and another source like a console.
Capture Card:
At this level it’s really about needs. Future proofing is tough in this space because of changing standards like HDR, but there are options.
NOTE: You may need an HDMI splitter/matrix depending on your setup. Things to keep in mind when buying a splitter/matrix are the resolution/refresh rate supported, and the HDCP standard supported.
For 1080p60 Single source: Magewell Pro Capture HDMI
For 1080p60 Dual source (camcorder+console etc): Magewell Pro Capture Dual HDMI
Due to cost and HDR being slowly adopted in the space, I recommend buying a scaler if you have 4K sources. HDFury’s Linker 4k is a good option without breaking the bank and they have other useful tools as well.
If you want to capture 1080p at 120/144hz or 1440p at 60/120/144 your options become limited. While some cards may technically have the bandwidth, they may not natively support the format. I suggest looking into capture cards capable of 4k60 and seeing if they support the resolution and refresh rate you require.
Magewell and Datapath are the most reliable 24/7 cards often used in this space, but just recently more mainstream companies like Elgato and Avermedia have entered the market with 4k60 cards.
Optional:
Elgato Stream Deck for easy scene switching, and other fancy and fun production elements on the fly. Incredibly useful.
At a very professional level, and perhaps only at the point where you’re dealing with a true studio production, software like Telestream’s Wirecast may become useful.
Written by Adam Morehouse
Related Articles